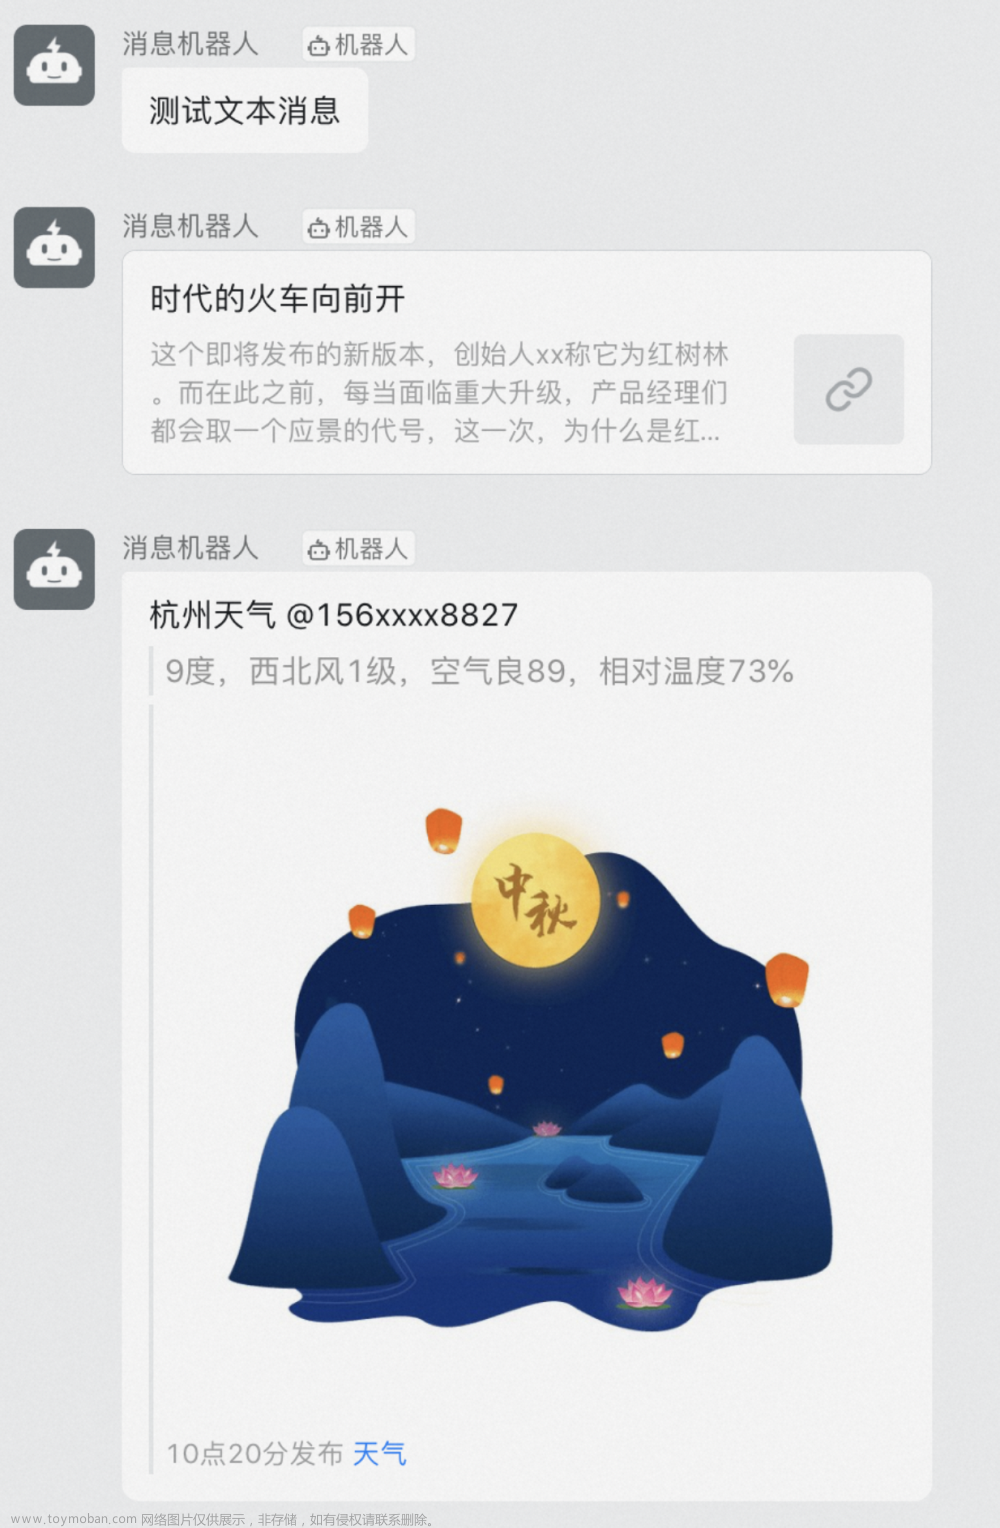
前置条件:prometheus安装完成,创建钉钉群机器人,我这里使用的是指定ip的方式
定义告警规则
修改Prometheus配置文件prometheus.yml,添加以下配置:
rule_files:
  - /usr/local/prometheus/rules/*.rules

alerting:
  alertmanagers:
    - static_configs:
        - targets:
           - localhost:9093
在目录/usr/local/prometheus/rules/下创建告警文件hoststats-alert.rules内容如下:
groups:
- name: hostStatsAlert
  rules:
  - alert: hostCpuUsageAlert
    expr: sum by (instance) (avg without (cpu) (irate(node_cpu_seconds_total{mode!="idle"}[5m]))) > 0.5
    for: 1m
    labels:
      # 严重性
      severity: warning
    annotations:
      title: cpu飚高告警
      summary: "Instance {{ $labels.instance }} CPU usgae high"
      description: "{{ $labels.instance }} CPU usage above 50% (current value: {{ $value }})"
  - alert: hostMemUsageAlert
    expr: (node_memory_MemTotal_bytes - node_memory_MemAvailable_bytes)/node_memory_MemTotal_bytes > 0.85
    for: 1m
    labels:
      severity: warning
    annotations:
      title: 内存使用率飚高告警
      summary: "Instance {{ $labels.instance }} MEM usgae high"
      description: "{{ $labels.instance }} MEM usage above 85% (current value: {{ $value }})"
重启Prometheus后访问Prometheus http://127.0.0.1:9090/rules可以查看当前以加载的规则文件。
安装配置prometheus-webhook-dingtalk
wget https://github.com/timonwong/prometheus-webhook-dingtalk/releases/download/v2.1.0/prometheus-webhook-dingtalk-2.1.0.linux-amd64.tar.gz
tar -zxvf prometheus-webhook-dingtalk-2.1.0.linux-amd64.tar.gz -C /usr/local
mv /usr/local/prometheus-webhook-dingtalk-2.1.0.linux-amd64 /usr/local/prometheus-webhook-dingtalk
cp /usr/local/prometheus-webhook-dingtalk/config.example.yml  /usr/local/prometheus-webhook-dingtalk/config.yml
vim config.yml      # 将配置文件修改成下面这样
## Request timeout
# timeout: 5s

## Uncomment following line in order to write template from scratch (be careful!)
#no_builtin_template: true

## Customizable templates path
templates:
  - contrib/templates/mytemplate.tmpl # 这里指向你生成的模板

## You can also override default template using `default_message`
## The following example to use the 'legacy' template from v0.3.0
#default_message:
#  title: '{{ template "legacy.title" . }}'
#  text: '{{ template "legacy.content" . }}'

## Targets, previously was known as "profiles"
targets:
  webhook1:
    # 钉钉机器人的webhook, 是从钉钉机器人中获取的值
    url: https://oapi.dingtalk.com/robot/send?access_token=xxxxxxxxxxxxxxxxxxxxxxxxxxxxxxxxxxxxxxxxx
    # secret for signature 加签后得到的值, 机器人的加签
    # secret: xxxxxxxxxxxxxxxxxxxxxxxxxxxxx
#  webhook2:
#    url: https://oapi.dingtalk.com/robot/send?access_token=xxxxxxxxxxxx
#  webhook_legacy:
#    url: https://oapi.dingtalk.com/robot/send?access_token=xxxxxxxxxxxx
#    # Customize template content
#    message:
#      # Use legacy template
#      title: '{{ template "legacy.title" . }}'
#      text: '{{ template "legacy.content" . }}'
#  webhook_mention_all:
#    url: https://oapi.dingtalk.com/robot/send?access_token=xxxxxxxxxxxx
#    mention:
#      all: true
#  webhook_mention_users:
#    url: https://oapi.dingtalk.com/robot/send?access_token=xxxxxxxxxxxx
#    mention:
#      mobiles: ['156xxxx8827', '189xxxx8325']
# 添加如下模板,模板中需要有prometheus添加的 Annotations中需要title、description;Labels中需要有severity
vim /usr/local/prometheus-webhook-dingtalk/contrib/templates/mytemplate.tmpl

cd /usr/local/prometheus-webhook-dingtalk/

./prometheus-webhook-dingtalk --config.file=config.yml >dingtalk.log 2>&1 &
{{ define "__subject" }}
[{{ .Status | toUpper }}{{ if eq .Status "firing" }}:{{ .Alerts.Firing | len }}{{ end }}]
{{ end }}


{{ define "__alert_list" }}{{ range . }}
---
{{ if .Labels.owner }}@{{ .Labels.owner }}{{ end }}

**告警名称**: {{ index .Annotations "title" }}

**告警级别**: {{ .Labels.severity }}

**告警主机**: {{ .Labels.instance }}

**告警信息**: {{ index .Annotations "description" }}

**告警时间**: {{ dateInZone "2006.01.02 15:04:05" (.StartsAt) "Asia/Shanghai" }}
{{ end }}{{ end }}

{{ define "__resolved_list" }}{{ range . }}
---
{{ if .Labels.owner }}@{{ .Labels.owner }}{{ end }}

**告警名称**: {{ index .Annotations "title" }}

**告警级别**: {{ .Labels.severity }}

**告警主机**: {{ .Labels.instance }}

**告警信息**: {{ index .Annotations "description" }}

**告警时间**: {{ dateInZone "2006.01.02 15:04:05" (.StartsAt) "Asia/Shanghai" }}

**恢复时间**: {{ dateInZone "2006.01.02 15:04:05" (.EndsAt) "Asia/Shanghai" }}
{{ end }}{{ end }}


{{ define "default.title" }}
{{ template "__subject" . }}
{{ end }}

{{ define "default.content" }}
{{ if gt (len .Alerts.Firing) 0 }}
**====侦测到{{ .Alerts.Firing | len  }}个故障====**
{{ template "__alert_list" .Alerts.Firing }}
---
{{ end }}

{{ if gt (len .Alerts.Resolved) 0 }}
**====恢复{{ .Alerts.Resolved | len  }}个故障====**
{{ template "__resolved_list" .Alerts.Resolved }}
{{ end }}
{{ end }}


{{ define "ding.link.title" }}{{ template "default.title" . }}{{ end }}
{{ define "ding.link.content" }}{{ template "default.content" . }}{{ end }}
{{ template "default.title" . }}
{{ template "default.content" . }}
安装配置prometheus-alertmanager
wget https://github.com/prometheus/alertmanager/releases/download/v0.25.0/alertmanager-0.25.0.linux-amd64.tar.gz
tar -zxvf alertmanager-0.25.0.linux-amd64.tar.gz
mv alertmanager-0.25.0.linux-amd64 /usr/local/alertmanager
# 修改告警管理的配置文件如下
vim /usr/local/alertmanager/alertmanager.yml
cd /usr/local/alertmanager/
./alertmanager --config.file=alertmanager.yml >alertmanager.log 2>&1 &
global:
  #每一分钟检查一次是否恢复
  resolve_timeout: 5m
route:
  #采用哪个标签来作为分组依据
  group_by: ['alertname']
  #组告警等待时间。也就是告警产生后等待10s,如果有同组告警一起发出
  group_wait: 10s
  #两组告警的间隔时间
  group_interval: 1m
  #重复告警的间隔时间,减少相同告警的发送频率
  repeat_interval: 1m
  #设置默认接收人
  receiver: 'web.hook'
  routes:
  - receiver: 'dingding.webhook1'
    match_re:
      alertname: ".*"
receivers:
- name: 'web.hook'
  webhook_configs:
  - url: 'http://127.0.0.1:5001/'
- name: 'dingding.webhook1'
  webhook_configs:
  # 这里的webhook1,根据我们在钉钉告警插件配置文件中targets中指定的值做修改
  - url: 'http://127.0.0.1:8060/dingtalk/webhook1/send'
    send_resolved: true
inhibit_rules:
  - source_match:
      severity: 'critical'
    target_match:
      severity: 'warning'
    equal: ['alertname', 'dev', 'instance']
此时,我们可以手动拉高系统的CPU使用率,验证Prometheus的告警流程,在主机上运行以下命令:
cat /dev/zero>/dev/null
Prometheus首次检测到满足触发条件后,hostCpuUsageAlert显示由一条告警处于活动状态。由于告警规则中设置了1m的等待时间,当前告警状态为PENDING,可在下图位置可见
等待告警状态为firing后钉钉群机器人会发出告警信息文章来源:https://www.toymoban.com/news/detail-507297.html
springboot应用埋点在下篇文章
文章来源地址https://www.toymoban.com/news/detail-507297.html
到了这里,关于prometheus告警发送到钉钉群机器人的全部署流程的文章就介绍完了。如果您还想了解更多内容,请在右上角搜索TOY模板网以前的文章或继续浏览下面的相关文章,希望大家以后多多支持TOY模板网!