要求
- macOS 12.3 Monterey 或更高版本
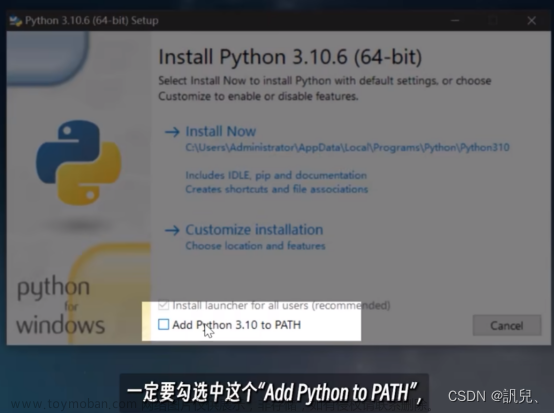
- Python
- 耐心
第一步 下载模型包
-
在https://huggingface.co注册
-
搜索stable-diffusion-v-1-4-original跳转到页面
-
点击接受条款

-
点击上面Files and versions
-
下载sd-v1-4.ckpt (4.27 GB)并记下保存位置
开始安装
# 安装brew 或者 xcode工具 如果有可以跳过
/bin/bash -c "$(curl -fsSL https://raw.githubusercontent.com/Homebrew/install/HEAD/install.sh)"

# 1. 安装  pyenv
brew install pyenv-virtualenv
pyenv install anaconda3-2022.05
pyenv virtualenv anaconda3-2022.05
eval "$(pyenv init -)"
pyenv activate anaconda3-2022.05

# 2. 安装系统级依赖
brew install cmake protobuf rust
# 3. 安装 miniconda (M1 arm64):
curl https://repo.anaconda.com/miniconda/Miniconda3-latest-MacOSX-arm64.sh -o Miniconda3-latest-MacOSX-arm64.sh
/bin/bash Miniconda3-latest-MacOSX-arm64.sh
# 4. clone代码(如果没有git请先装git)
git clone https://github.com/magnusviri/stable-diffusion.git
cd stable-diffusion
# 5. 创建模型包文件夹
mkdir -p models/ldm/stable-diffusion-v1/

# 6. 关联模型
PATH_TO_CKPT="$HOME/Downloads"  # 或者其他你保存前面你下载 sd-v1-4.ckpt 的路径
ln -s "$PATH_TO_CKPT/sd-v1-4.ckpt" models/ldm/stable-diffusion-v1/model.ckpt

# 7. 安装依赖
PIP_EXISTS_ACTION=w CONDA_SUBDIR=osx-arm64 conda env create -f environment-mac.yaml
# 8. 开启ldm
conda activate ldm
# 9. 这个只需要执行一次 预加载模型,不走这个的话后面生成图片的时间会非常非常慢
python scripts/preload_models.py
# 10. 启动交互式命令行,启动之后命令行前面会有dream,这时可以直接输入描述来生成图片,具体的参数可以 -help查看
python scripts/dream.py --full_precision  # half-precision requires autocast and won't work
# ps 原始脚本也可以使用
python scripts/orig_scripts/txt2img.py --prompt "a photograph of an astronaut riding a horse" --plms
如果特别慢的话
python ./scripts/orig_scripts/txt2img.py --prompt "ocean" --ddim_steps 5 --n_samples 1 --n_iter 1
一些比较正常的图片
Posh girl wearing an open blazer, tie, detailed portrait, cell shaded, 4 k, concept art, by wlop, ilya kuvshinov, artgerm, krenz cushart, greg rutkowski, pixiv. cinematic dramatic atmosphere, sharp focus, volumetric lighting, cinematic lighting, studio quality

elegant seductive beautiful vampire horror gothic white hair ornate rococo intaglio dripping blood by Tom Bagshaw and Seb McKinnon, highly detailed, dramatic lighting, volumetric, red eyes
 文章来源:https://www.toymoban.com/news/detail-508790.html


 文章来源地址https://www.toymoban.com/news/detail-508790.html
到了这里,关于【教程】MAC m1 安装并使用AI绘画 stable-diffusion,交互式命令行。的文章就介绍完了。如果您还想了解更多内容,请在右上角搜索TOY模板网以前的文章或继续浏览下面的相关文章,希望大家以后多多支持TOY模板网!


