uni-app封装折叠轮播组件
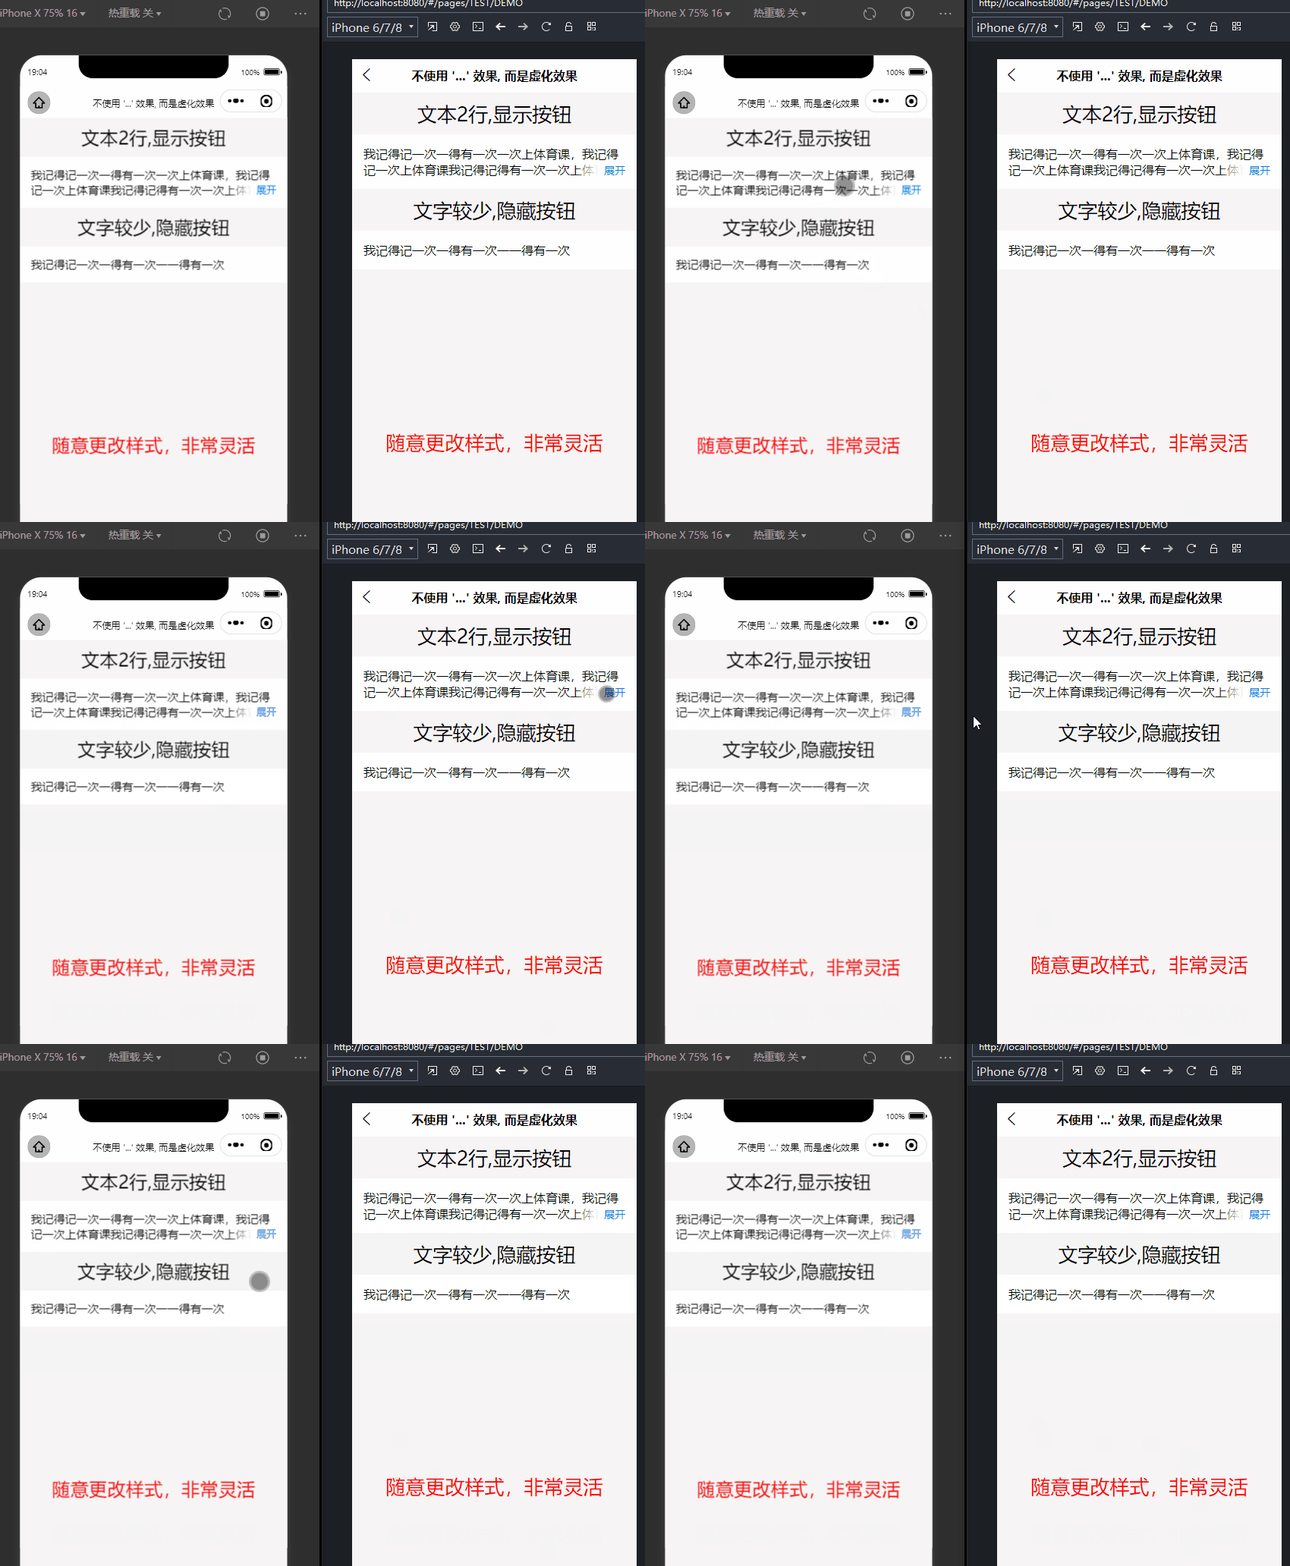
先来看效果图
实现原理:
通过小程序的触摸事件,来控制图片数组的变化实现动态样式;来改变图片的样式。
贴上轮播组件完整代码
<template>
	<view :style="{ height: height+'px' }" class="box">
		<view class="swiper-container">
			<view
				class="swiper-item"
				v-for="(item, index) in list" :key="index"
	            @tap="imageTap(item)"
	            @touchstart="touchStart"
	            @touchend="touchEnd"
				:style="{filter:styleList[index].filter, transform: styleList[index].transform, zIndex: styleList[index].zIndex, opacity: styleList[index].opacity,display:styleList[index].display}">
				<view class="wrap">
					<image class="image" :src="item" mode="widthFix"></image>
				</view>
			</view>
		</view>
	</view>
</template>

<script>
	export default {
		props: {
			/**
			 * 图片url列表
			 */
			list: {
				type: Array,
				default: []
			}
		},
		data() {
			return {
				/**
				 * 开始触摸点坐标
				 */
				start: {
					x: 0,
					y: 0
				},
				/**
				 * 每个item样式列表
				 */
				styleList: [],
        height: 0
			};
		},
		created() {
			this.list.forEach((item, index) => {
				this.styleList.push(this.addStyle(index))
			})
		},
		mounted () { //防止页面翻页抖动
		  setTimeout(() => {
		        const query = uni.createSelectorQuery().in(this);
		        query.select('.image').boundingClientRect(data => {
		          this.height = data.height
		        }).exec();
		      }, 1500)
		    },
		methods: {
      	imageTap(item) { // 图片的点击事件
	        this.$emit('image-tap', item)
	      },
			/**
			 * 计算每个item样式
			 * @param {Object} idx
			 */
			addStyle(idx) {
				const len = this.list.length;
				if (idx > len / 2) {
					//这里是数组后一半的item放在左边,平移位置由远到近,例如共6个,后2个处理在这里
					var left = len - idx
					return {
						transform: 'scale(' + (1 - left / 10) + ') translate(-' + (left * 25) + '%,0px)',
						zIndex: 9999 - left,
						filter: `blur(${left==0?0:5}px)`, //滤镜
						display: idx == len - 1 ? "block" : "none"
					}
				} else {
					//这里是数组前一半item放在右边,平移位置由近到远,例如共6个,前4个处理在这里,这里第一个元素始终放在中间位置
					return {
						transform: 'scale(' + (1 - idx / 10) + ') translate(' + (idx * 25) + '%,0px)',
						zIndex: 9999 - idx,
            filter: `blur(${idx==0?0:5}px)`, //滤镜
            display: idx > 1 ? "none" : "block"
					}
				}
			},
			/**
			 * 触摸开始
			 * @param {Object} e
			 */
			touchStart(e) {
				this.start.x = e.changedTouches[0] ? e.changedTouches[0].pageX : 0;
				this.start.y = e.changedTouches[0] ? e.changedTouches[0].pageY : 0;
			},
			/**
			 * 触摸结束
			 * @param {Object} e
			 */
			touchEnd(e) {
				var newStyleList = JSON.parse(JSON.stringify(this.styleList))
				let tx = e.changedTouches[0].pageX - this.start.x
				let ty = e.changedTouches[0].pageY - this.start.y
				if (Math.abs(tx) > Math.abs(ty)) {
					//左右方向滑动
					if (tx < 0) {
						// 向左滑动
						var last = [newStyleList.pop()]
						newStyleList = last.concat(newStyleList)
					} else if (tx > 0) {
						// 向右滑动
						newStyleList.push(newStyleList[0])
						newStyleList.splice(0, 1)
					}
        } else {
					//这里就不处理上下方向的事件了,有此需求的同仁可以在这里写逻辑
					//上下方向滑动
					if (ty < 0) {
						// 向上滑动
					} else if (ty > 0) {
						// 向下滑动
					}
				}
				this.styleList = newStyleList
			},
			/**
			 * 当前item点击返回索引下标
			 * @param {Object} idx
			 */
		}
	}
</script>

<style scoped lang="scss">
.box{
  .swiper-container {
		box-sizing: border-box;
		width: 100%;
		position: relative;

		.swiper-item {
			width: 100%;
			position: absolute;
			top: 0;
			left: 0;
			transition: all .5s;

			.wrap {
				padding: 2upx 44upx;
				.image {
					width: 100%;
					border-radius: 20upx;
				}
			}
		}
	}
}

</style>
组件使用文章来源:https://www.toymoban.com/news/detail-509807.html
<template>
  <view class="tabbar-page">
    <view class="head">
      <image @tap="showBannerLink" :src="banner.imageUrl" style="width: 100%" mode="widthFix"></image>
    </view>
    <view v-if="imageList.length" class="h1">精彩呈现</view>
    <kevy-swiper v-if="imageList.length" :list="imageUrlList" @image-tap="imageTap"></kevy-swiper>
  </view>
</template>

<script>
  import KevySwiper from '../../components/kevy-swiper/kevy-swiper.vue'
  import store from '@/store/index'
  import crmApiService from '@/api/crmApi'

  export default {
    components: {KevySwiper},
    data () {
      return {
        imageList: [],
        banner: {}
      }
    },
    watch: {},
    computed: {
      ossUrl () {
        return this.$config.ossUrl
      },
      imageUrlList () {
        return this.imageList?this.imageList.map(item => item.imageUrl) : []
      },
      activityUrl () {
        return this.ossUrl + 'test_activity.png'
      }
    },
    methods: {
      showBannerLink() {
//        uni.navigateTo({ url: '/pages/webview/webview?url='+this.banner.linkUrl })
      },
      imageTap (url) {
        this.imageList.some(item => {
          if (item.imageUrl == url) {
            uni.navigateTo({ url: '/pages/webview/webview?url='+item.linkUrl })
            return true
          }
        })
      }
    },
    onShow () {
      this.setTabBarIndex(2)
      crmApiService.getBanners().then(res => {
        if (res.success) {
          this.banner = res.result
        } else {
          this.$tip.toast(res.message)
        }
      })
      crmApiService.getCarousels().then(res => {
        if (res.success) {
          this.imageList = res.result
        } else {
          this.$tip.toast(res.message)
        }
      })
    }
  }
</script>

<style scoped lang="scss">
  .h1 {
    font-size: 48upx;
    color: #111111;
    text-align: center;
    font-weight: 500;
    padding: 44upx 0;
  }
  .tabbar-page {
    padding-bottom: calc(env(safe-area-inset-bottom) + 68px);
    overflow-x: hidden;
  }
  .activity-wrap {
    padding: 0 44upx;
  }
</style>
如果有自动轮播的需求,可以改造下组件加个定时器处理数组就OK了。文章来源地址https://www.toymoban.com/news/detail-509807.html
到了这里,关于uni-app小程序折叠3D轮播图效果实现。的文章就介绍完了。如果您还想了解更多内容,请在右上角搜索TOY模板网以前的文章或继续浏览下面的相关文章,希望大家以后多多支持TOY模板网!


