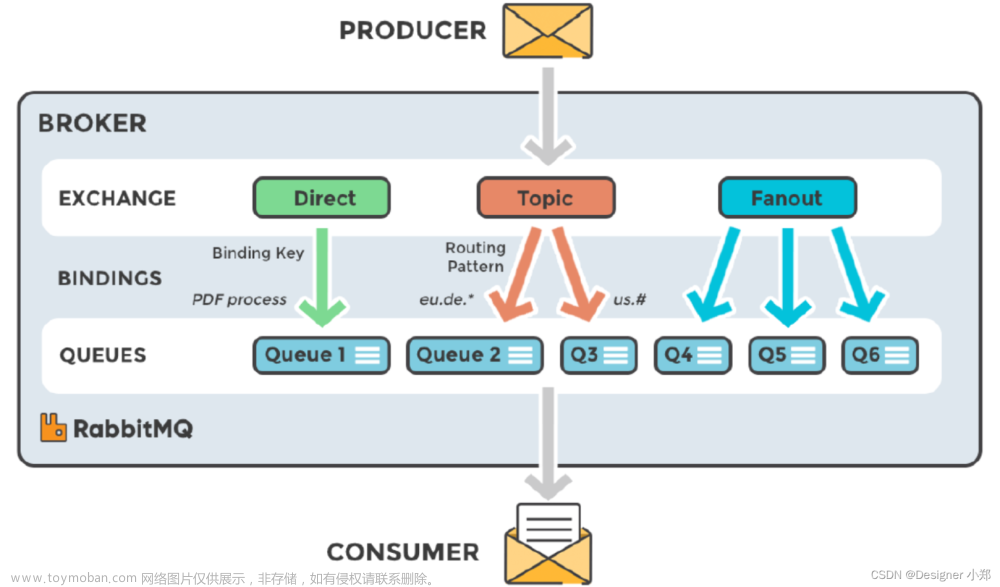
使用StreamBridge实现RabbitMq && 延时消息
Maven依赖
<dependency>
            <groupId>org.springframework.cloud</groupId>
            <artifactId>spring-cloud-starter-stream-rabbit</artifactId>
        </dependency>
延时消息需要安装插件
下载地址:link
1.下载完成放到rabbitmq安装目录plugins下
2.执行命令启用插件
3.重启mq文章来源:https://www.toymoban.com/news/detail-512066.html
rabbitmq-plugins enable rabbitmq_delayed_message_exchange  // 启用插件
//重启mq
rabbitmq-server stop
rabbitmq-server start
Exchanges -> add a new exchange -> type 出现x-delayed-message即安装成功
 文章来源地址https://www.toymoban.com/news/detail-512066.html
yml配置
spring:
  rabbitmq:
    host: localhost
    port: 5672
    username: xxxx
    password: xxxx

  function:
      # 与消费者对应(消费者方法名称)
      definition: ackMessage;normal;delay
    stream:
      rabbit:
        bindings:
          ackMessage-in-0:
            consumer:
              acknowledge-mode: manual  # manual手动确认 ,auto 自动确认
          delay-in-0:
            consumer:
              delayedExchange: true # 开启延时
          delay-out-0:
            producer:
              delayedExchange: true  # 开启延时

      bindings:
        delay-in-0:
          destination: delay.exchange.cloud  # mq对应交换机
          content-type: application/json
          consumer:
            acknowledge-mode: auto # manual手动确认 ,auto 自动确认
          group: delay-group	# 消息组
          binder: rabbit
        delay-out-0:
          destination: delay.exchange.cloud
          content-type: application/json
          group: delay-group
          binder: rabbit

        ackMessage-in-0:
          destination: ackMessage.exchange.cloud
          content-type: application/json
          consumer:
            acknowledge-mode: manual # manual手动确认 ,auto 自动确认
          group: ackMessage-group
          binder: rabbit
        ackMessage-out-0:
          destination: ackMessage.exchange.cloud
          content-type: application/json
          group: ackMessage-group
          binder: rabbit
        normal-in-0:
          destination: normal.exchange.cloud
          content-type: application/json
          consumer:
            acknowledge-mode: auto # manual手动确认 ,auto 自动确认
          group: normal-group
          binder: rabbit
        normal-out-0:
          destination: normal.exchange.cloud
          content-type: application/json
          group: normal-group
          binder: rabbit
接口controller
import com.alibaba.fastjson2.JSON;
import lombok.AllArgsConstructor;
import lombok.extern.slf4j.Slf4j;
import org.springframework.web.bind.annotation.*;

import java.time.LocalDateTime;

/**
 * @Description: RabbitmqController
 */
@Slf4j
@RestController
@AllArgsConstructor
@RequestMapping("/mq")
public class MqController {

	//消息发送者
    private final RabbitMqProducer rabbitMqProducer;

    /**
     * 发送普通消息Rabbitmq
     * bindingName 绑定队列名称
     * @param msg 消息内容
     */
    @GetMapping("/sendMessage/{msg}/{bindingName}")
    public R<Void> sendMessage(@PathVariable("msg") String msg, @PathVariable("bindingName") String bindingName) {
        log.info(bindingName + "发送消息: " + msg);
        rabbitMqProducer.sendMsg(msg, bindingName);
        return R.ok();
    }

    /**
     * 发送延迟消息
     *
     * @param message  消息实体
     * @return
     */
    @PostMapping("/sendDelayedMessage")
    public R<Void> sendDelayedMessage(@RequestBody Message message) {
        log.info(MqTExchangesEnum.delay + "发送延时消息: " + LocalDateTime.now() + "  " + message);
        rabbitMqProducer.sendDelayMsg(JSON.toJSONString(message), message.getBindingName(), message.getSeconds());// 延迟时间(秒)
        return R.ok();
    }
}
发送者
import org.springframework.beans.factory.annotation.Autowired;
import org.springframework.cloud.stream.function.StreamBridge;
import org.springframework.messaging.Message;
import org.springframework.messaging.support.MessageBuilder;
import org.springframework.stereotype.Component;

import java.util.UUID;

/**
 * RabbitMq消息生产者
 */
@Component
public class RabbitMqProducer {

    @Autowired
    private StreamBridge streamBridge;

    /**
     * @Description RabbitMq消息生产者
     * @Param msg 消息内容
     * @Param bindingName  exchange绑定queue名称
     **/
    public void sendMsg(String msg, String bindingName) {
        // 构建消息对象
        Messaging messaging = new Messaging().setMsgId(UUID.randomUUID().toString()).setMsgText(msg);
        Message<Messaging> message = MessageBuilder.withPayload(messaging).build();
        streamBridge.send(bindingName, message);
    }

    /**
     * 发送延迟消息
     *
     * @param msg
     * @param bindingName
     * @param seconds
     */
    public void sendDelayMsg(String msg, String bindingName, Integer seconds) {
        // 构建消息对象
        Messaging messaging = new Messaging().setMsgId(UUID.randomUUID().toString()).setMsgText(msg);
        Message<Messaging> message = MessageBuilder.withPayload(messaging).setHeader("x-delay", seconds * 1000).build();
        streamBridge.send(bindingName, message);
    }
}
消费者
import com.alibaba.fastjson2.JSON;
import com.alibaba.fastjson2.JSONObject;
import com.rabbitmq.client.Channel;
import lombok.extern.slf4j.Slf4j;
import org.springframework.amqp.support.AmqpHeaders;
import org.springframework.beans.factory.annotation.Autowired;
import org.springframework.context.annotation.Bean;
import org.springframework.http.HttpHeaders;
import org.springframework.messaging.Message;
import org.springframework.stereotype.Component;
import org.springframework.util.MultiValueMap;

import java.time.LocalDateTime;
import java.util.function.Consumer;


/**
 * RabbitMq消息消费者
 */
@Component
@Slf4j
public class RabbitMqConsumer {

    /**
     * mq接收ackMessage消息/手动ack确认
     * @methodName 配置文件对应
     **/
    @Bean
    Consumer<Message<Messaging>> ackMessage() {
        log.info("ackMessage-初始化订阅");
        return obj -> {
            Channel channel = obj.getHeaders().get(AmqpHeaders.CHANNEL, Channel.class);
            Long deliveryTag = obj.getHeaders().get(AmqpHeaders.DELIVERY_TAG, Long.class);
            try {
                log.info("ackMessage-消息接收成功:" + obj.getPayload());
                //业务逻辑处理
                //ack确认
                channel.basicAck(deliveryTag, false);
            } catch (Exception e) {
                //重新回队列-true则重新入队列,否则丢弃或者进入死信队列。
//                    channel.basicReject(deliveryTag, true);
                log.error(e.getMessage());
            }

        };
    }

    /**
     * mq接收normal消息
     **/
    @Bean
    Consumer<Messaging> normal() {
        log.info("normal-初始化订阅");
        return obj -> {
            log.info("normal-消息接收成功:" + obj);
            //业务逻辑处理
        };
    }


    /**
     * mq接收延时消息
     * Messaging 发送实体消息接收实体消息
     **/
    @Bean
    Consumer<Message<Messaging>> delay() {
        log.info("delay-初始化订阅");
        return obj -> {
            Messaging payload = obj.getPayload();
            log.info("delay-消息接收成功:" + LocalDateTime.now() + "  " + payload);
            //业务逻辑处理
        };
    }
}
到了这里,关于使用StreamBridge实现RabbitMq 消息收发 && ack确认 && 延时消息的文章就介绍完了。如果您还想了解更多内容,请在右上角搜索TOY模板网以前的文章或继续浏览下面的相关文章,希望大家以后多多支持TOY模板网!


