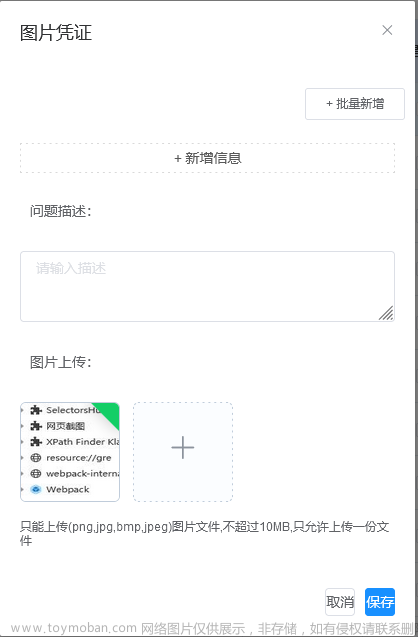
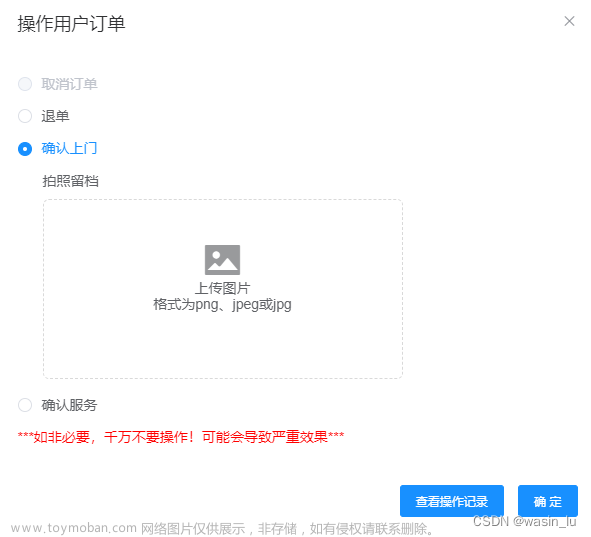
el-upload组件二次封装
注释:
1.limit可上传图片数量
2.lableName当前组件name,用于一个页面多次使用上传组件,对数据进行区分
3.upload上传图片发生变化触发,返回已上传图片的信息
4.imgUrl默认图片文章来源地址https://www.toymoban.com/news/detail-512278.html
<template>
  <div class="uploadimg " :style="{marginLeft: marginLeft, }">
    <el-upload
    action="false"
    :class="isAddImg ? 'disabled' : ''"
    accept="image/png,image/gif,image/jpg,image/jpeg"
    :limit="limit"
    :with-credentials="true"
    :multiple="false"
    list-type="picture-card"
    :before-upload="beforeUpload"
    :file-list="fileList"
    :http-request="httpRequest"
    :on-preview="handlePictureCardPreview"
    :on-remove="onRemove"
    >
      <div class="uploadIco">
        <i class="el-icon-plus" ></i>
        <div class="text">{{uploadType}}</div>
      </div>
    </el-upload>
    <el-dialog :visible.sync="dialogVisible1" width="600px" append-to-body class="uploadimgDialog" >
      <img width="100%" :src="dialogImageUrl" />
    </el-dialog>
  </div>
</template>
<script>
export default {
  props: {
    limit: {
      type: Number,
      default: 1,
    },
    imgUrl: {
      type: String,
      required:true,
    },
    lableName: {
      type: String,
      default: '',
    },
    uploadType:{
      type: String,
       default: '上传图片',
    },
    marginLeft:{
      type: String,
       default: '0px',
    }
  },
  data() {
    return {
      fileArr:[],
      fileList: [],
      isRemove: false, // 用于编辑时是否上传了图标
      dialogVisible1: false,
      dialogImageUrl: "",
    };
  },
  computed:{
    isAddImg(){
      if(this.limit == this.fileArr.length){
          return true
      }else{
          return false
      }
    },
  },
  watch:{
    imgUrl:{
      immediate: true,
      deep: true,
      handler(val,oldVal){
        if(val!=''){
          this.dialogImageUrl = val;
          this.fileList = [{ url: val }];
          this.fileArr = [{ url: val }];
        }else{
          this.dialogImageUrl = '';
          this.fileList = [];
        }
      },
    },
  },
  methods: {

    //限制图片格式及大小
    beforeUpload(file) {
      const isJPG =
        file.type === "image/jpeg" ||
        file.type === "image/png" ||
        file.type === "image/jpg" ||
        file.type === "image/gif";
      const isLt2M = file.size / 1024 / 1024 < 2;
      if (!isJPG) {
        this.$Message.error("上传图片只能是 png、gif、jpeg、jpg 格式!");
      } else if (!isLt2M) {
        this.$Message.error("上传图片大小不能超过 2MB!");
      }
      return isJPG && isLt2M;
    },

    //上传后获取文件流
    async httpRequest(file) {
      this.fileArr.push(file.file)
      this.$emit("upload", { fileArr:this.fileArr , type:'add',lableName:this.lableName });
    },

    //预览
    handlePictureCardPreview(file) {
      this.dialogImageUrl = file.url;
      this.dialogVisible1 = true;
    },

    //删除
    onRemove(file, fileList) {
      let arr = []
      fileList.forEach((item)=>{
        if(item.raw){
          arr.push(item.raw)
        }else{
          arr.push(item)
        }
      });
      this.fileArr = arr;
      this.$emit("upload", { fileArr:this.fileArr , type:'del',lableName:this.lableName });
    },
  },
};
</script>
<style lang="scss" scoped>
.uploadimg{
  .uploadIco {
    height: 100%;
    display: flex;
    justify-content: center;
    align-items: center;
    flex-direction: column;
    line-height: 17px !important;
  }
}
::v-deep .disabled .el-upload{
  display: none;
}
</style>
组件使用
<template>
  <div>
    <UploadImg
    :limit="2"
    :lableName="'authorizationLetter'"
    @upload='receiveFile'
    :imgUrl='ruleForm.imgUrl' />
  </div>
</template>

<script>
export default {
  data(){
    return {
      ruleForm:{
        imgUrl:'',
      }
    }
  },
  components: {
      UploadImg: () => import("./component/UploadImg.vue"),
  },
  methods:{
    receiveFile(data){
      //如果设置了默认图片请注意data返回值
      //data返回值是一个数组,数组中如果设置了默认值data返回的数据会存在对象和文件流两种数据类型
      //如果数据中存在name就是一个文件流,如果没有就是设置的默认值的数据
      console.log("data",data)
    },
  }
}
</script>
文章来源:https://www.toymoban.com/news/detail-512278.html
到了这里,关于vue Element ui上传组件el-upload封装的文章就介绍完了。如果您还想了解更多内容,请在右上角搜索TOY模板网以前的文章或继续浏览下面的相关文章,希望大家以后多多支持TOY模板网!


