1.打开系统相机
Intent intent = new Intent(); //调用照相机
intent.setAction("android.media.action.STILL_IMAGE_CAMERA");
startActivity(intent);
2.从相册中选择图片并显示
xml代码
<?xml version="1.0" encoding="utf-8"?>
<LinearLayout xmlns:android="http://schemas.android.com/apk/res/android"
    android:layout_width="match_parent"
    android:layout_height="match_parent"
    xmlns:tools="http://schemas.android.com/tools"
    android:orientation="vertical"
    tools:context=".PhotoActivity">
    <ImageView
        android:id="@+id/iv_image"
        android:layout_width="match_parent"
        android:layout_gravity="center_horizontal"
        android:layout_height="400dp"/>
    <LinearLayout
        android:layout_width="match_parent"
        android:layout_height="wrap_content"
        android:orientation="horizontal">
        <Button
            android:id="@+id/btn_upload"
            android:layout_width="0dp"
            android:layout_height="wrap_content"
            android:layout_weight="1"
            android:text="上传"
            android:textStyle="bold"
            android:textSize="20sp"
            android:layout_gravity="bottom" />
    </LinearLayout>
</LinearLayout>
展示

java代码
import androidx.appcompat.app.AppCompatActivity;
import android.content.Intent;
import android.net.Uri;
import android.os.Bundle;
import android.provider.MediaStore;
import android.util.Log;
import android.view.View;
import android.widget.Button;
import android.widget.ImageView;
import android.widget.Toast;
import java.io.File;
public class PhotoActivity extends AppCompatActivity {
private Button btn_upload;
private ImageView iv_image;
@Override
public void onCreate(Bundle savedInstanceState) {
super.onCreate(savedInstanceState);
Log.e(this.getClass().getName(), "onCreate");
setContentView(R.layout.activity_photo);
btn_upload = findViewById(R.id.btn_upload);
iv_image = findViewById(R.id.iv_image);
btn_upload.setOnClickListener(new View.OnClickListener() {
@Override
public void onClick(View v) {
Intent intent = new Intent(Intent.ACTION_PICK, null);
intent.setDataAndType(MediaStore.Images.Media.EXTERNAL_CONTENT_URI, "image/*");
startActivityForResult(intent, 2);
}
});
}
@Override
protected void onActivityResult(int requestCode, int resultCode, Intent data) {
super.onActivityResult(requestCode, resultCode, data);
if (requestCode == 2) {
// 从相册返回的数据
Log.e(this.getClass().getName(), "Result:" + data.toString());
if (data != null) {
// 得到图片的全路径
Uri uri = data.getData();
iv_image.setImageURI(uri);
Log.e(this.getClass().getName(), "Uri:" + String.valueOf(uri));
}
}
}
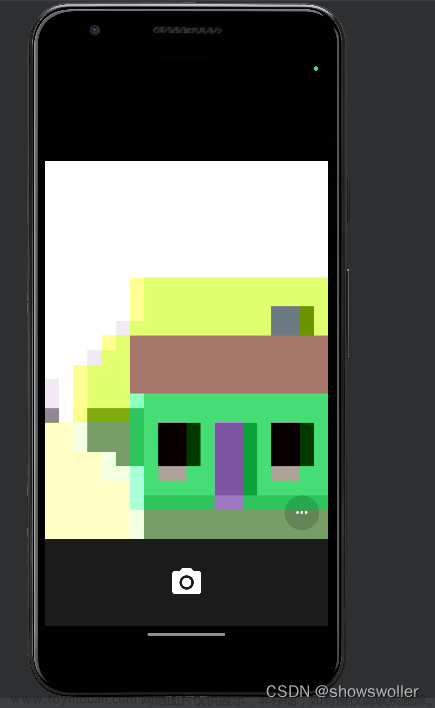
}实机演示
 文章来源:https://www.toymoban.com/news/detail-512562.html
文章来源地址https://www.toymoban.com/news/detail-512562.html
到了这里,关于Android打开系统相机或从相册中选择图片并显示的文章就介绍完了。如果您还想了解更多内容,请在右上角搜索TOY模板网以前的文章或继续浏览下面的相关文章,希望大家以后多多支持TOY模板网!