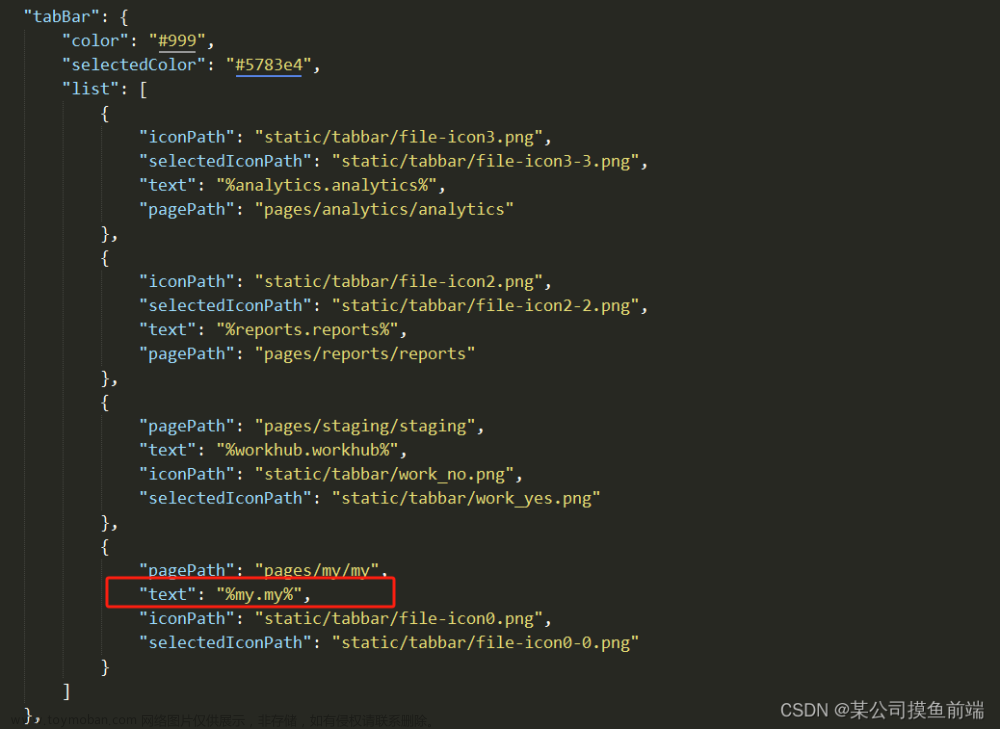
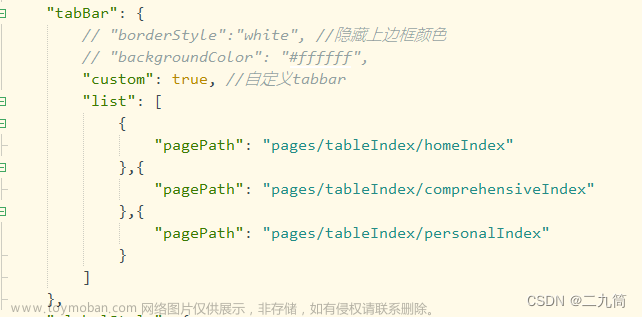
1. 对于导航页自定义tabBar,仍需要在pages.json中配置tabBar
"tabBar": {
    // 此设置方法小程序真机无效,应在app中隐藏原生tab
    // "custom": true,
    // "selectedColor": "#2196F3",
    "list": [{
      "pagePath": "pages/home/home",
      "text": "首页",
      "iconPath": "static/tab/home.png",
      "selectedIconPath": "static/tab/home-active.png"
    }, {
      "pagePath": "pages/notice/notice",
      "text": "公告",
      "iconPath": "static/tab/notice.png",
      "selectedIconPath": "static/tab/notice-active.png"
    }, {
      "pagePath": "pages/my/my",
      "text": "我的",
      "iconPath": "static/tab/my.png",
      "selectedIconPath": "static/tab/my-active.png"
    }]
  },
2. 在App.vue中的onShow生命周期中隐藏原生tabBar
onShow: function() {
      // 隐藏原生tabbar
      uni.hideTabBar({
        animation: false
      })
      console.log('App Show')
},但发现切换的时候有时还是会出现原生tabBar,于是在每一个导航页的onShow生命周期中加上uni.hideTabBar({animation: false})来解决此问题
3. 在components下新建自定义组件文件,因为我是根据身份需要展示不同的tabBar,需建两个,这边仅展示一个为例
效果如下

文章来源:https://www.toymoban.com/news/detail-513318.html
<template>
  <view class="tabbar">
    <view class="tab" v-for="(item,index) in tabbarList" :key="index" @click="navigatorTo(item.url)">
      <!-- 判断是否有点击,如果没有就不是激活样式,点击就是激活的样式 -->
      <image class="imgsize" v-if="item.type == 0" :src="current == index ? item.selectIcon : item.icon"
        mode="widthFix"></image>
      <view :class="current == index ?'active':'text'">{{item.name}}</view>
    </view>

  </view>
</template>

<script>
  export default {
    name: "tabbar",
    props: {
      current: {
        type: Number,
        default: 0, //默认第一个页面tabbar激活
      },
    },

    data() {
      return {
        tabbarList: [{
          type: 0,
          icon: '/static/tab/home.png',
          selectIcon: '/static/tab/home-active.png',
          name: '首页',
          url: '/pages/home/home',
        }, {
          type: 0,
          icon: '/static/tab/notice.png',
          selectIcon: '/static/tab/notice-active.png',
          name: '公告',
          url: '/pages/notice/notice',
        }, {
          type: 0,
          icon: '/static/tab/my.png',
          selectIcon: '/static/tab/my-active.png',
          name: '我的',
          url: '/pages/my/my',
        }]
      };
    },
    methods: {
      navigatorTo(e) {
        uni.switchTab({
          url: e,
        })
      },
    },
  }
</script>

<style lang="scss" scoped>
  .tabbar {
    position: fixed;
    bottom: 0;
    padding-bottom: constant(safe-area-inset-bottom);
    /* 兼容 iOS<11.2 */
    padding-bottom: env(safe-area-inset-bottom);
    /* 兼容iOS>= 11.2 */
    background-color: #FFFFFF;
    width: 100%;
    z-index: 1;
    box-sizing: border-box;
    box-shadow: 0rpx 0rpx 12rpx 2rpx rgba(0, 0, 0, 0.1);
    border-radius: 30rpx 30rpx 0rpx 0rpx;
    padding-top: 12rpx;
    display: flex;
    justify-content: space-around;
    align-items: center;

    .tab {
      display: flex;
      flex-direction: column;
      align-items: center;
    }

    .imgsize {
      width: 56rpx;
      height: 56rpx;
    }

    .text {
      margin-top: 4rpx;
      padding-bottom: 12rpx;
      font-size: 20rpx;
      color: #333333;
      line-height: 20rpx;
    }

    .active {
      margin-top: 4rpx;
      padding-bottom: 12rpx;
      font-size: 20rpx;
      color: #2196F3;
      line-height: 20rpx;
    }
  }
</style>
4. 导航页中使用文章来源地址https://www.toymoban.com/news/detail-513318.html
<template>
  <view>
    <!-- 根据身份展示不同的tabBar -->
    <userbar :current="current" v-if="role===1"></userbar>
    <tabbar :current="current" v-if="role===2"></tabbar>
    </view>
</template>
<script>
  export default {
    data(){
       return {
         current:0,  // 公告页面和我的页面根据需要传入对应的索引号
      }
    },
    onShow(){
      uni.hideTabBar({
        animation: false
      })
      this.current = 0   // 公告页面和我的页面根据需要传入对应的索引号
   }
}
</script>
到了这里,关于uniapp小程序自定义tabBar,根据身份切换自定义tabBar的文章就介绍完了。如果您还想了解更多内容,请在右上角搜索TOY模板网以前的文章或继续浏览下面的相关文章,希望大家以后多多支持TOY模板网!


