1.后端比较熟悉,先说后端框架搭建
(1)创建项目,总体框架
创建项目后,自己添加包,框架如下


userController里的一些内容,只供参考,代码不全,无法实现
@RestController
@Slf4j
@RequestMapping("/user")
public class UserController {

    @Autowired
    private UserService userService;

    /**
     * 用户登录类
     */
    @PostMapping("/login")
    public R<User> login(@RequestBody User user, HttpSession session){
        // 查询数据库
        final LambdaQueryWrapper<User> queryWrapper = new LambdaQueryWrapper<>();
        queryWrapper.eq(User::getUserName, user.getUserName());
        final User user1 = userService.getOne(queryWrapper);
        // 没有根据账号找到数据
        if (user1 == null) {
            return R.error("账号不存在");
        }
        // 密码比对
        if (!user1.getUserPassword().equals(user.getUserPassword())) {
            return R.error("密码错误");
        }
        // 登陆成功,保存userID
        session.setAttribute("userName", user.getUserName());
        log.info("当前登录用户name:" + user.getUserName());

        return R.success(user1);

    }
}
(2)创建数据库
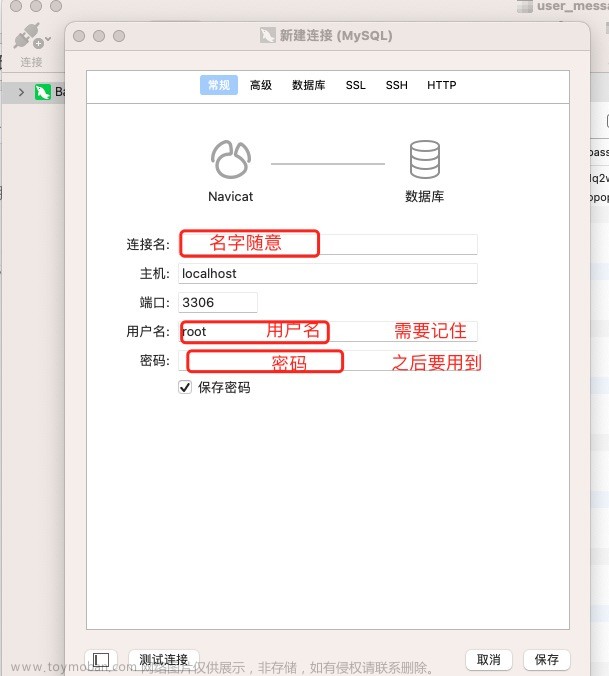
数据库是直接在社区版IDEA里连接Mysql,在控制台端创建的数据库和user表,用于数据交互。

2.Android前端
(1)前端主要框架
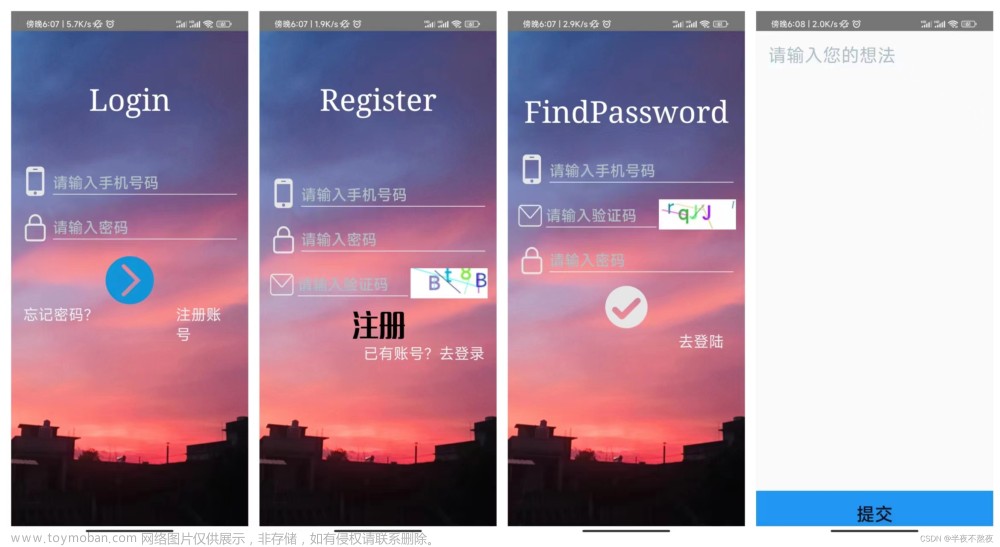
Activity包里是Activity Java类,主要响应layout包里activity_login.xml等页面布局内的按钮响应

(2)写登录功能
activity_login.xml里的内容,只参考界面布局代码即可,代码不可用
<?xml version="1.0" encoding="utf-8"?>
<LinearLayout xmlns:android="http://schemas.android.com/apk/res/android"
    xmlns:app="http://schemas.android.com/apk/res-auto"
    xmlns:tools="http://schemas.android.com/tools"
    android:layout_width="match_parent"
    android:layout_height="match_parent"
    android:layout_gravity="center"
    android:gravity="bottom|center"
    android:orientation="vertical"
    tools:context=".Activity.LoginActivity">

    <LinearLayout
        android:layout_width="match_parent"
        android:layout_height="122dp"
        android:orientation="vertical">

        <TextView
            android:id="@+id/textView"
            android:layout_width="match_parent"
            android:layout_height="80dp"
            android:gravity="bottom|center"
            android:paddingBottom="15dp"
            android:text="登录"
            android:textColor="#0E0D0B"
            android:textSize="34sp" />

    </LinearLayout>

    <LinearLayout
        android:layout_width="match_parent"
        android:layout_height="wrap_content"
        android:orientation="vertical">

        <EditText
            android:id="@+id/Username"
            android:layout_width="match_parent"
            android:layout_height="56dp"
            android:layout_marginLeft="40dp"
            android:layout_marginTop="40dp"
            android:layout_marginRight="30dp"
            android:layout_marginBottom="20dp"
            android:ems="10"
            android:gravity="bottom|center"
            android:hint="请输入用户名"
            android:inputType="textPersonName"
            android:paddingLeft="20dp"
            android:textSize="24sp" />

        <EditText
            android:id="@+id/password"
            android:layout_width="match_parent"
            android:layout_height="56dp"
            android:layout_marginLeft="40dp"
            android:layout_marginTop="25dp"
            android:layout_marginRight="30dp"
            android:layout_marginBottom="20dp"
            android:ems="10"
            android:gravity="bottom|center"
            android:hint="请输入密码"
            android:inputType="textPassword"
            android:paddingLeft="20dp"
            android:textSize="24sp"
            android:visibility="visible" />

    </LinearLayout>

    <LinearLayout
        android:layout_width="match_parent"
        android:layout_height="match_parent"
        android:orientation="vertical">

        <Button
            android:id="@+id/login"
            android:layout_width="320dp"
            android:layout_height="75dp"
            android:layout_gravity="bottom|center"
            android:layout_marginTop="30dp"
            android:text="登录"
            android:textSize="24sp" />

        <Button
            android:id="@+id/register"
            android:layout_width="320dp"
            android:layout_height="75dp"
            android:layout_gravity="bottom|center"
            android:layout_marginTop="30dp"
            android:text="注册"
            android:textSize="24sp" />
    </LinearLayout>
</LinearLayout>
LoginActivity.java
public class LoginActivity extends AppCompatActivity {
    private EditText name;
    private EditText password;

    Button login,register;  //登录、注册按钮

    @Override
    protected void onCreate(Bundle savedState){
        super.onCreate(savedState);
        setContentView(R.layout.activity_login);

        name = findViewById(R.id.Username);  //获取输入的账号
        password = findViewById(R.id.password);  //获取输入的密码
        login = findViewById(R.id.login);
        register = findViewById(R.id.register);

        login.setOnClickListener(new View.OnClickListener() {
            @Override
            public void onClick(View v) {
                String url = "http://后端部署ip地址:8080/user/login";
                String username = name.getText().toString().trim();
                String userPassword = password.getText().toString().trim();

                if(username.equals("")){
                   Toast.makeText(LoginActivity.this, "请输入用户名", Toast.LENGTH_SHORT).show();

                }else if(userPassword.equals("")){
                   Toast.makeText(LoginActivity.this, "请输入密码", Toast.LENGTH_SHORT).show();

                }else {

                    //请求传入的参数
                    JSONObject user = new JSONObject();
                    try{
                        user.put("userName",username);
                        user.put("userPassword",userPassword);
                    }catch (JSONException e){
                        e.printStackTrace();
                    }


                    OkHttpClient httpClient = new OkHttpClient();
                    MediaType type = MediaType.parse("application/json;charset=utf-8");
                    RequestBody requestBody = RequestBody.create(type,""+ user);

                    Request getRequest = new Request.Builder()
                        .url(url)
                        .post(requestBody)
                        .build();
                    Call call = httpClient.newCall(getRequest);
                    call.enqueue(new Callback() {
                        @Override
                        public void onFailure(Call call, IOException e) {

                            Log.i(TAG, "post请求失败 \n" +
                                "*********请求体,传送数据*********** \n"+
                                requestBody.toString() + "\n"+
                                "*****user里的数据***** \n"+
                                user);
                        }

                        @Override
                        public void onResponse(@NonNull Call call, @NonNull Response response) throws IOException {
                            assert response.body() != null;
                            String R = response.body().string();
                            Log.i(TAG, "okHttpPost enqueue: \n " +
                                "onResponse:"+ response.toString() +"\n " +
                                "body:" +R);
                            //将resoust转换成jsonPath 格式
//                            io.restassured.path.json.JsonPath jsonPath =io.restassured.path.json.JsonPath.from(R);
                            try {
                                JSONObject toJsonObj= new JSONObject(R);
                                if(response.code()==200 && toJsonObj.get("code").equals(1)){
                                    Intent intent = new Intent();
                                    intent.setClass(LoginActivity.this, MainActivity.class);
                                    startActivity(intent);
                                }
                                else {
                                    Looper.prepare();
                                    Toast.makeText(LoginActivity.this, toJsonObj.get("code")+"****"+toJsonObj.get("msg").toString(), Toast.LENGTH_SHORT).show();
                                    Looper.loop();
                                }
                            } catch (JSONException e) {
                                throw new RuntimeException(e);
                            }

                        }
                    });

                }
            }
        });


    }


}
3.注意踩坑
(1)后端数据库配置
建议后端代码运行时,确认数据库是否能正常连接,不只看IDEA连接数据库,更要看application.yml配置文件里的数据库
(2)Android传数据时使用的URL
建议查看后端运行的所在网络IPV4地址,即为url请求地址。我在本机上运行的后端,但是有时候电脑联网不同,IPV4地址也不同,url会变,不一致则出现请求失败的情况。文章来源:https://www.toymoban.com/news/detail-517669.html
(3)Android okhttp3网络请求框架
建议初学者仔细阅读官方文档和教程,不要在网上随意找个代码,大家的代码思路不太相同,复制别人的代码,但是又搞不懂请求流程,反而耗费时间文章来源地址https://www.toymoban.com/news/detail-517669.html
到了这里,关于Android前端+Spring Boot后端 登录功能实现的文章就介绍完了。如果您还想了解更多内容,请在右上角搜索TOY模板网以前的文章或继续浏览下面的相关文章,希望大家以后多多支持TOY模板网!

