Stable Diffusion WebUI使用python调用WD 1.4标签器(tagger),获取并处理标签tag权重

这篇具有很好参考价值的文章主要介绍了Stable Diffusion WebUI使用python调用WD 1.4标签器(tagger),获取并处理标签tag权重。希望对大家有所帮助。如果存在错误或未考虑完全的地方,请大家不吝赐教,您也可以点击"举报违法"按钮提交疑问。

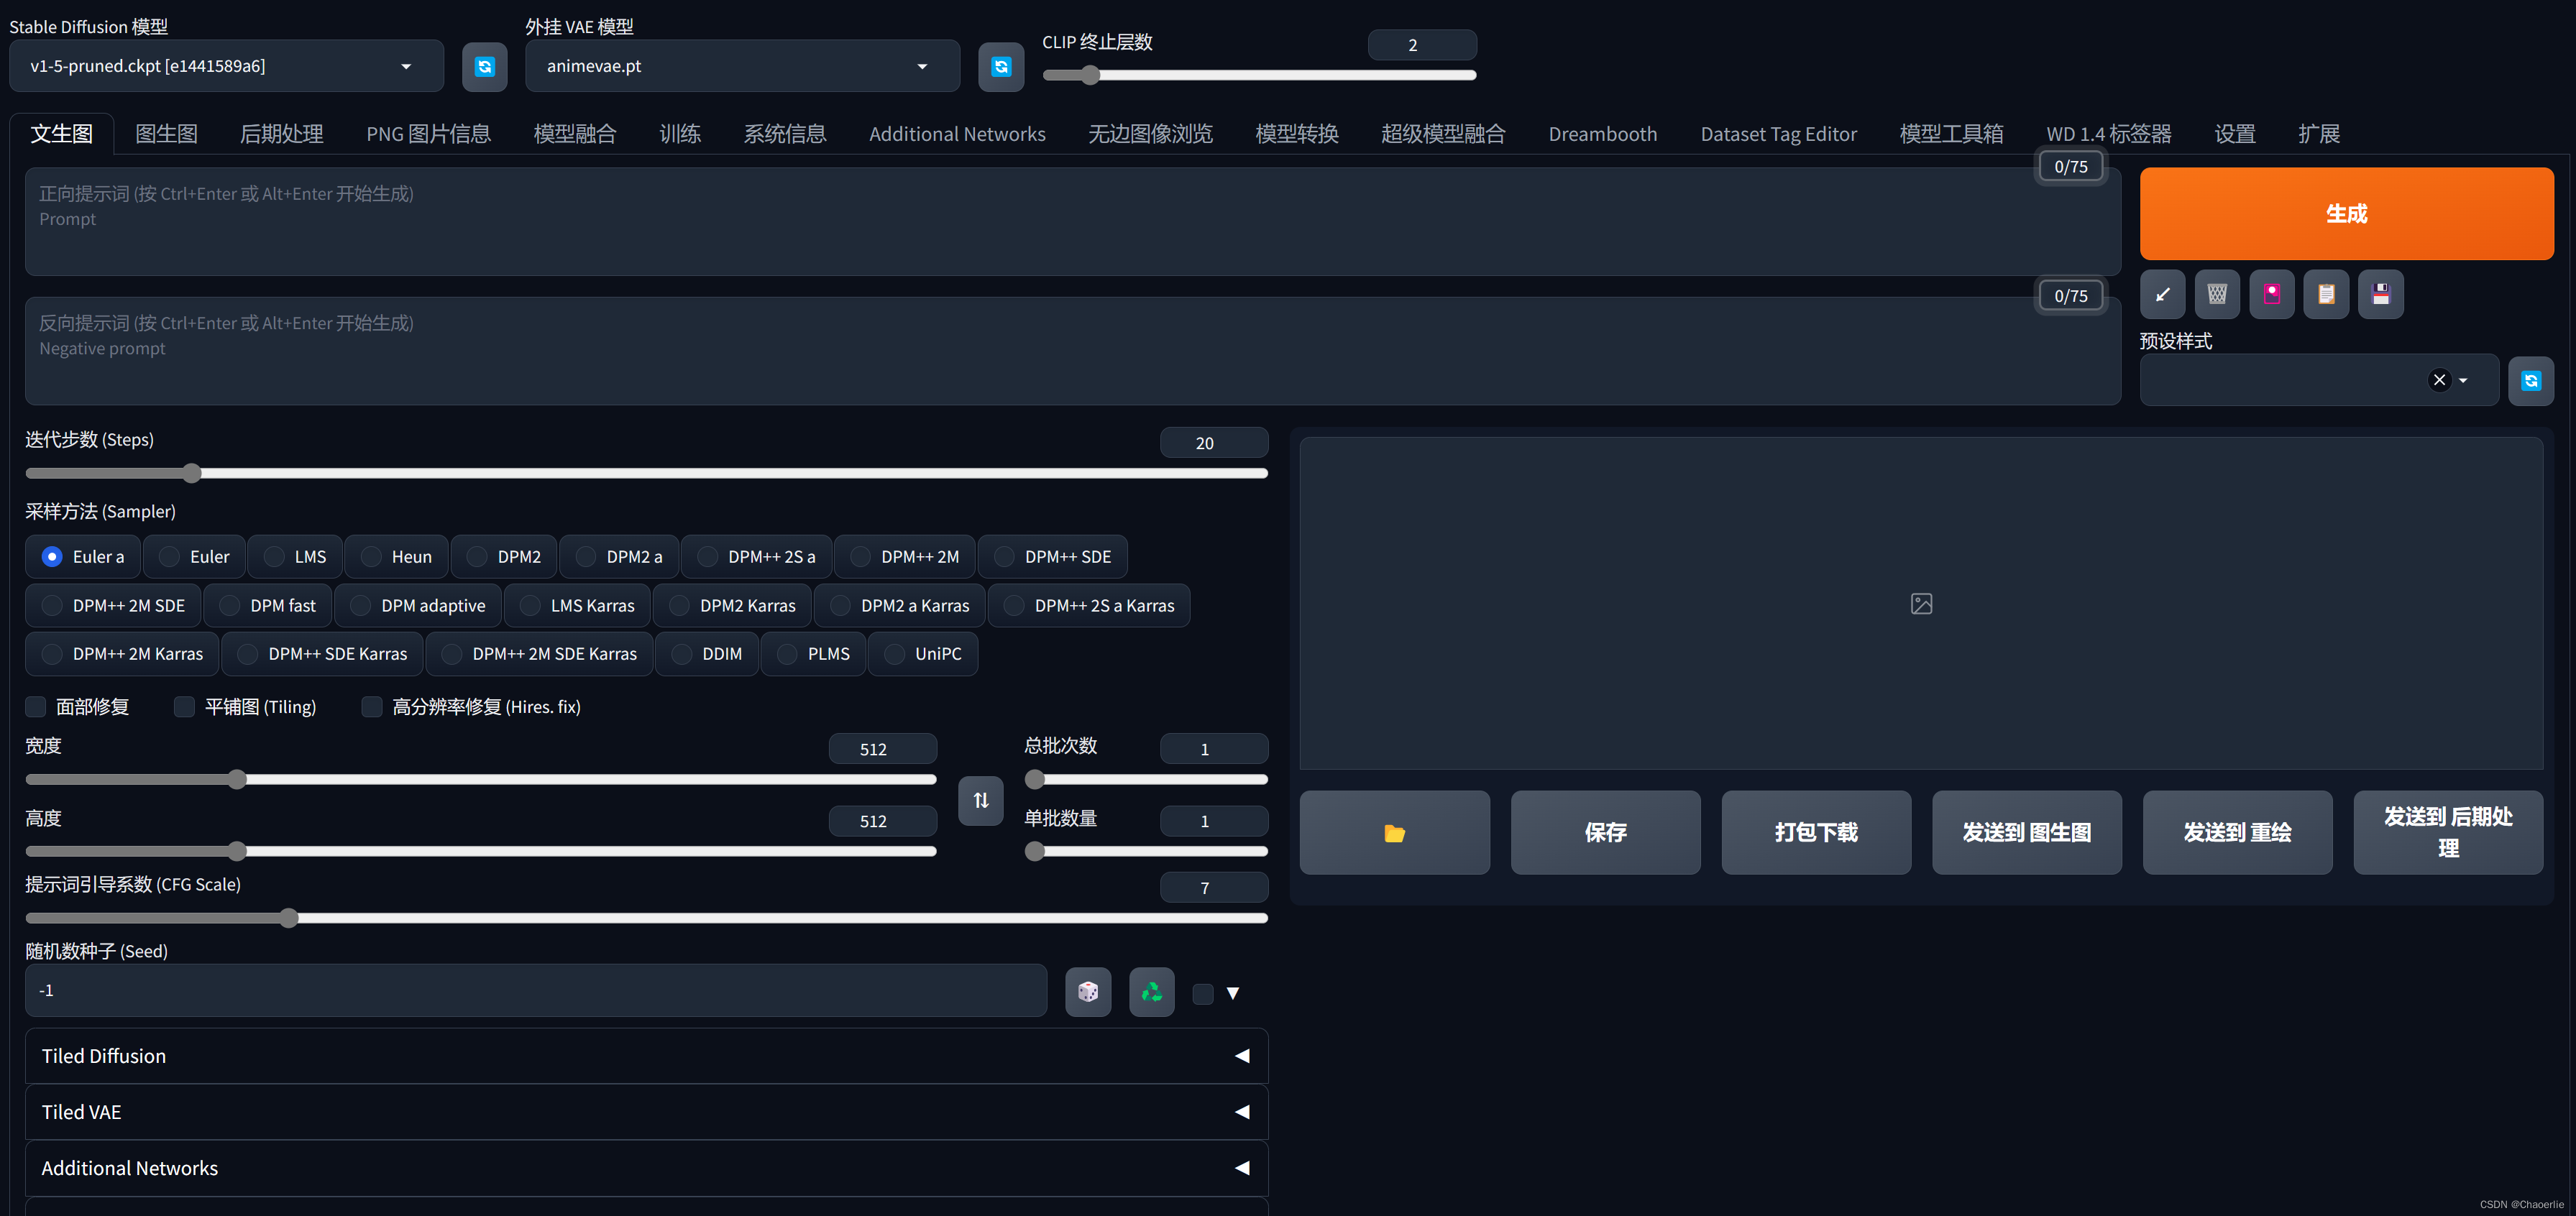
Stable Diffusion为秋叶大佬的绘世2.2.4
webUI api后台:http://127.0.0.1:7860/docs

数据获取结果,python代码在文章尾部

1girl: 0.9883618950843811, 98%
solo: 0.9468605518341064, 94%
horns: 0.9203381538391113, 92%
braid: 0.7536494731903076, 75%
brown_hair: 0.7361204624176025, 73%
sensitive: 0.7181869745254517, 71%
looking_at_viewer: 0.6558270454406738, 65%
long_hair: 0.6555134654045105, 65%
portrait: 0.5619801878929138, 56%
hair_ornament: 0.5276427268981934, 52%
lips: 0.5271897912025452, 52%
realistic: 0.47530364990234375, 47%
brown_eyes: 0.44382530450820923, 44%
fur_trim: 0.44058263301849365, 44%
red_hair: 0.4004508852958679, 40%
upper_body: 0.39194822311401367, 39%
mole: 0.35748565196990967, 35%
general: 0.2813188433647156, 28%
questionable: 0.004140794277191162, 0%
explicit: 0.0005668997764587402, 0%

使用/tagger/v1/interrogate,先使用get方法获取model模组有十多个,然后把json_data提交上去就可以了。记得把图片转码为base64。本文章仅用于测试,请仔细阅读api docs,model和threshold按照需求调整即可

Stable Diffusion WebUI使用python调用WD 1.4标签器(tagger),获取并处理标签tag权重,stable diffusion,python,数学建模
Stable Diffusion WebUI使用python调用WD 1.4标签器(tagger),获取并处理标签tag权重,stable diffusion,python,数学建模文章来源地址https://www.toymoban.com/news/detail-519400.html

import requests
import base64
from collections import OrderedDict
from PIL import Image


url = 'http://127.0.0.1:7860/tagger/v1/interrogate'
image_path = 'D:/code/image/6.jpg'
model = 'wd14-convnext'
threshold = 0.35

#确认照片为上传照片
image = Image.open(image_path)
image.show()

# 将图片转换为Base64字符串
with open(image_path, 'rb') as file:
    image_data = file.read()
    base64_image = base64.b64encode(image_data).decode('utf-8')

# 构建请求体的JSON数据
data = {
    "image": base64_image,
    "model": model,
    "threshold": threshold
}

# 发送POST请求
response = requests.post(url, json=data)

# 检查响应状态码
if response.status_code == 200:
    json_data = response.json()
    # 处理返回的JSON数据
    caption_dict = json_data['caption']
    sorted_items = sorted(caption_dict.items(), key=lambda x: x[1], reverse=True)
    output = '\n'.join([f'{k}: {v}, {int(v * 100)}%' for k, v in sorted_items])
    print(output)
 
else:
    print('Error:', response.status_code)
    print('Response body:', response.text)

到了这里,关于Stable Diffusion WebUI使用python调用WD 1.4标签器(tagger),获取并处理标签tag权重的文章就介绍完了。如果您还想了解更多内容,请在右上角搜索TOY模板网以前的文章或继续浏览下面的相关文章,希望大家以后多多支持TOY模板网!

本文来自互联网用户投稿,该文观点仅代表作者本人,不代表本站立场。本站仅提供信息存储空间服务,不拥有所有权,不承担相关法律责任。如若转载,请注明出处: 如若内容造成侵权/违法违规/事实不符,请点击违法举报进行投诉反馈,一经查实,立即删除!

领支付宝红包 赞助服务器费用

相关文章

  • stable diffusion webui 文生图(txt2img)api接口调用(使用C#)

    本次将跟读者讲一下如何通过C#请求sd webui api 【txt2img】接口,如果读者觉得文章有用,请给【点个赞】吧,有问题可以评论区提问。 启动webui时,需加上【–api】 命令以保证api接口可以被调用。如果需要设置密码,可以通过【–api-auth 账号:密码】和【–gradio-auth 账号:密码】

    2024年02月09日
    浏览(57)
  • Stable-diffusion WebUI API调用方法

    写这篇文章的主要原因是工作中需要写一个用训练好的模型批量生图的脚本,开始是想用python直接加载模型,但后来发现webui的界面中有很多用起来比较方便的插件和参数,最终改成调用WebUI接口的方式来批量生图。 Stable-diffusion的webui界面使用比较方便,但是它的api文档比较简

    2024年02月08日
    浏览(61)
  • Stable-diffusion-WebUI 的API调用(内含文生图和图生图实例)

    在之前尝试使用Diffusers库来进行stable-diffusion的接口调用以及各种插件功能实现,但发现diffusers库中各复杂功能的添加较为麻烦,而且难以实现对采样器的添加,safetensors格式模型的读取。在官网上找到了webui有专门的api接口,能够极大方便我们进行类似webui界面的api调用。 d

    2024年01月17日
    浏览(60)
  • stable diffusion webui 使用

    参考各文章以及个人操作后的记录文章,也希望能帮助有需要的人~ 首先进去大概是这样的,介绍下下图几个区域(主要是文生图)。 一、模型区域 Stable Diffusion checkpoint 下拉选择框是用来切换ckpt模型,不清楚的可以看下这篇Stable Diffusion-webUI ckpt模型、lora模型的区别和使用

    2024年02月05日
    浏览(33)
  • 【Stable Diffusion WebUI】一篇文章教你如何安装和使用Stable Diffusion WebUI

    1.1 下载 stable-diffusion-webui 1.2 运行 webui.sh 第一次卡住一般是在 Installing gfpgan ,第二次卡住一般是在 Installing open_clip . 如果卡住或者报错,就直接pip install [package] -i https://pypi.tuna.tsinghua.edu.cn/simple 然后在执行 bash webui.sh -i https://pypi.tuna.tsinghua.edu.cn/simple ,一直重复上述过程,直

    2024年02月09日
    浏览(51)
  • stable diffusion webui使用记录

    官方网址 https://github.com/AUTOMATIC1111/stable-diffusion-webui PS: 官方要求python版本3.10.6,实测python3.9.13可用 运行: 安装问题 1.GFPGAN安装失败 参考:https://blog.csdn.net/weixin_40735291/article/details/129153398 2.clip等也可能安装失败,因为我没遇到就不记录了,同上处理 这时候已经可以直接使

    2024年02月12日
    浏览(41)
  • Stable Diffusion webui安装使用

    参考: https://stability.ai/blog/stable-diffusion-public-release https://github.com/AUTOMATIC1111/stable-diffusion-webui https://mp.weixin.qq.com/s/8czNX-pXyOeFDFhs2fo7HA 1、conda创建python 3.10.6环境 conda create -n stable-diffusion python==python 3.10.6 也安装好pytorch cuda版本 ***CUDA 11.3(本机环境) conda install pytorch 1.12.1 torch

    2024年02月16日
    浏览(110)
  • stable-diffusion-webui 更换 Python 版本

    stable-diffusion-webui 推荐版本是 Python 3.10 ,如果电脑中安装了其他版本到Python,会警告推荐使用Python 3.10版本。 官方安装教程 Automatic Installation on Windows Install Python 3.10.6 (Newer version of Python does not support torch), checking “Add Python to PATH”. Install git. Download the stable-diffusion-webui reposit

    2024年02月09日
    浏览(40)
  • Stable Diffusion WebUI安装与使用

    Stable Diffusion 是免费开源的,但是参数众多,难以使用,所以有了封装的SD-WebUI.并且一直处于更新状态。 安装 使用 参考

    2024年02月12日
    浏览(41)
  • stable-diffusion-webui使用笔记

    Warning: caught exception \\\'CUDA call failed lazily at initialization with error: device = 0 device num_gpus INTERNAL ASSERT FAILED at “…/aten/src/ATen/cuda/CUDAContext.cpp”:50 答:后面还跟着很多日志,主要原因就是卡多了。 页面翻译,Tag翻译 sd-webui-bilingual-localization-main:英汉同在,可以不用。 stable-diffusion

    2024年02月16日
    浏览(39)

觉得文章有用就打赏一下文章作者

支付宝扫一扫打赏

博客赞助

微信扫一扫打赏

请作者喝杯咖啡吧~博客赞助

支付宝扫一扫领取红包,优惠每天领

二维码1

领取红包

二维码2

领红包