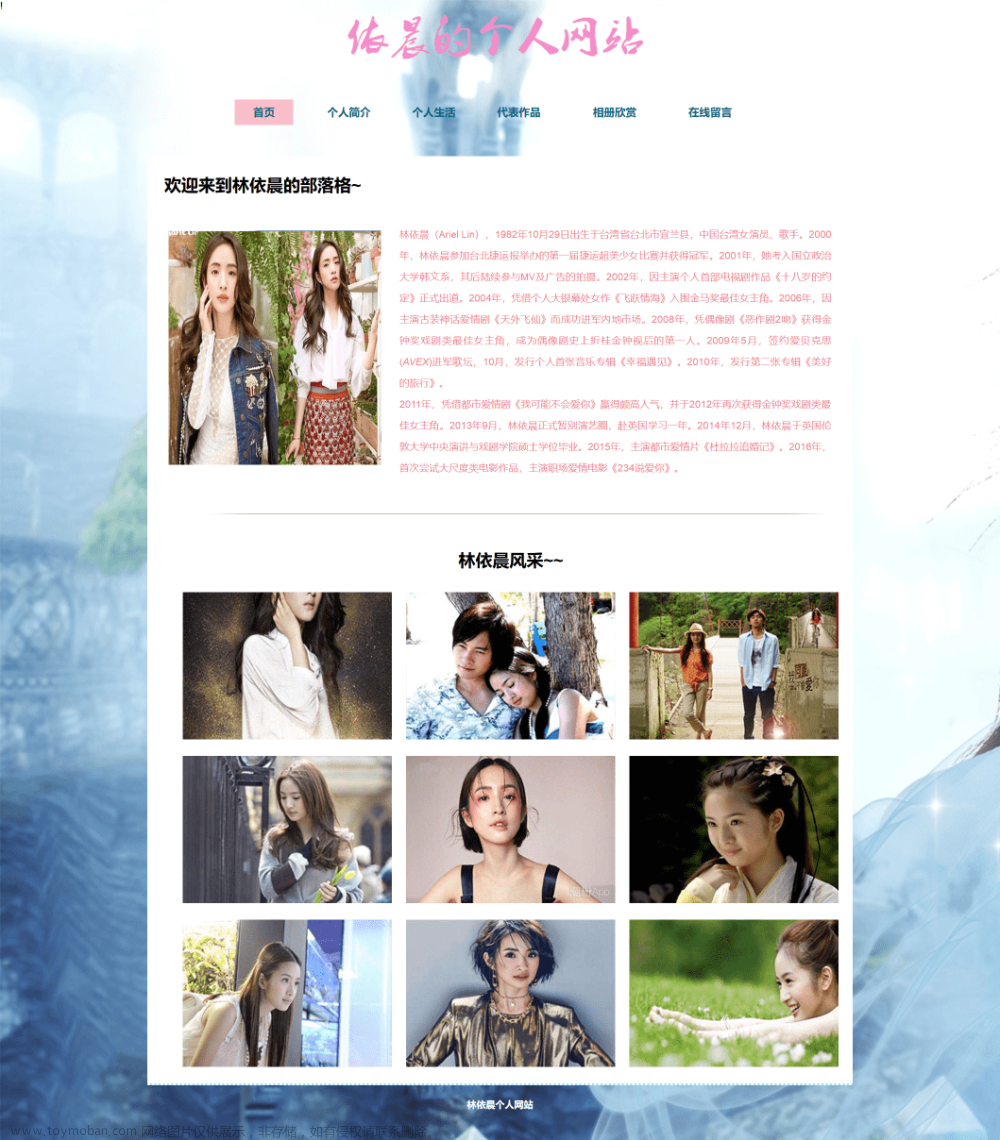
程序示例精选
Html 3D旋转相册制作
如需安装运行环境或远程调试,见文章底部微信名片,由专业技术人员远程协助!文章来源地址https://www.toymoban.com/news/detail-519667.html
前言
这篇博客针对<<Html 3D旋转相册制作>>编写代码,代码整洁,规则,易读。 学习与应用推荐首选。
文章目录
一、所需工具软件
二、使用步骤
1. 导入相片文件
2. 代码实现
3. 运行结果
三、在线协助
一、所需工具软件
1. 浏览器
2. Html代码编辑器
二、使用步骤
1.导入相片文件
将相片文件放入images文件夹:

2.代码实现
代码如下(示例):
<!DOCTYPE html>
<html>
<head lang="en">
    <meta charset="UTF-8">
    <title>3D旋转</title>
    <style type="text/css">
        *{padding: 0;
        margin: 0;}
        body,html{height:100%;}
        body{background-image: url("images/b1.png");background-size: 100% 100%;}
        #box{width: 280px;
            height: 400px;
            position: fixed;
            left: 0;
            right: 0;
            top:0;
            bottom: 0;
            margin: auto;
            transform-style: preserve-3d;
            transform: rotateX(0deg) rotateY(0deg);
            animation: go 45s linear infinite;
           }
        #box img{width: 380px;
                 height: 400px;
                 position: absolute;
                 left: 0;
                 top: 0;
                 border-radius: 55px;

        }
        #box img:nth-child(1){
            transform: rotateY(0deg) translateZ(650px);}
        #box img:nth-child(2){
            transform: rotateY(36deg) translateZ(650px);}
        #box img:nth-child(3){
            transform: rotateY(72deg) translateZ(650px);}
        #box img:nth-child(4){
            transform: rotateY(108deg) translateZ(650px);}
        #box img:nth-child(5){
            transform: rotateY(144deg) translateZ(650px);}
        #box img:nth-child(6){
            transform: rotateY(180deg) translateZ(650px);}
        #box img:nth-child(7){
            transform: rotateY(216deg) translateZ(650px);}
        #box img:nth-child(8){
            transform: rotateY(252deg) translateZ(650px);}
        #box img:nth-child(9){
            transform: rotateY(288deg) translateZ(650px);}
        #box img:nth-child(10){
            transform: rotateY(324deg) translateZ(650px);}


		}
    </style>
</head>
	<body>
		<div id="box">
		    <img src="images/1.jpg">
		    <img src="images/2.jpg">
		    <img src="images/3.jpg">
		    <img src="images/4.jpg">
		    <img src="images/5.jpg">
		    <img src="images/6.jpg">
		    <img src="images/7.jpg">
		    <img src="images/8.jpg">
		    <img src="images/9.jpg">
		    <img src="images/10.jpg">
		</div>
	</body>
</html>
3.运行结果如下:

 文章来源:https://www.toymoban.com/news/detail-519667.html
三、在线协助:
如需安装运行环境或远程调试,见文章底部微信名片,由专业技术人员远程协助!
到了这里,关于Html 3D旋转相册制作的文章就介绍完了。如果您还想了解更多内容,请在右上角搜索TOY模板网以前的文章或继续浏览下面的相关文章,希望大家以后多多支持TOY模板网!


