模型地址:https://github.com/CompVis/stable-diffusion
-
下载代码库
git clone https://github.com/CompVis/stable-diffusion.git
2.创建虚拟环境
#找到environment.yaml,注释掉最后三行,单独下载,然后将环境名字改成sd,因为之前下载过一遍,这里为了和之前的不同所以改名字。
conda env create -f environment.yaml
conda activate sd
pip3 install git+https://github.com/CompVis/taming-transformers.git@master#egg=taming-transformers
pip3 install git+https://github.com/openai/CLIP.git@main#egg=clip
pip install -e .

出现这个错误在多运行几遍同样的命令即可。。。。玄学。。。。
-
将权重文件放在对应的位置文章来源:https://www.toymoban.com/news/detail-521294.html
mkdir -p models/ldm/stable-diffusion-v1/
#从https://huggingface.co/CompVis/stable-diffusion下载预训练权重。放到stable-diffusion-v1文件中,并且命名为model.ckpt
#测试文生图指令
python scripts/txt2img.py --prompt "a photograph of an astronaut riding a horse" --plms
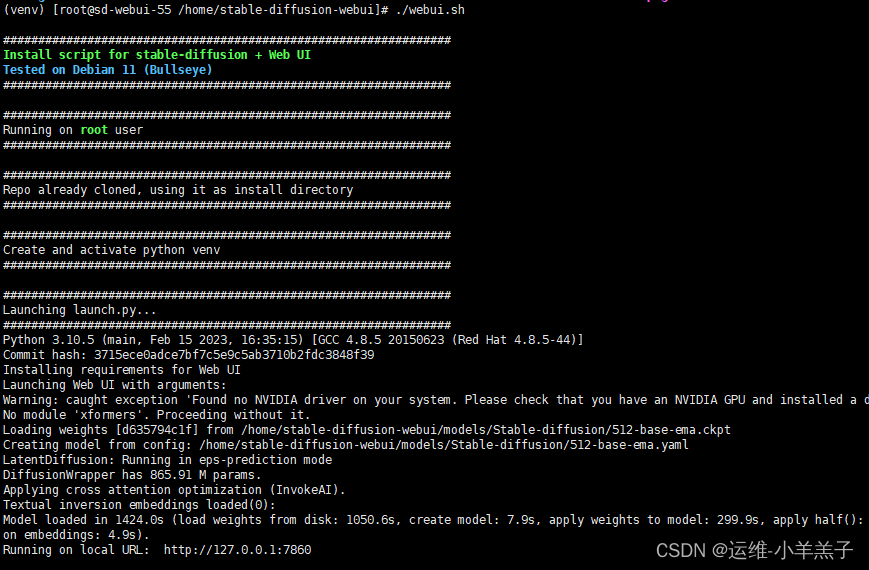
如果报错:ModuleNotFoundError: no module named “taming”,使用下面指令解决。文章来源地址https://www.toymoban.com/news/detail-521294.html
pip install taming-transformers-rom1504
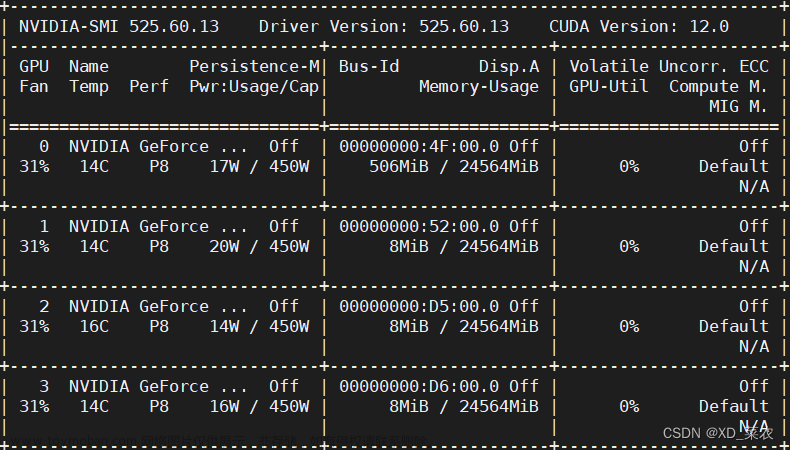
#cuda out of memory
export CUDA_LAUNCH_BLOCKING=1
师兄清理了一下gpu内存,在重复运行2遍居然就可以了?。。。。。玄学
到了这里,关于linux部署stable diffusion的文章就介绍完了。如果您还想了解更多内容,请在右上角搜索TOY模板网以前的文章或继续浏览下面的相关文章,希望大家以后多多支持TOY模板网!


