第一次接触threeJS,说实话,挺脑瓜子疼的!
功能:3D地球(纹理贴图),地球上添加标记点(经纬度),点击标记点弹出对应的信息框,地球入场动画,相机移动动画等。
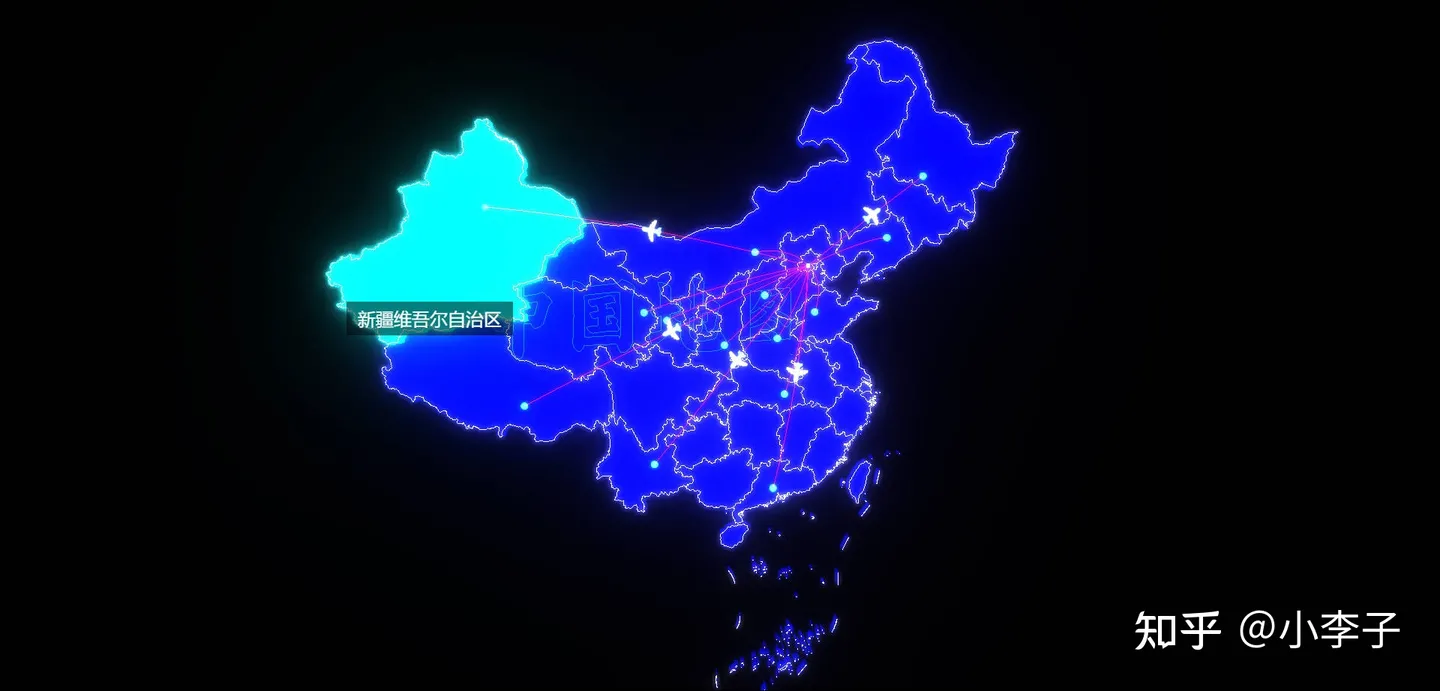
先开效果图吧

一:添加必要的依赖
yarn add three
yarn add tween
import * as THREE from "three"
import { OrbitControls } from "three/examples/jsm/controls/OrbitControls.js"
import * as TWEEN from "tween"二:组件代码
<template>
<div style="width: 100%; height: 100%;">
<div id="layerMain">
<div>{{ countryName }}</div>
<div class="shape"></div>
</div>
<div ref="mapId" style="width: 100%; height: 100%;"></div>
</div>
</template>
<script>
import * as THREE from "three"
import { OrbitControls } from "three/examples/jsm/controls/OrbitControls.js"
import * as TWEEN from "tween"
import map_img from '../../assets/images/map.jpg'
import map_wl from '../../assets/images/wl.png'
let camera, scene, controls, mesh;
let group = new THREE.Group();
let radius = 70;
let fov = 100;
export default {
name: 'index',
data () {
return {
mapDom: null,
renderer: null,
animationType: true, // 地球入场动画
rotationY: true, // 地球自动旋转
meshAnimateType: false, // 标记点动画
lonlat: { x: 0, y: 0, z: 200 },
countryName: null, // 数据
}
},
mounted () {
this.info ()
},
methods: {
// 初始化
info () {
this.infoThree ()
this.infoBall ()
this.infoRender ()
this.renderer.domElement.addEventListener("click", this.infoMouse)
},
// 基本配置
infoThree () {
// 场景
scene = new THREE.Scene()
// 渲染
this.renderer = new THREE.WebGLRenderer({
antialias: true,
})
this.mapDom = this.$refs.mapId
this.renderer.setSize(this.mapDom.clientWidth, this.mapDom.clientHeight)
this.renderer.setClearColor(0x000, 0)
this.mapDom.appendChild(this.renderer.domElement)
// 相机
camera = new THREE.PerspectiveCamera(
fov,
this.mapDom.clientWidth / this.mapDom.clientHeight,
1,
1000
)
camera.position.set(0, 0, 200)
camera.lookAt(0, 0, 0)
// 鼠标
this.infoOrbitControls()
},
// 重新渲染
infoRender() {
this.renderer.clear()
// 地球入场动画
if (this.animationType) this.ballAnimation()
// 地球旋转
if (this.rotationY) this.ballRotationY()
// 标记点动画
if (this.meshAnimateType) this.meshAnimate()
this.renderer.render(scene, camera)
requestAnimationFrame(this.infoRender)
TWEEN.update()
},
// 鼠标
infoOrbitControls() {
controls = new OrbitControls(camera, this.renderer.domElement)
controls.enableDamping = true
controls.enableZoom = true
controls.autoRotate = false
controls.autoRotateSpeed = 2
controls.enablePan = true
},
// 地球
infoBall() {
// 纹理贴图
let textureLoader = new THREE.TextureLoader();
textureLoader.load(map_img, function (texture) {
// 创建球
let geometry = new THREE.SphereGeometry(radius, 100, 100);
let material = new THREE.MeshBasicMaterial({
map: texture, //设置颜色贴图属性值
});
//网格模型对象Mesh
mesh = new THREE.Mesh(geometry, material);
// 唯一标识
mesh.name = "ballMain";
// 添加到场景中
scene.add(mesh);
});
},
// 地球入场动画
ballAnimation() {
fov -= 0.6
if (fov <= 45) {
this.animationType = false
camera.position.set(0, 0, 200)
camera.lookAt(0, 0, 0)
this.infoOrbitControls()
} else {
camera = new THREE.PerspectiveCamera(
fov,
this.mapDom.clientWidth / this.mapDom.clientHeight,
1,
1000
);
camera.position.set(0, 0, 200)
camera.lookAt(0, 0, 0)
}
},
// 地球自动旋转
ballRotationY() {
scene.rotation.y += 0.003
},
// 添加纹理标记点
infoMark(item) {
console.log(group)
let cityGeometry = new THREE.PlaneBufferGeometry(1, 1) //默认在XOY平面上
let textureLoader = new THREE.TextureLoader()
let texture = textureLoader.load(map_wl)
let cityWaveMaterial = new THREE.MeshBasicMaterial({
color: item.color,
map: texture,
transparent: true,
opacity: 0,
side: THREE.DoubleSide
})
let mesh = new THREE.Mesh(cityGeometry, cityWaveMaterial)
const coord = this.lon2xyz(radius * 1.01, item.lon, item.lat)
mesh.scale.set(2, 2, 2)
// 唯一标识
mesh.name = item.name
mesh.privateType = 'mark'
mesh.position.set(coord.x, coord.y, coord.z)
const coordVec3 = new THREE.Vector3(
coord.x,
coord.y,
coord.z
).normalize()
const meshNormal = new THREE.Vector3(0, 0, 1)
mesh.quaternion.setFromUnitVectors(meshNormal, coordVec3)
if (scene.getObjectByName(item.name) === undefined) {
group.add(mesh)
//网格模型添加到场景中
scene.add(group)
this.meshAnimateType = true
}
},
// 标记点动画
meshAnimate() {
for (let i = 0; i < group.children.length; i++) {
if (group.children[i].privateType === "mark") {
// 添加初始随机数,防止动画同步
group.children[i].material.opacity += Math.random() * 0.05
group.children[i].scale.set(
group.children[i].material.opacity + 7,
group.children[i].material.opacity + 7,
group.children[i].material.opacity + 7
)
if (group.children[i].scale.x >= 9) {
group.children[i].material.opacity = 0
}
}
}
},
// 移动相机
cameraPos (objList) {
this.frameDivClose ()
let layerObj = scene.getObjectByName(objList.name)
if (layerObj) {
scene.rotation.y = 0
this.rotationY = false
new TWEEN.Tween( { x: this.lonlat.x, y: this.lonlat.y, z: this.lonlat.z } )
.to( { x: layerObj.position.x * 2.8, y: layerObj.position.y * 2.8, z: layerObj.position.z * 2.8}, 1500 )
.onUpdate( function () {
camera.position.x = this.x
camera.position.y = this.y
camera.position.z = this.z
camera.lookAt(0, 0, 0)
})
.onComplete ( ()=> {
this.retrievalLayer (objList.name)
})
.easing(TWEEN.Easing.Sinusoidal.InOut)
.start()
this.lonlat = camera.position
// 弹窗面板赋值
this.countryName = objList.name
} else {
console.log('图层数据已被全部删除,请重新刷新界面,或者重新调用数据初始化方法: this.infoMap ()')
alert('图层数据已被全部删除,请重新刷新界面,或者重新调用数据初始化方法: this.infoMap ()')
}
},
// 检索指定的图层
retrievalLayer (name) {
let layerObj = scene.getObjectByName(name)
this.infoDiv(layerObj.position.x, layerObj.position.y, layerObj.position.z)
},
// 鼠标事件(点击标记的点的事件)
infoMouse(event) {
event.preventDefault();
const raycaster = new THREE.Raycaster();
const mouse = new THREE.Vector2();
// 通过鼠标点击位置,计算出 raycaster 所需点的位置,以屏幕为中心点,范围 -1 到 1
let getBoundingClientRect = this.mapDom.getBoundingClientRect();
mouse.x =
((event.clientX - getBoundingClientRect.left) /
this.mapDom.offsetWidth) *
2 -
1;
mouse.y =
-(
(event.clientY - getBoundingClientRect.top) /
this.mapDom.offsetHeight
) *
2 +
1;
//通过鼠标点击的位置(二维坐标)和当前相机的矩阵计算出射线位置
raycaster.setFromCamera(mouse, camera);
// 获取与射线相交的对象数组,其中的元素按照距离排序,越近的越靠前
let intersects = raycaster.intersectObjects(scene.children);
// 点击对象的处理
for (let i = 0; i < intersects.length; i++) {
if (intersects[i].object.name !== 'ballMain') {
// 弹窗面板赋值
this.countryName = intersects[i].object.name
let objList = {
name: intersects[i].object.name
}
this.cameraPos (objList)
return false
} else {
// 开启自动旋转
this.rotationY = true
this.frameDivClose ()
}
}
},
// 标签
infoDiv(pointx, pointy, pointz) {
// 坐标转换
let world_vector = new THREE.Vector3(
pointx,
pointy,
pointz
)
let vector = world_vector.project(camera)
let halfWidth = this.mapDom.offsetWidth / 2,
halfHeight = this.mapDom.offsetHeight / 2
let x = Math.round(vector.x * halfWidth + halfWidth)
let y = Math.round(-vector.y * halfHeight + halfHeight)
//创建div容器
let moonDiv = document.getElementById("layerMain")
moonDiv.style.display = "block"
moonDiv.style.left = x - 150 + "px"
moonDiv.style.top = y - 180 + "px"
},
// 关闭标签
frameDivClose() {
let divHtml = document.getElementById("layerMain")
divHtml.style.display = "none"
},
// 添加光柱
infoColumn (item) {
const material = new THREE.MeshBasicMaterial({
color: item.color,
transparent: true,
opacity: .9,
side: THREE.DoubleSide
})
const coord = this.lon2xyz(radius * 1.01, item.lon, item.lat)
const coordVec3 = new THREE.Vector3(coord.x, coord.y, coord.z).normalize()
const geometry = new THREE.CylinderGeometry(0.2, 2.8, 30)
const mesh = new THREE.Mesh(geometry, material)
mesh.name = item.name
mesh.privateType = 'column'
mesh.position.set(coord.x, coord.y, coord.z)
mesh.quaternion.setFromUnitVectors(new THREE.Vector3(0, 1, 0), coordVec3)
group.add(mesh)
scene.add(group)
},
// 删除所有标记点
delAll () {
this.frameDivClose ()
group.traverse((item) => {
if (item.type === 'Mesh') {
item.geometry.dispose()
item.material.dispose()
}
})
scene.remove(group)
// 删除group中的children
if (group.children && group.children.length > 0) {
let i = 0
for (i; i < group.children.length; i++) {
group.remove(group.children[i])
}
}
},
// 删除指定标记点
delMark (item) {
this.frameDivClose ()
let layerObj = scene.getObjectByName(item.name)
group.remove(layerObj)
},
// 经纬度转坐标
lon2xyz(R, longitude, latitude) {
const lon = (Number(longitude) + 90) * (Math.PI / 180)
const lat = Number(latitude) * (Math.PI / 180)
const x = R * Math.cos(lat) * Math.sin(lon)
const y = R * Math.sin(lat)
const z = R * Math.cos(lon) * Math.cos(lat)
return { x, y, z }
},
}
}
</script>
<style lang="scss">
#layerMain {
position: absolute;
width: 300px;
height: 160px;
line-height: 160px;
text-align: center;
color: white;
display: none;
background-color: rgba(34,34,35,.6);
.shape {
position: absolute;
margin: auto;
left: 0;
right: 0;
width: 0;
height: 0;
bottom: -40px;
border: 20px solid transparent;
border-top-color: rgba(34,34,35,.6);
}
}
</style>
三:父组件中的代码
<template>
  <div class="home">
    <div class="rightMain">
      <div class="title">跳转操作</div>
      <div class="cont">
        <ul>
          <li v-for="(item, index) in objList" @click="cameraPos(item)">{{ item.name }}</li>
        </ul>
      </div>
      <div class="title">其他操作</div>
      <div class="cont">
        <ul>
          <li @click="rotationChange">{{ rotation }}</li>
          <li @click="columnChange">添加光柱</li>
          <li @click="delAllChange">删除所有</li>
          <li @click="delMarkChange">删除美国标记点</li>
        </ul>
      </div>
      <div class="title">重置操作</div>
      <div class="cont">
        <ul>
          <li @click="reset">初始化数据</li>
        </ul>
      </div>
    </div>
    <threeIndex ref="threeMapId"></threeIndex>
  </div>
</template>

<script>
import threeIndex from '../components/three/Index'
export default {
  name: 'HomeView',
  components: {
    threeIndex
  },
  data () {
    return {
      objList: [
        { lon: 116.358976, lat: 39.803282, name: "中国", color: '#1FFBC6' },
        { lon: 139.812263, lat: 35.677294, name: "日本", color: '#A41FE8'},
        { lon: 77.198596, lat: 28.575136, name: "印度", color: '#E8BB1F' },
        { lon: -77.02238, lat: 38.900042, name: "美国", color: '#E81F56' },
        { lon: 31.266092, lat: 30.085626, name: "埃及", color: '#1FFBC6' },
        { lon: 103.813654, lat: 1.291125, name: '新加坡', color: '#E8BB1F' },
        { lon: -47.930912, lat: -15.781949, name: '巴西', color: '#A41FE8' },
        { lon: 149.130214, lat: -35.318235, name: '澳大利亚', color: '#E81F56' }
      ],
      objList_2: [
        { lon: 116.358976, lat: 39.803282, name: "中国column", color: '#1FFBC6' },
        { lon: 139.812263, lat: 35.677294, name: "日本column", color: '#A41FE8'},
        { lon: 77.198596, lat: 28.575136, name: "印度column", color: '#E8BB1F' },
        { lon: -77.02238, lat: 38.900042, name: "美国column", color: '#E81F56' },
        { lon: 31.266092, lat: 30.085626, name: "埃及column", color: '#1FFBC6' },
        { lon: 103.813654, lat: 1.291125, name: '新加坡column', color: '#E8BB1F' },
        { lon: -47.930912, lat: -15.781949, name: '巴西column', color: '#A41FE8' },
        { lon: 149.130214, lat: -35.318235, name: '澳大利亚column', color: '#E81F56' }
      ],
      rotation: '关闭旋转'
    }
  },
  mounted () {
    this.infoMap ()
  },
  methods: {
    // 重置
    reset () {
      this.infoMap ()
    },

    // 地球添加标记点
    infoMap() {
      for (let i = 0; i < this.objList.length; i++) {
        this.$refs.threeMapId.infoMark(this.objList[i]);
      }
    },

    // 移动相机
    cameraPos(item) {
      this.$refs.threeMapId.cameraPos(item);
    },

    // 开启或关闭地球自动旋转
    rotationChange () {
      this.$refs.threeMapId.rotationY = !this.$refs.threeMapId.rotationY
      this.rotation = this.$refs.threeMapId.rotationY === true?'关闭旋转':'开启旋转'
      this.$refs.threeMapId.frameDivClose()
    },

    // 添加光柱infoColumn
    columnChange () {
      for (let i = 0; i < this.objList_2.length; i++) {
        this.$refs.threeMapId.infoColumn(this.objList_2[i]);
      }
    },

    // 删除所有标记点
    delAllChange () {
      for (let i = 0; i < this.objList.length; i++) {
        this.$refs.threeMapId.delAll(this.objList[i]);
      }
      for (let i = 0; i < this.objList_2.length; i++) {
        this.$refs.threeMapId.delAll(this.objList_2[i]);
      }
    },

    // 删除指定标记点
    delMarkChange () {
      let item = {
        name: '美国'
      }
      this.$refs.threeMapId.delMark(item)
    },
  }
}
</script>

<style lang="scss">
.home {
  position: relative;
  width: 100%;
  height: 100%;
  overflow: hidden;
  background-image: url("../assets/images/back.png");
  background-size: 100% 130%;
  .rightMain {
    position: absolute;
    right: 0;
    width: 300px;
    height: 100%;
    z-index: 100;
    padding: 10px;
    box-sizing: border-box;
    color: white;
    background-color: rgba(255,255,255, .2);
    .title {
      width: 100%;
      font-size: 18px;
      font-weight: bold;
      margin-bottom: 10px;
    }
    .cont {
      height: 150px;
      ul {
        padding: 0;
        margin-bottom: 0;
        li {
          list-style: none;
          float: left;
          width: 33.33%;
          padding: 10px 0;
          text-align: center;
          cursor: pointer;
          font-size: 14px;
          &:hover {
            color: aquamarine;
          }
        }
      }
    }
  }
}
</style>
四:项目gitee地址文章来源:https://www.toymoban.com/news/detail-523294.html
mythree: 基于three的3D地球案例文章来源地址https://www.toymoban.com/news/detail-523294.html
到了这里,关于基于ThreeJS的3D地球的文章就介绍完了。如果您还想了解更多内容,请在右上角搜索TOY模板网以前的文章或继续浏览下面的相关文章,希望大家以后多多支持TOY模板网!