目录
1. 页面结构
2. 全屏方法
3. 截图方法
4. 样式代码
5. 效果截图
6. 附上完整代码
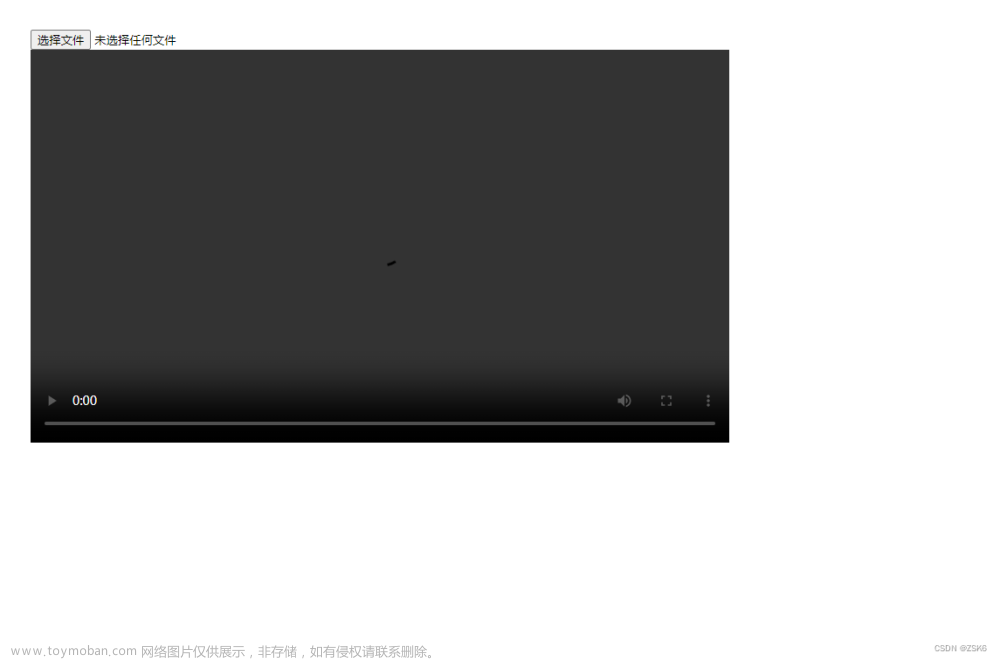
最近遇到的需求就是重新video标签的控制栏的样式,包括进度条、音量、倍速、全屏等样式,在正常状态下,可以将原生样式隐藏掉自定义新的控制栏元素定位上去,但是全屏后样式失效,出现的还是原生的控制栏。
未全屏状态下自定义控制栏的组件样式。(进度条、音量、倍速等组件全部已经重写)

全屏后,发现控制栏已经变成原生的样式
具体是f12 可以看出,自定义的组件其实还在原先的位置,全屏后的video新增的伪类和样式无法修改,

就只能改变策略,将video的父级容器全屏,再将video宽高设置100%,进而达到全屏效果,再次基础上叠加需要的控制栏的元素按钮等,实现自定义控制栏。
1. 页面结构
其中全屏实际作用于id="video-box"这个div,通过按钮控制全屏,将外层的视频容器全屏,再将内部的video元素修改宽高,进而达到全屏效果,再次基础上可以叠加我们想要的操作栏和操作按钮
 <div id="video-box">
    <button class="btn-full" @click="screen">{{ isFull ? '退出全屏' : '全屏' }}</button>
    <button class="btn-shot" @click="screenshot">截图</button>
    <video ref="video" :class="{'video': true,'full':isFull}" :src="srcVideo" controls="controls" loop/>
  </div>
下面是两个变量
 data() {
    return {
      srcVideo: require('@/assets/video/videoDemo.mp4'),
      isFull: false, // 是否全屏
    }
  },
2. 全屏方法
// 全屏
    screen() {
      const element = document.getElementById("video-box");
      this.isFull = !this.fullscreen;
      if (this.fullscreen) {
        console.log('exit');
        if (document.exitFullscreen) {
          document.exitFullscreen();
        } else if (document.webkitCancelFullScreen) {
          document.webkitCancelFullScreen();
        } else if (document.mozCancelFullScreen) {
          document.mozCancelFullScreen();
        } else if (document.msExitFullscreen) {
          document.msExitFullscreen();
        }
      } else {
        console.log('full');
        if (element.requestFullscreen) {
          element.requestFullscreen();
        } else if (element.webkitRequestFullScreen) {
          element.webkitRequestFullScreen();
        } else if (element.mozRequestFullScreen) {
          element.mozRequestFullScreen();
        } else if (element.msRequestFullscreen) {
          // IE11
          element.msRequestFullscreen();
        }
      }
      this.fullscreen = !this.fullscreen;
    },
3. 截图方法
// 截图
    screenshot() {
      const video = this.$refs.video;
      const canvas = document.createElement("canvas");
      const tempLink = document.createElement('a');
      const ctx = canvas.getContext("2d");
      canvas.width = video.videoWidth;
      canvas.height = video.videoHeight;
      ctx.drawImage(video, 0, 0, canvas.width, canvas.height);
      tempLink.href = canvas.toDataURL();
      if (typeof tempLink.download === 'undefined') {
        tempLink.setAttribute('target', '_blank');
      } else {
        tempLink.setAttribute('download', '下载.png');//自定义下载的名字,需要加上.png的后缀
      }
      document.body.appendChild(tempLink);
      tempLink.click();
      setTimeout(function () {//移除a标签
        document.body.removeChild(tempLink);
      }, 100)
    },
4. 样式代码
<style>
/*父级容器*/
#video-box {
  position: relative;
  background: antiquewhite;
  border: 1px solid red;
}

/*初始化状态video样式*/
.video {
  object-fit: cover;
  width: 700px;
}

/*全屏状态下video样式*/
.full {
  width: 100%;
  height: 100%;
}

/*隐藏全屏按钮*/
video::-webkit-media-controls-fullscreen-button {
  display: none;
}

.btn-full {
  position: absolute;
  bottom: 40px;
  right: 40%;
  z-index: 20;
}

.btn-shot {
  position: absolute;
  bottom: 40px;
  right: 45%;
  z-index: 20;
}

button {
  background: transparent;
  color: yellow;
  border: none;
  font-weight: bold;
  box-shadow: 1px 1px 5px inset #fff;
  border-radius: 2px;
}

button:hover {
  cursor: pointer;
  box-shadow: 1px 1px 5px #fff;
}

</style>
5. 效果截图
初始化状态下展示效果

点击全屏后的展示效果

点击截图效果文章来源:https://www.toymoban.com/news/detail-528457.html
 文章来源地址https://www.toymoban.com/news/detail-528457.html
6. 附上完整代码
<template>
  <div id="video-box">
    <button class="btn-full" @click="screen">{{ isFull ? '退出全屏' : '全屏' }}</button>
    <button class="btn-shot" @click="screenshot">截图</button>
    <video ref="video" :class="{'video': true,'full':isFull}" :src="srcVideo" controls="controls" loop/>
  </div>
</template>

<script>
export default {
  name: "originVideo",
  data() {
    return {
      srcVideo: require('@/assets/video/videoDemo.mp4'),
      isFull: false, // 是否全屏
    }
  },
  methods: {
    // 全屏
    screen() {
      const element = document.getElementById("video-box");
      this.isFull = !this.fullscreen;
      if (this.fullscreen) {
        console.log('exit');
        if (document.exitFullscreen) {
          document.exitFullscreen();
        } else if (document.webkitCancelFullScreen) {
          document.webkitCancelFullScreen();
        } else if (document.mozCancelFullScreen) {
          document.mozCancelFullScreen();
        } else if (document.msExitFullscreen) {
          document.msExitFullscreen();
        }
      } else {
        console.log('full');
        if (element.requestFullscreen) {
          element.requestFullscreen();
        } else if (element.webkitRequestFullScreen) {
          element.webkitRequestFullScreen();
        } else if (element.mozRequestFullScreen) {
          element.mozRequestFullScreen();
        } else if (element.msRequestFullscreen) {
          // IE11
          element.msRequestFullscreen();
        }
      }
      this.fullscreen = !this.fullscreen;
    },
    // 截图
    screenshot() {
      const video = this.$refs.video;
      const canvas = document.createElement("canvas");
      const tempLink = document.createElement('a');
      const ctx = canvas.getContext("2d");
      canvas.width = video.videoWidth;
      canvas.height = video.videoHeight;
      ctx.drawImage(video, 0, 0, canvas.width, canvas.height);
      tempLink.href = canvas.toDataURL();
      if (typeof tempLink.download === 'undefined') {
        tempLink.setAttribute('target', '_blank');
      } else {
        tempLink.setAttribute('download', '下载.png');//自定义下载的名字,需要加上.png的后缀
      }
      document.body.appendChild(tempLink);
      tempLink.click();
      setTimeout(function () {//移除a标签
        document.body.removeChild(tempLink);
      }, 100)
    },
  }
}
</script>

<style>
/*父级容器*/
#video-box {
  position: relative;
  background: antiquewhite;
  border: 1px solid red;
}

/*初始化状态video样式*/
.video {
  object-fit: cover;
  width: 700px;
}

/*全屏状态下video样式*/
.full {
  width: 100%;
  height: 100%;
}

/*隐藏全屏按钮*/
video::-webkit-media-controls-fullscreen-button {
  display: none;
}

.btn-full {
  position: absolute;
  bottom: 40px;
  right: 40%;
  z-index: 20;
}

.btn-shot {
  position: absolute;
  bottom: 40px;
  right: 45%;
  z-index: 20;
}

button {
  background: transparent;
  color: yellow;
  border: none;
  font-weight: bold;
  box-shadow: 1px 1px 5px inset #fff;
  border-radius: 2px;
}

button:hover {
  cursor: pointer;
  box-shadow: 1px 1px 5px #fff;
}

</style>
到了这里,关于video全屏操作栏自定义样式&&js 指定元素全屏&&视频截图下载的文章就介绍完了。如果您还想了解更多内容,请在右上角搜索TOY模板网以前的文章或继续浏览下面的相关文章,希望大家以后多多支持TOY模板网!


