【JavaEE】前后端综合项目-博客系统(上)
【JavaEE】前后端综合项目-博客系统(上)
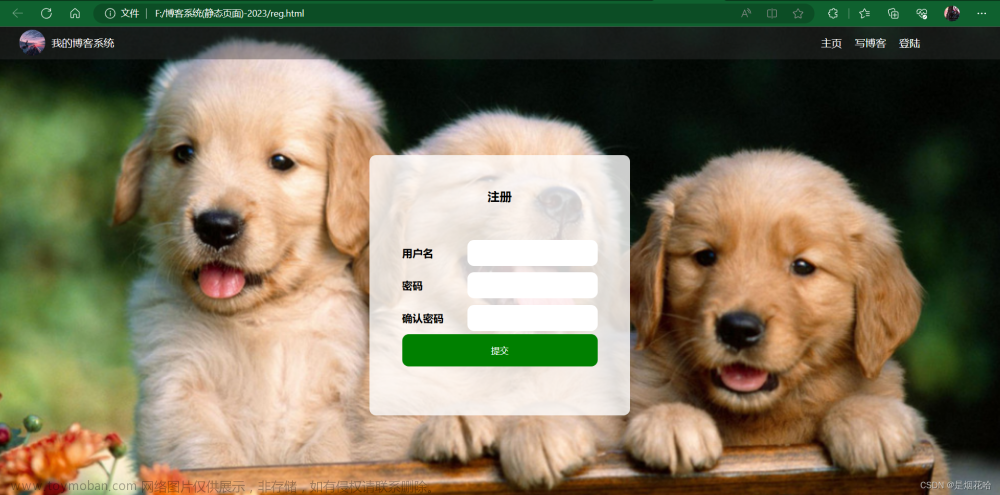
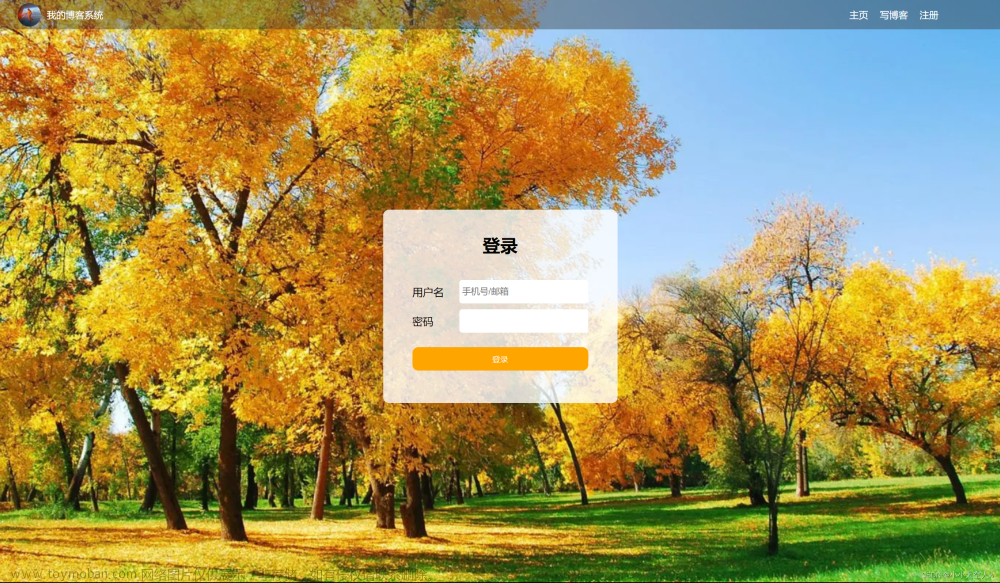
前端综合项目-个人博客网页设计_s:103的博客-CSDN博客
- 在之前的前端综合项目里,我们已经有了博客系统的前端部分
- 接下来我们将以所学的后端知识去搞定前端后端交互!
- 实现一个真正的网站!
1. 创建项目
在src的main里创建目录结构:webapp/WEB-INF/web.xml
<!DOCTYPE web-app PUBLIC
        "-//Sun Microsystems, Inc.//DTD Web Application 2.3//EN"
        "http://java.sun.com/dtd/web-app_2_3.dtd" >

<web-app>
    <display-name>Archetype Created Web Application</display-name>
</web-app>
Servlet依赖:
<!-- https://mvnrepository.com/artifact/javax.servlet/javax.servlet-api -->
<dependency>
    <groupId>javax.servlet</groupId>
    <artifactId>javax.servlet-api</artifactId>
    <version>3.1.0</version>
    <scope>provided</scope>
</dependency>
需要用到的jackson依赖:
<!-- https://mvnrepository.com/artifact/com.fasterxml.jackson.core/jackson-databind -->
<dependency>
    <groupId>com.fasterxml.jackson.core</groupId>
    <artifactId>jackson-databind</artifactId>
    <version>2.12.3</version>
</dependency>
MySQL依赖:
<!-- https://mvnrepository.com/artifact/mysql/mysql-connector-java -->
<dependency>
    <groupId>mysql</groupId>
    <artifactId>mysql-connector-java</artifactId>
    <version>5.1.49</version>
</dependency>
打war包语句:
<packaging>war</packaging>
<build>
    <finalName>showLove</finalName>
</build>
将前端部分的资源移动到webapp目录下:
2. 数据库设计
这个步骤很关键,因为这也对应着前后端信息交互的内容
设计表结构,有几个表,每个表里有啥?
最直观的就是:
博客信息:
- 博客标题
- 发布时间
- 博客内容(摘要来自内容)

用户信息:
- 用户名
- 用户密码
- 头像
所以就可以得到两种表(两个实体:博客 与 用户):
-
Blog表:
- 博客ID
- 作者ID
- 博客标题
- 正文
- 发布时间
-
User表:
- 作者ID
- 用户名
- 密码
- 头像
- 码云链接
一个用户对应多个博客(一对多),通过作者ID进行关联
不管怎么样,先这样,以后要改进,再说~
- 创建数据库
- 创建两个表
我们可以在IDEA中创建,.sql文件,去书写sql代码,方便我们的数据库操作
– 是注释哦~
这个文件也只是为了部署到别的机器上时用到的一些固定sql语句,所以要清空之前的数据(drop…if exists…)

复制到数据库即可~
- mysql不区分大小写,所以数据库名,表名变成小写也很正常~
insert into user values(null, '小马', '123456', '病人.png', 'https://gitee.com/carefree-state');
由于暂时没有注册功能,所以用户还不能直接在网站创建~
3. 数据库操作的封装
对于繁琐的数据库操作,我们通常会封装起来,方便后续的数据操作

经典的web项目结构:MVC
M => Model(与数据相关部分)
V => View(与界面相关部分)
C => Controller(联系界面和数据之间的业务逻辑)
数据库操作
- 连接
- 写入
- 读取
- 关闭
其中,对于DataSource,其实只需要一个,这也就是我们提到过的单例模式~
3.1 DataSource(单例)
博客链接:(31条消息) 【JavaEE】线程案例-单例模式 and 阻塞队列_s:103的博客-CSDN博客
//懒汉模式写法
public class DBUtil {
    private static volatile DataSource dataSource = null;

    private static DataSource getDataSource() {
        if(dataSource == null) {
            synchronized (DBUtil.class) {
                if(dataSource == null) {
                    dataSource = new MysqlDataSource();
                    ((MysqlDataSource)dataSource).setUrl("jdbc:mysql://127.0.0.1:3306/blogsystem?characterEncoding=utf8&useSSl=false");
                    ((MysqlDataSource)dataSource).setUser("root");
                    ((MysqlDataSource)dataSource).setPassword("mmsszsd666");//微信号哦,欢迎添加一起学习!
                }
            }
        }
        return dataSource;
    }
}
3.1 连接操作

- 千万别选错了,这也会导致我们的代码错误!
public static Connection getConnection() throws SQLException {
    return getDataSource().getConnection();
}
3.2 关闭操作
public static void close(Connection connection, PreparedStatement preparedStatement, ResultSet resultSet) {
    if(resultSet != null) {
        try {
            resultSet.close();
        } catch (SQLException e) {
            e.printStackTrace();
        }
    }
    if(preparedStatement != null) {
        try {
            preparedStatement.close();
        } catch (SQLException e) {
            e.printStackTrace();
        }
    }
    if(connection != null) {
        try {
            connection.close();
        } catch (SQLException e) {
            e.printStackTrace();
        }
    }
}
3.3 创建实体类
首先,先创建两个实体的实体类:Blog与User
- 这两个类的对象就相当于数据库的一条记录,并且这个类也可以用做作son的构造

public class Blog {
    private int blogId;
    private String title;
    private String content;
    private int userId;
    private Timestamp postTime;//时间戳!
}
public class User {
    int userId;
    String username;
    String password;
    String image;
    String git;
}
- 要生成getter和setter方法哦~
3.4 封装一些必要的增删改查操作

DAO ==> Data Access Object,数据访问对象,也就是说这个对象用于数据访问~
- 目前没有注册操作,所以UserDao类暂且只涉及User部分属性的查找操作~

对于用户名,可以修改:
- sql文件的好处就体现出来了
3.4.1 插入一篇博客
//插入一条Blog数据
public void insert(Blog blog) {
    Connection connection = null;
    PreparedStatement statement = null;
    try {
        connection = DBUtil.getConnection();
        String sql = "insert into blog values(null, ?, ?, ?, ?)";
        statement = connection.prepareStatement(sql);
        statement.setString(1, blog.getTitle());
        statement.setString(2, blog.getContent());
        statement.setInt(3, blog.getUserId());
        //写入数据库,可以用字符串也可以用时间戳
        statement.setTimestamp(4, blog.getPostTime());
        statement.executeUpdate();
    } catch (SQLException e) {
        e.printStackTrace();
    } finally {
        DBUtil.close(connection, statement, null);
    }
}
3.4.2 查询博客
//查询blog表中的所有数据
public List<Blog> selectAll() {
    Connection connection = null;
    PreparedStatement statement = null;
    ResultSet set = null;
    List<Blog> blogs = new ArrayList<>();
    try {
        connection = DBUtil.getConnection();
        String sql = "select * from blog";
        statement = connection.prepareStatement(sql);
        set = statement.executeQuery();
        while(set.next()) {
            Blog blog = new Blog();
            blog.setBlogId(set.getInt("blogId"));
            blog.setContent(set.getString("title"));
            blog.setUserId(set.getInt("userId"));
            blog.setPostTime(set.getTimestamp("postTime"));
            blogs.add(blog);
        }
    } catch (SQLException e) {
        e.printStackTrace();
    } finally {
        DBUtil.close(connection, statement, set);
    }
    return blogs;
}

//指定博客id查询博客
public Blog selectOne(int blogId) {
    Connection connection = null;
    PreparedStatement statement = null;
    ResultSet set = null;
    Blog blog = new Blog();
    try {
        connection = DBUtil.getConnection();
        String sql = "select * from blog where blogId = ?";
        statement = connection.prepareStatement(sql);
        statement.setInt(1, blogId);
        set = statement.executeQuery();
        if(set.next()) {
            blog.setBlogId(set.getInt("blogId"));
            blog.setContent(set.getString("content"));
            blog.setTitle(set.getString("title"));
            blog.setPostTime(set.getTimestamp("postTime"));
        }else {
            blog = null;
        }
    } catch (SQLException e) {
        e.printStackTrace();
    } finally {
        DBUtil.close(connection, statement, set);
    }
    return blog;
}
3.4.3 删除博客
//指定博客id删除博客
public void delete(int blogId) {
    Connection connection = null;
    PreparedStatement statement = null;
    try {
        connection = DBUtil.getConnection();
        String sql = "delete from blog where blogId = ?";
        statement = connection.prepareStatement(sql);
        statement.setInt(1, blogId);
        statement.executeUpdate();
    } catch (SQLException e) {
        e.printStackTrace();
    } finally {
        DBUtil.close(connection,statement, null);
    }
}
3.4.4 查找用户
//通过Id查找
public User selectUserById(int userId) {
    Connection connection = null;
    PreparedStatement statement = null;
    ResultSet set = null;
    User user = new User();
    try {
        connection = DBUtil.getConnection();
        String sql = "select * from user where userId = ?";
        statement = connection.prepareStatement(sql);
        statement.setInt(1, userId);
        set = statement.executeQuery();
        if(set.next()) {
            user.setUserId(set.getInt("userId"));
            user.setPassword(set.getString("password"));
            user.setUsername(set.getString("username"));
            user.setGit(set.getString("git"));
            user.setImage(set.getString("image"));
        }else {
            user = null;
        }
    } catch (SQLException e) {
        e.printStackTrace();
    } finally {
        DBUtil.close(connection, statement, set);
    }
    return user;
}
//通过用户名查找
//用户名是唯一的,但是昵称不唯一,对于昵称,暂时不加入
public User selectUserByName(String username) {
    Connection connection = null;
    PreparedStatement statement = null;
    ResultSet set = null;
    User user = new User();
    try {
        connection = DBUtil.getConnection();
        String sql = "select * from user where username = ?";
        statement = connection.prepareStatement(sql);
        statement.setString(1, username);
        set = statement.executeQuery();
        if(set.next()) {
            user.setUserId(set.getInt("userId"));
            user.setPassword(set.getString("password"));
            user.setUsername(set.getString("username"));
            user.setGit(set.getString("git"));
            user.setImage(set.getString("image"));
        }else {
            user = null;
        }
    } catch (SQLException e) {
        e.printStackTrace();
    } finally {
        DBUtil.close(connection, statement, set);
    }
    return user;
}
4. 前后端交互逻辑
4.1 博客列表页

- 要求:把所有博客查询出来排列
- 约定前后端交互接口
- 写后端代码
- 写前端代码
3.1.1 约定前后端交互接口
请求:GET请求
向谁请求:/blog
响应:json格式
- 注意要与我们的类的属性名一一对应!
[
    {
        blogId:xxx,
        title:xxx,
        content:xxx,
        userId:xxx,
        postTime:xxx
    },
    {
        ...
    },
    {
        ...
    }
]
3.1.2 后端代码

@WebServlet("/blog")
public class BlogServlet extends HttpServlet {


}
@WebServlet("/blog")
public class BlogServlet extends HttpServlet {

    ObjectMapper objectMapper = new ObjectMapper();
    @Override
    protected void doGet(HttpServletRequest req, HttpServletResponse resp) throws ServletException, IOException {
        BlogDao blogDao = new BlogDao();
        List<Blog> blogList = blogDao.selectAll();
        String respString = objectMapper.writeValueAsString(blogList;
        resp.setContentType("application/json; charset=utf8");
        resp.getWriter().write(respString);
    }
}
3.1.3 前端代码
-
构造ajax请求,按照上述约定,发送请求

-
一篇博客我们原本是写死的,所以删掉,留下一个作为参照:

- 根据这个参照,去书写前端代码

- 跳转连接,用到了query string的技巧,区分不同的博客

- 目前数据库无数据
- 我们可以自己手动在数据库内添加
insert into blog values(null, "我的第一篇博客", "博客正文", 1, "2023-07-07 12:00:00");
insert into blog values(null, "我的第二篇博客", "博客正文", 1, "2023-07-07 13:00:00");
insert into blog values(null, "我的第三篇博客", "博客正文", 1, "2023-07-07 14:00:00");
insert into blog values(null, "我的第四篇博客", "博客正文", 1, "2023-07-07 15:00:00");
- 刷新页面

- 接下来就是我们要处理的问题了
- 按照实际情况,最新发布的应该放在最前面~
- 这个只需要在查询的时候,按照时间逆序就行了


- 时间应该是格式化时间而不是时间戳~
此处我们用jackson去获得的json字符串,我们要求类的属性是public,而这里是private,原因是其是用了getter和setter
- 所以我们只需要让getter去获取时间的时候,获取到的是格式化时间即可
- 在之前的学习我们知道
- jdbc填入数据库date数据的时候,可以是字符串也可以说时间戳
- 但是jdbc读取出来date数据的时候,只有时间戳


你可能发现了,与之前不一样的是,我对博客列表显示的优化:
- 博客列表应该显示的是摘要,而不是正文
- 规定:摘要为正文的前100个字~
由于selectAll只在列表页用到,所以无需返回给前端全部的正文~
- 所以可以这样:

- 现在我们更改博客正文到一定大小:
update blog set content = '我嘛就不用多说了,大大的眼睛,长长的头发,白皙的皮肤,超真宗的万人迷咳咳,好吧,我就不自夸了。总之我最大的一个特点就是活泼,文静。在大厅广众面前,我是一个活跃分子,但在自己的自由王国里,我又安静的可以坐上几个钟头。大年十三夜,全家人尽情欢乐一天,便睡了,我就一个人独自躺在床上。在这宁静的晚上,我可以静静的思考过去一年自己走过的路,回忆那些可以称得上留下一段美好回忆的时光,展望新一年自己即将踏上的征途。在周末或星期天,我总爱一个人坐在书房里静静地看书,让自己沉浸在书的海洋里。但看完书后我又开始自娱自乐了。这样的我是不是很可爱呢?可爱中又带一点小俏皮,你们是不是很想和我做朋友呢?是的话就让我们一起来说友谊万岁吧!!' where userId = 1;
效果:

4.2 博客详情页
4.2.1 约定前后端交互接口
与列表页不同的是,这里需要完整的一篇正文,不需要所有的
请求:GET
向谁请求:/blog
- 这不是冲突了吗?
- 并没有,我们可以GET请求的地址,来区分,因为详情页的地址,是包含query string的所以有query string代表是详情页,没有则代表是列表页~
- query string包含的数据就是blogId,对应特别的博客
响应:json格式
{
    ...
}
4.2.2 后端代码

4.2.3 前端代码
参考:
- 记得导入jquery

function getBlog() {
    jQuery.ajax({
        type: "GET",
        url: "blog" + location.search,
        sucecss: function (body) {
            var aTitle = jQuery("<h3></h3>");
            aTitle.text(blog.title);
            var aDate = jQuery("<div></div>");
            aDate.attr("class", "date");
            aDate.text(blog.postTime);
            var aContent = jQuery("<div></div>");
            aContent.attr("class", "content");
            var aP = jQuery("<p></p>");
            aP.text(blog.content);
            aContent.append(aP);
            aTitle.append(jQuery(".article"));
            aDate.append(jQuery(".article"));
            aContent.append(jQuery(".article"));
        },
    });
}
getBlog();
- 注意,页面的query string是html?blogId=xxx,而后端要获得的query string要的是blog?blogId=xxx,所以发送请求的时候要把信息“带上”(location.search)

问题接踵而至,一篇博客应该是格式丰富的,而不是纯文字~
- 而我们经常用markdown渲染后的样式!
4.2.4 渲染markdown
- 我们直接借助editor.md这个库即可~
editormd.markdownToHTML
- 去博客编辑页拿对应的markdown依赖
<link rel="stylesheet" href="editor.md/css/editormd.min.css" />
<script src="editor.md/lib/marked.min.js"></script>
<script src="editor.md/lib/prettify.min.js"></script>
<script src="editor.md/editormd.js"></script>
- 生成html的元素id
- 一个对象{markdown: body.content}
function getBlog() {
    jQuery.ajax({
        type: "GET",
        url: "blog" + location.search,
        success: function (body) {
            jQuery(".article h3").text(body.title);
            jQuery(".article .date").text(body.postTime);
            editormd.markdownToHTML("pc", { markdown: body.content });
        },
    });
}
getBlog();

接下来我在数据库中插入一段markdown代码为正文的博客:
insert into blog values(null, "博客系统", "# 【JavaEE】前后端综合项目-博客系统

 [前端综合项目-个人博客网页设计_s:103的博客-CSDN博客](https://blog.csdn.net/Carefree_State/article/details/130744723?spm=1001.2014.3001.5501)

*   在之前的前端综合项目里,我们已经有了博客系统的前端部分
*   接下来我们将以所学的后端知识去搞定前端后端交互!
*   实现一个真正的网站!

", 1, "2023-07-07 20:00:00");

- 对于手动输入数据库,还是很难使其正确显示的
为了防止文章过长,博客登录页和编辑页以及其他留到下一篇文章~
文章到此结束!谢谢观看
可以叫我 小马,我可能写的不好或者有错误,但是一起加油鸭🦆!这是本文代码位置!文章来源:https://www.toymoban.com/news/detail-530652.html
BlogSystem · 游离态/马拉圈2023年7月 - 码云 - 开源中国 (gitee.com)文章来源地址https://www.toymoban.com/news/detail-530652.html
到了这里,关于【JavaEE】前后端综合项目-博客系统(上)的文章就介绍完了。如果您还想了解更多内容,请在右上角搜索TOY模板网以前的文章或继续浏览下面的相关文章,希望大家以后多多支持TOY模板网!


