Windows10+Intel显卡+CPU本地部署stable-diffusion-webui项目
1、安装环境
- 在电脑上安装好Anaconda,下载地址:
https://repo.anaconda.com/archive/,根据自己的电脑选取最新版本进行安装即可。 - 安装好Anaconda后,启动Anaconda Navigator工具,创建新的环境,注意python的版本,我用的是python=3.9.0
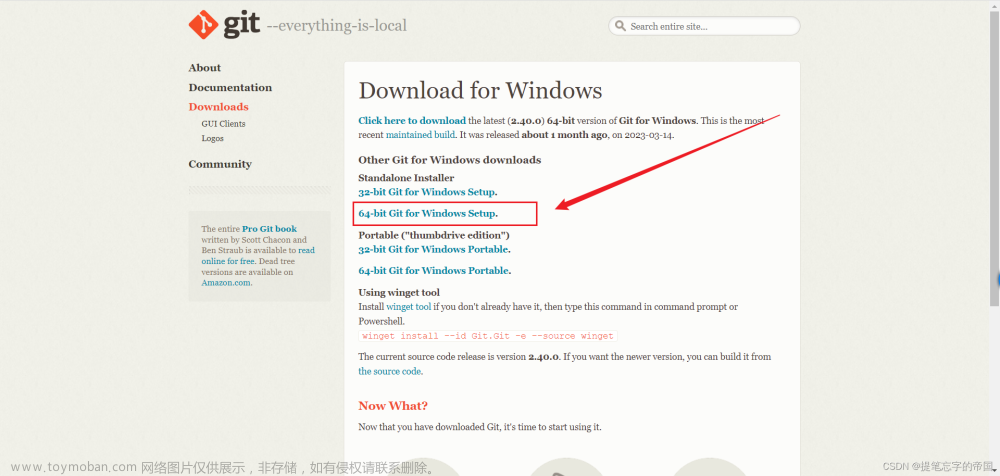
- 电脑上要安装好git工具,因为stable-diffusion-webui项目是放在github上托管的
2、从githut上拉取stable-diffusion-webui项目
- 在存放stable-diffusion-webui源码的目录下从github上拉取代码:
https://github.com/AUTOMATIC1111/stable-diffusion-webui.git
3、修改源码
- 在源码的目录,打开launch.py文件,找到
commandline_args = os.environ.get('COMMANDLINE_ARGS', ""),然后更新为commandline_args = os.environ.get('COMMANDLINE_ARGS', "--skip-torch-cuda-test"),意思是在启动时跳过cuda的检查 - 在源码的目录,进入到
~stable-diffusion-webui\repositories\stable-diffusion-stability-ai\ldm\models\diffusion\这个目录,打开ddim.py文件,找到device=torch.device("cuda"),然后更新为device=torch.device("cpu")
4、启动webui
- 执行启动命令
webui.bat --no-half --precision full
文章来源地址https://www.toymoban.com/news/detail-531467.html
文章来源:https://www.toymoban.com/news/detail-531467.html
到了这里,关于Windows10+Intel显卡+CPU本地部署stable-diffusion-webui项目的文章就介绍完了。如果您还想了解更多内容,请在右上角搜索TOY模板网以前的文章或继续浏览下面的相关文章,希望大家以后多多支持TOY模板网!


![[llama懒人包]ChatGPT本地下位替代llama-7b,支持全平台显卡/CPU运行](https://imgs.yssmx.com/Uploads/2024/02/521746-1.png)


