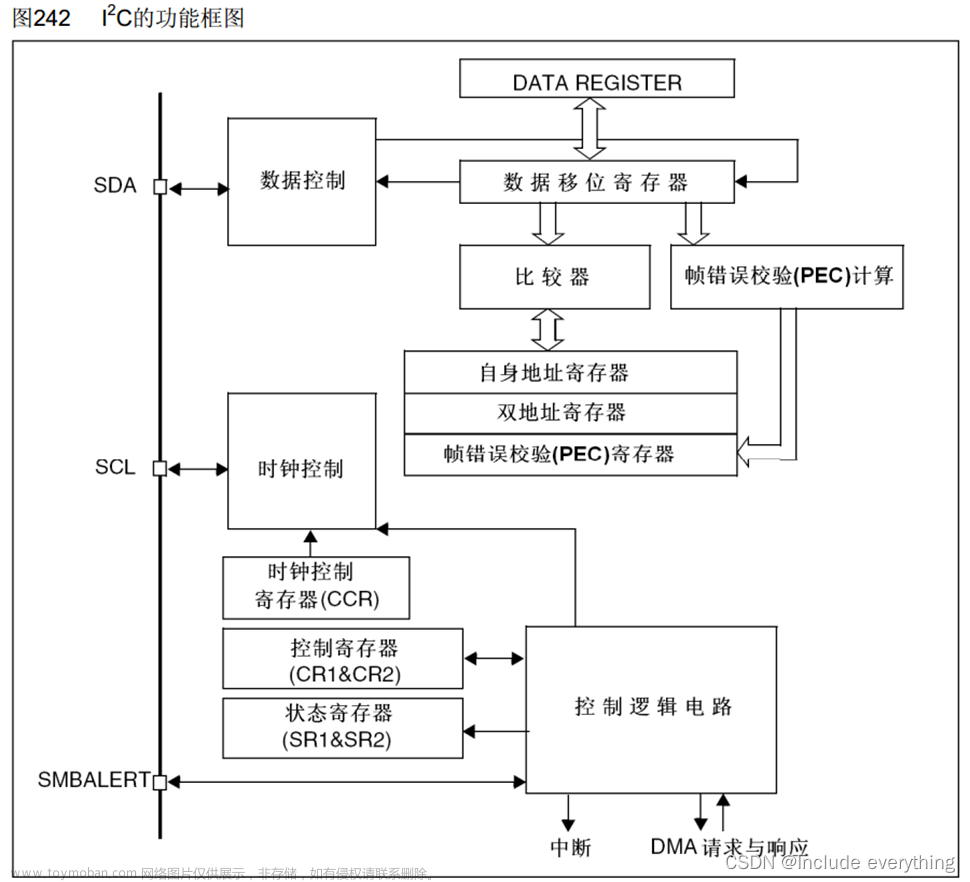
写的不好,还望大家指正,有的地方引用了一下大佬的代码。
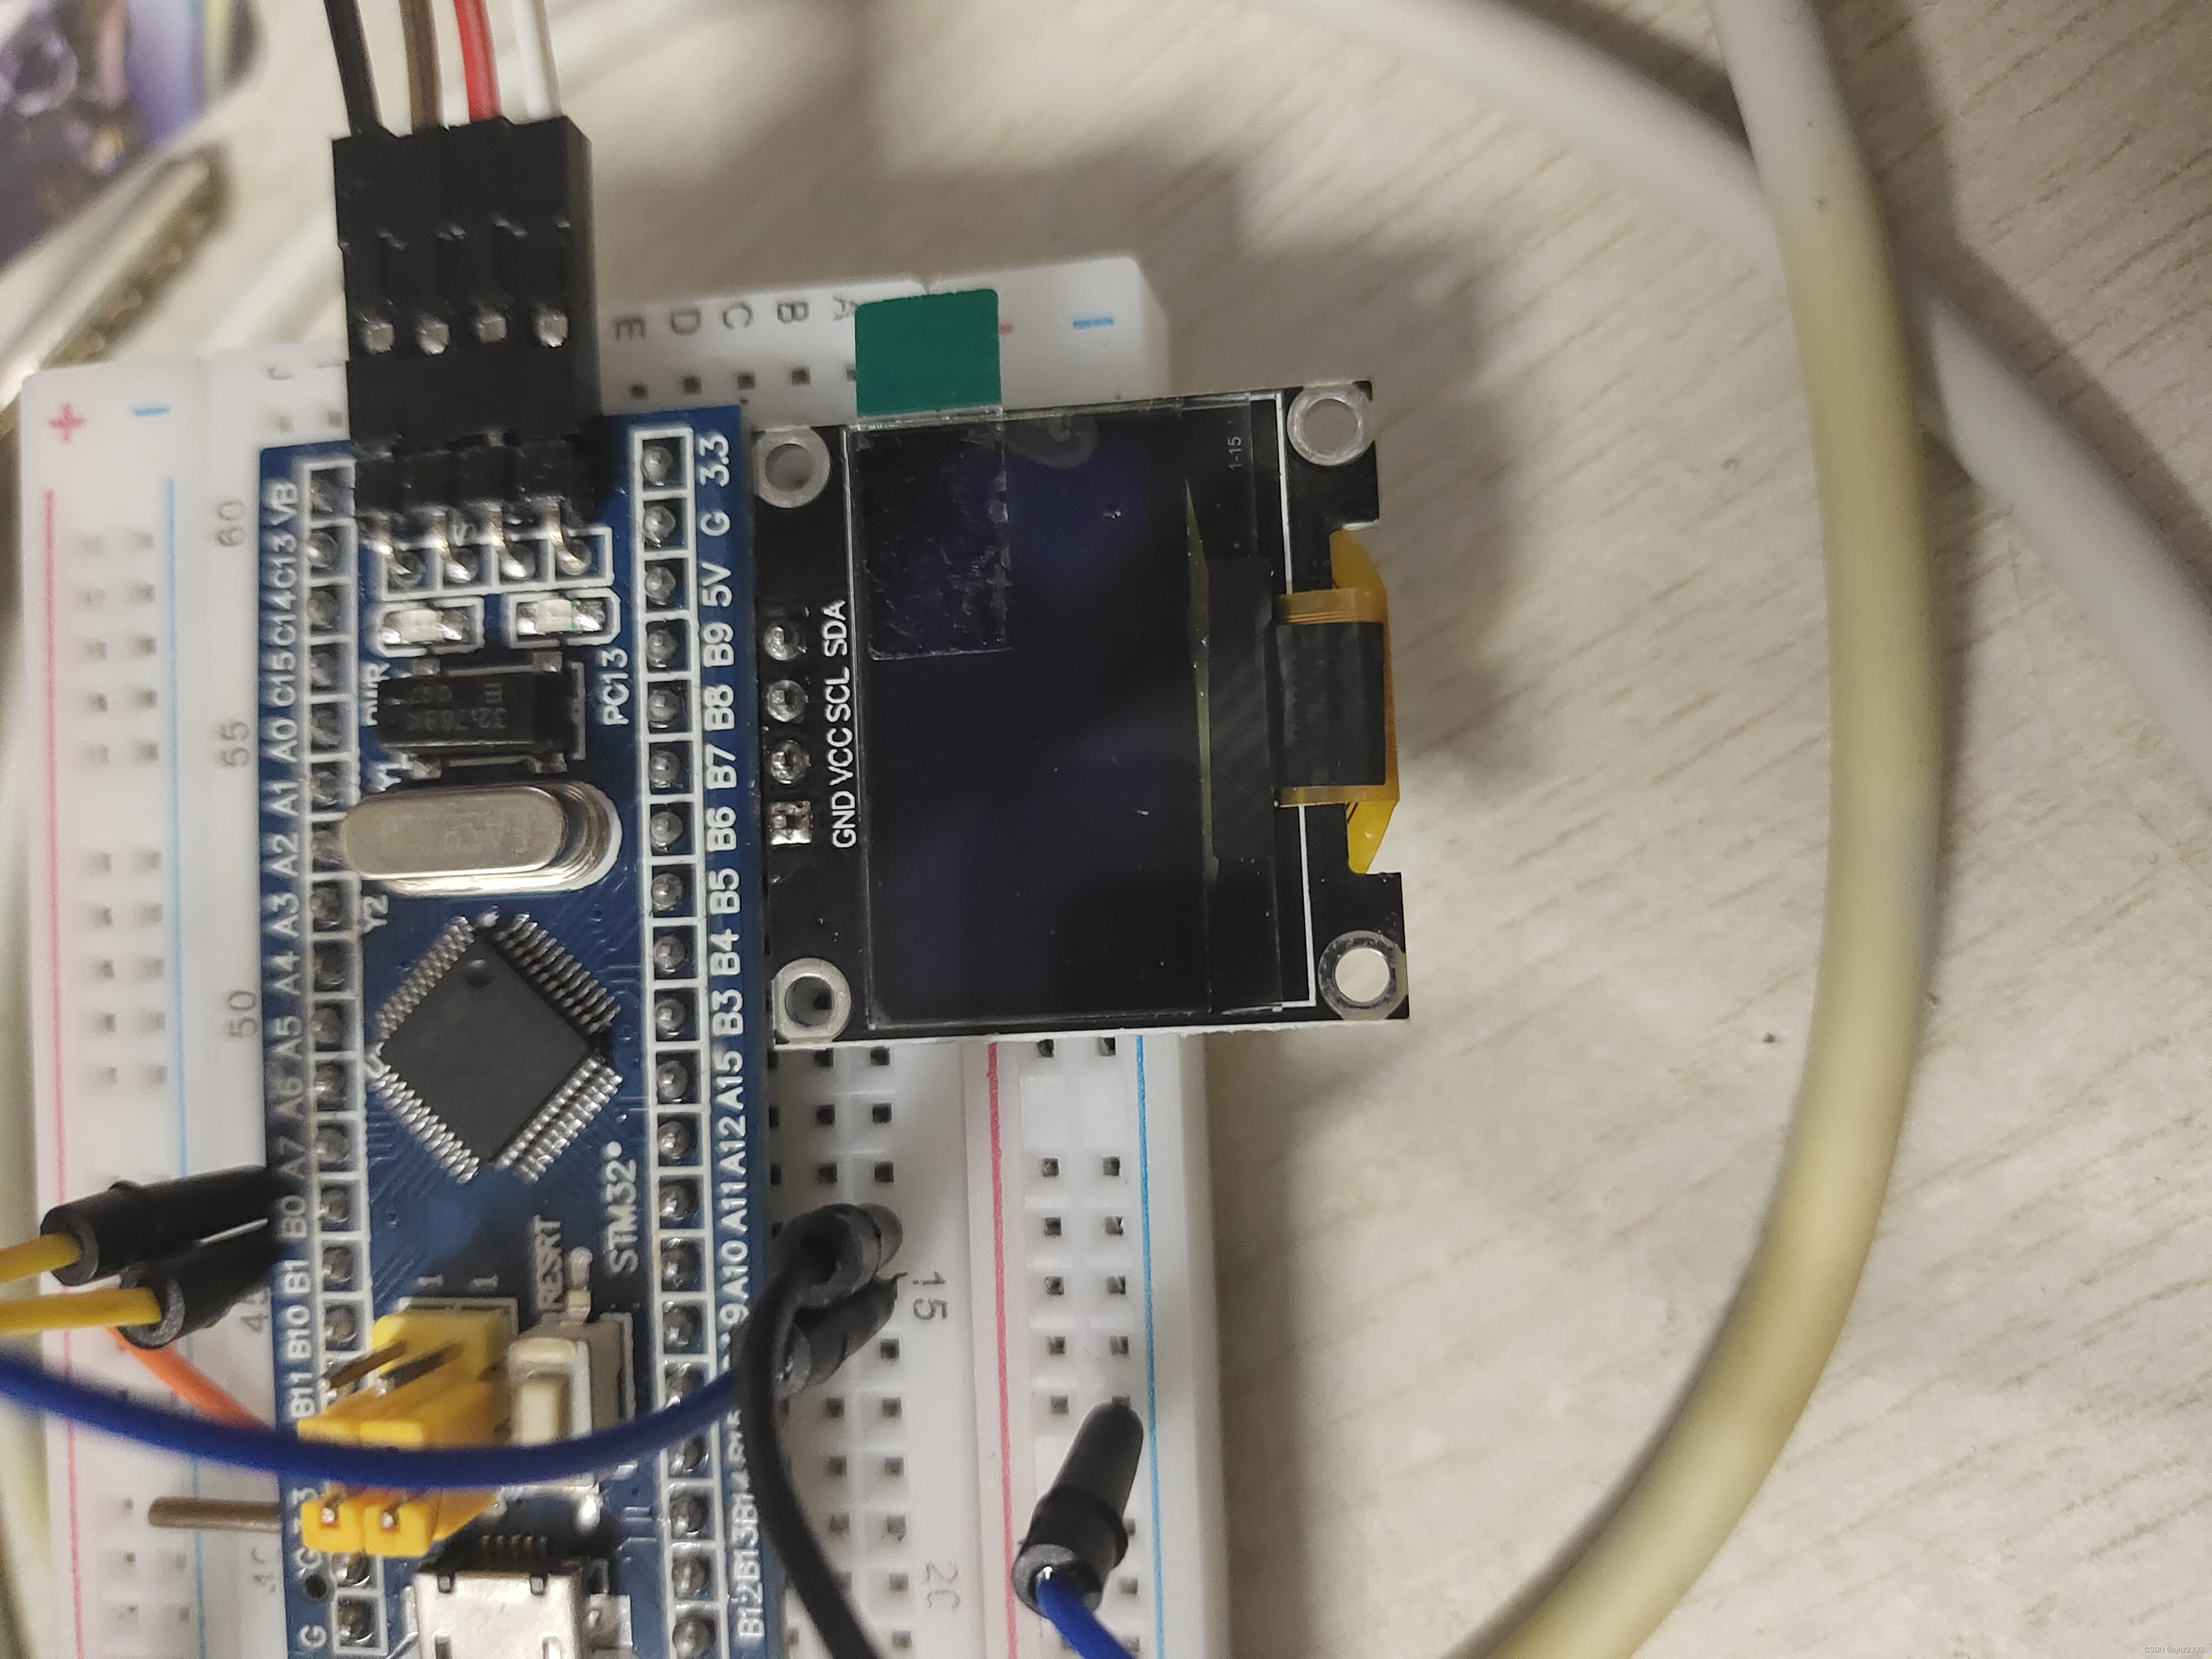
一、所需硬件:
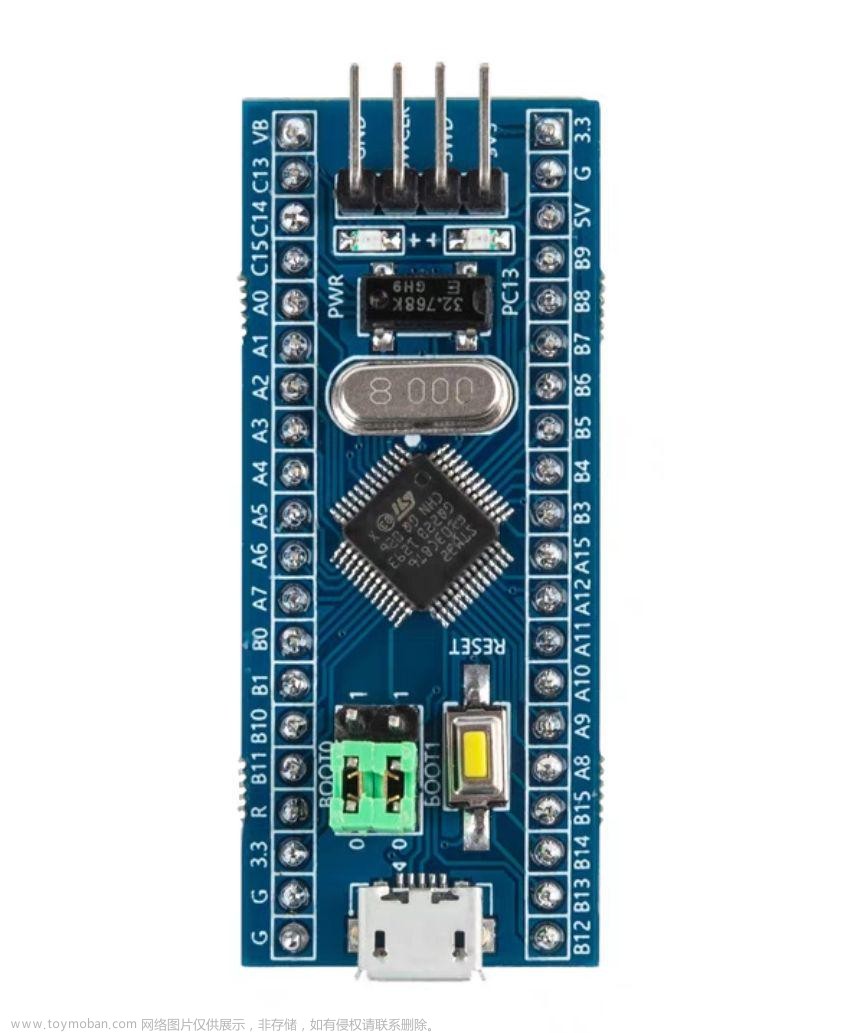
STM32F103C8T6
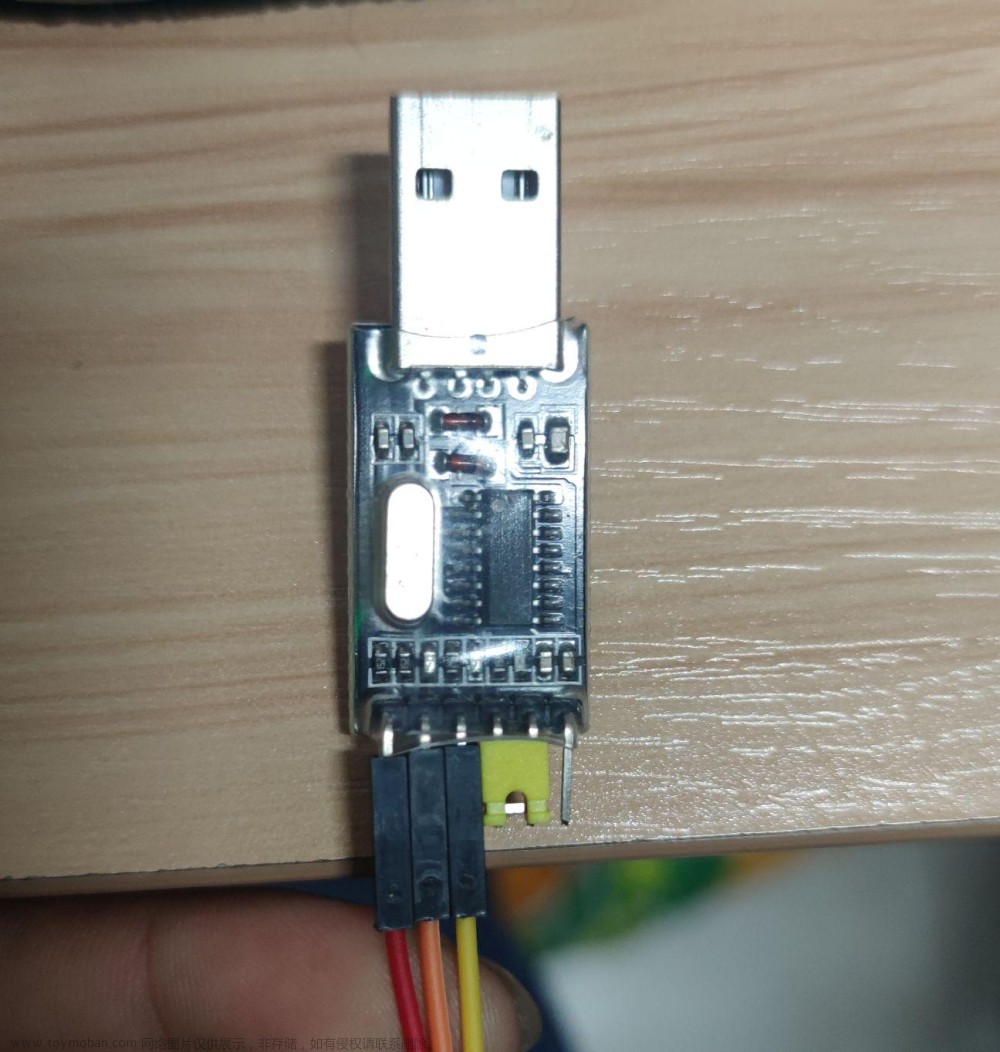
USB转串口模块
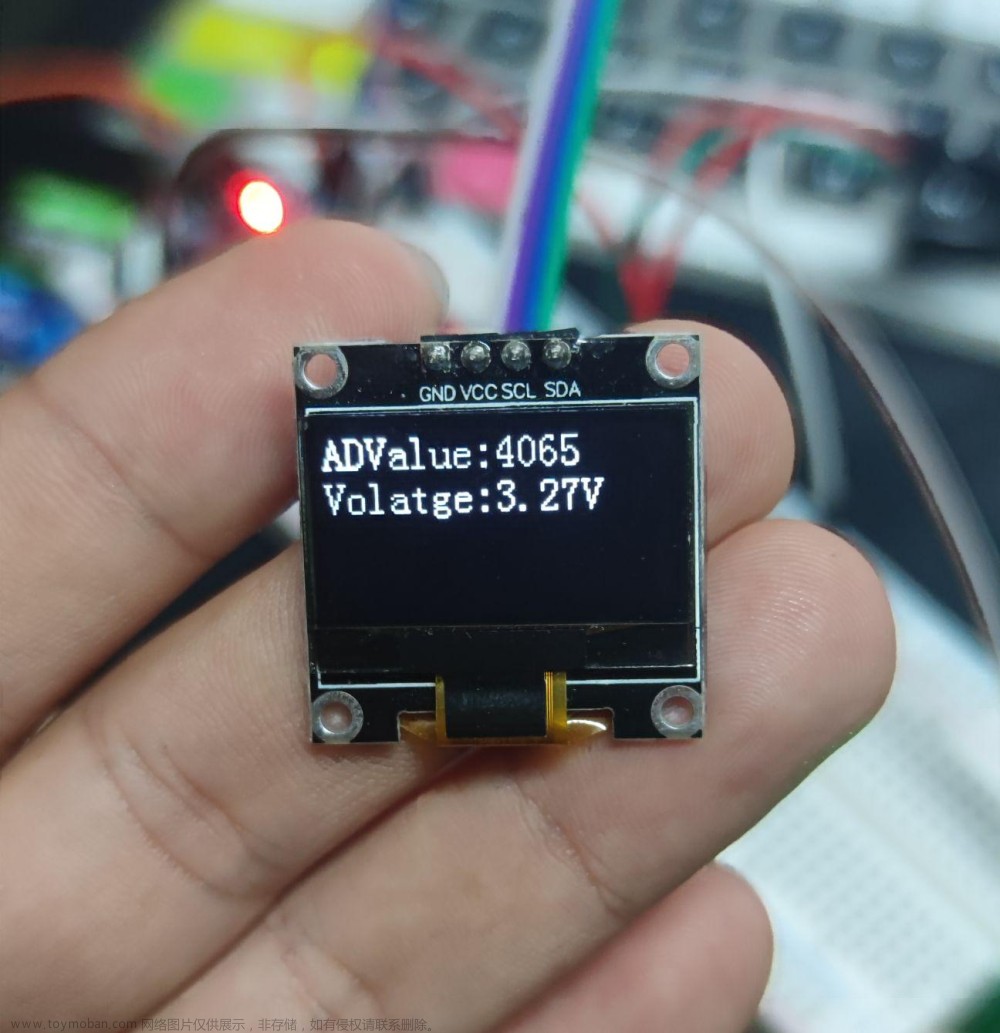
OLED 128*64显示屏
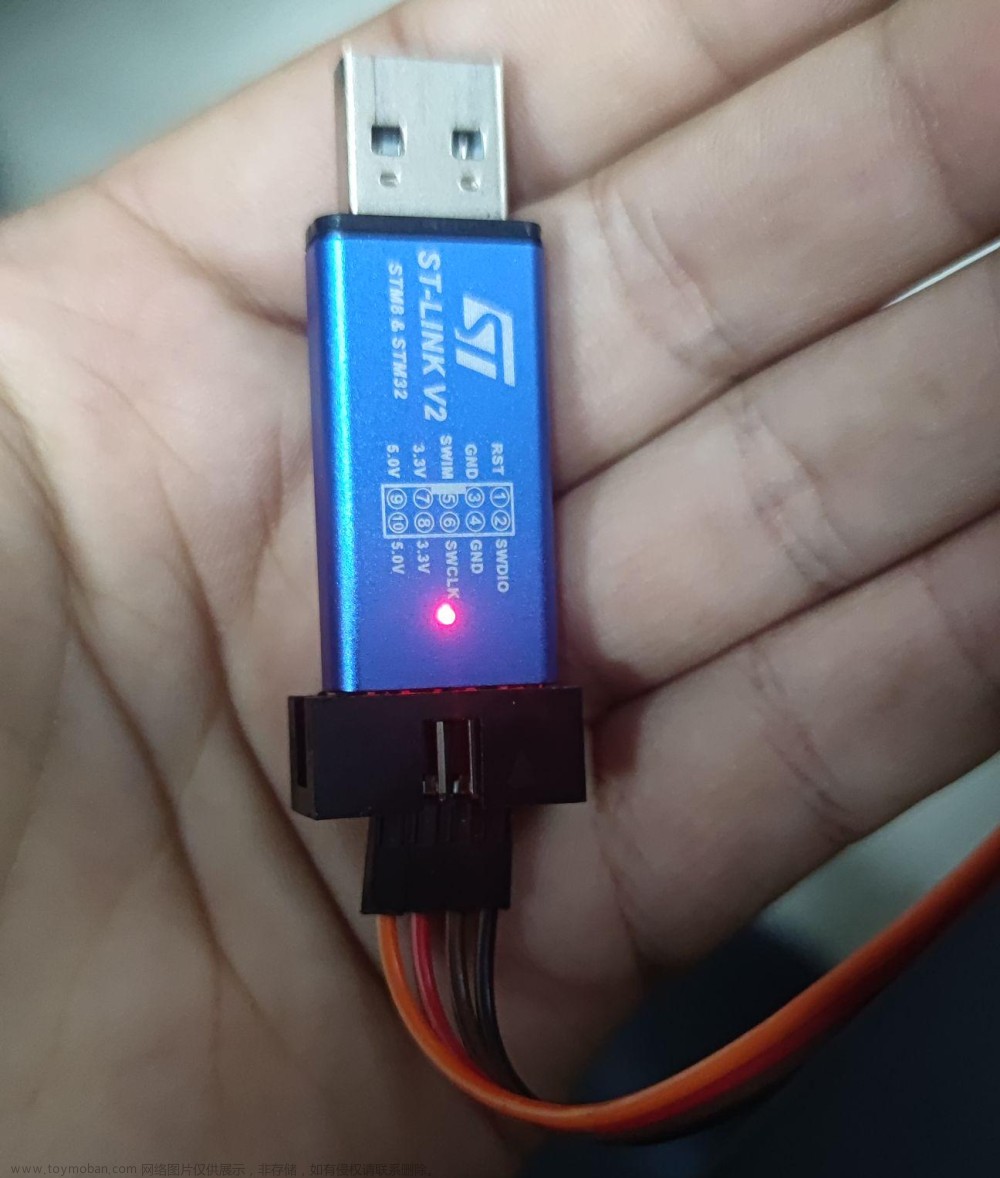
STLINK
二、代码部分
1.stm32串口部分代码
extern uint8_t PIC1[];
uint16_t k=0;

void Serial_Init(void)
{
    RCC_APB2PeriphClockCmd(RCC_APB2Periph_USART1,ENABLE);
    RCC_APB2PeriphClockCmd(RCC_APB2Periph_GPIOA,ENABLE);

    GPIO_InitTypeDef GPIO_InitStructure;
    GPIO_InitStructure.GPIO_Mode = GPIO_Mode_AF_PP;
    GPIO_InitStructure.GPIO_Pin = GPIO_Pin_9;
    GPIO_InitStructure.GPIO_Speed = GPIO_Speed_50MHz;
    GPIO_Init(GPIOA, &GPIO_InitStructure);

    GPIO_InitStructure.GPIO_Mode = GPIO_Mode_IPU;
    GPIO_InitStructure.GPIO_Pin = GPIO_Pin_10;
    GPIO_InitStructure.GPIO_Speed = GPIO_Speed_50MHz;
    GPIO_Init(GPIOA, &GPIO_InitStructure);

    USART_InitTypeDef USART_InitStructure;
    USART_InitStructure.USART_BaudRate=460800;//波特率的数值,写完数值后USARE_Init函数内部会自动算好
                                            //9600对应的分频系数然后写道BRR寄存器
    USART_InitStructure.USART_HardwareFlowControl=USART_HardwareFlowControl_None;//硬件流控制,不需要控制
    USART_InitStructure.USART_Mode=USART_Mode_Tx|USART_Mode_Rx;//模式选择,开启输出模式和接受模式
    USART_InitStructure.USART_Parity=USART_Parity_No;//奇偶校验,无校验
    USART_InitStructure.USART_StopBits=USART_StopBits_1;//停止位,1位
    USART_InitStructure.USART_WordLength=USART_WordLength_8b;//字长,8位
    USART_Init(USART1,&USART_InitStructure);

    USART_ITConfig(USART1,USART_IT_RXNE,ENABLE);//开启USART1中断

    NVIC_PriorityGroupConfig(NVIC_PriorityGroup_2);//中断分组

    NVIC_InitTypeDef NVIC_InitStructure;
    NVIC_InitStructure.NVIC_IRQChannel=USART1_IRQn;//中断通道USART1
    NVIC_InitStructure.NVIC_IRQChannelCmd=ENABLE;//中断使能
    NVIC_InitStructure.NVIC_IRQChannelPreemptionPriority=1;//抢占优先级1
    NVIC_InitStructure.NVIC_IRQChannelSubPriority=1;//响应优先级1
    NVIC_Init(&NVIC_InitStructure);

    USART_Cmd(USART1,ENABLE);//开启USART1使能
}


 void USART1_IRQHandler(void)//USART1的中断函数
{
        PIC1[k]=USART_ReceiveData(USART1);//PIC1[]是自定的数组
        k++;
        if(k==1024)
        {
            k=0;
        }
 }
2.stm32OLED屏幕部分代码
/*引脚配置*/
#define OLED_W_SCL(x)        GPIO_WriteBit(GPIOB, GPIO_Pin_8, (BitAction)(x))
#define OLED_W_SDA(x)        GPIO_WriteBit(GPIOB, GPIO_Pin_9, (BitAction)(x))

/*引脚初始化*/
void OLED_I2C_Init(void)
{
    RCC_APB2PeriphClockCmd(RCC_APB2Periph_GPIOB, ENABLE);

    GPIO_InitTypeDef GPIO_InitStructure;
     GPIO_InitStructure.GPIO_Mode = GPIO_Mode_Out_OD;
    GPIO_InitStructure.GPIO_Speed = GPIO_Speed_50MHz;
    GPIO_InitStructure.GPIO_Pin = GPIO_Pin_8;
     GPIO_Init(GPIOB, &GPIO_InitStructure);
    GPIO_InitStructure.GPIO_Pin = GPIO_Pin_9;
     GPIO_Init(GPIOB, &GPIO_InitStructure);

    OLED_W_SCL(1);
    OLED_W_SDA(1);
}

/**
  * @brief  I2C开始
  * @param  无
  * @retval 无
  */
void OLED_I2C_Start(void)
{
    OLED_W_SDA(1);
    OLED_W_SCL(1);
    OLED_W_SDA(0);
    OLED_W_SCL(0);
}

/**
  * @brief  I2C停止
  * @param  无
  * @retval 无
  */
void OLED_I2C_Stop(void)
{
    OLED_W_SDA(0);
    OLED_W_SCL(1);
    OLED_W_SDA(1);
}

/**
  * @brief  I2C发送一个字节
  * @param  Byte 要发送的一个字节
  * @retval 无
  */
void OLED_I2C_SendByte(uint8_t Byte)
{
    uint8_t i;
    for (i = 0; i < 8; i++)
    {
        OLED_W_SDA(Byte & (0x80 >> i));
        OLED_W_SCL(1);
        OLED_W_SCL(0);
    }
    OLED_W_SCL(1);    //额外的一个时钟,不处理应答信号
    OLED_W_SCL(0);
}

/**
  * @brief  OLED写命令
  * @param  Command 要写入的命令
  * @retval 无
  */
void OLED_WriteCommand(uint8_t Command)
{
    OLED_I2C_Start();
    OLED_I2C_SendByte(0x78);        //从机地址
    OLED_I2C_SendByte(0x00);        //写命令
    OLED_I2C_SendByte(Command);
    OLED_I2C_Stop();
}

/**
  * @brief  OLED写数据
  * @param  Data 要写入的数据
  * @retval 无
  */
void OLED_WriteData(uint8_t Data)
{
    OLED_I2C_Start();
    OLED_I2C_SendByte(0x78);        //从机地址
    OLED_I2C_SendByte(0x40);        //写数据
    OLED_I2C_SendByte(Data);
    OLED_I2C_Stop();
}

/**
  * @brief  OLED设置光标位置
  * @param  Y 以左上角为原点,向下方向的坐标,范围:0~7
  * @param  X 以左上角为原点,向右方向的坐标,范围:0~127
  * @retval 无
  */
void OLED_SetCursor(uint8_t Y, uint8_t X)
{
    OLED_WriteCommand(0xB0 | Y);                    //设置Y位置
    OLED_WriteCommand(0x10 | ((X & 0xF0) >> 4));    //设置X位置高4位
    OLED_WriteCommand(0x00 | (X & 0x0F));            //设置X位置低4位
}

/**
  * @brief  OLED清屏
  * @param  无
  * @retval 无
  */
void OLED_Clear(void)
{
    uint8_t i, j;
    for (j = 0; j < 8; j++)
    {
        OLED_SetCursor(j, 0);
        for(i = 0; i < 128; i++)
        {
            OLED_WriteData(0x00);
        }
    }
}
/**
  * @brief  OLED初始化
  * @param  无
  * @retval 无
  */
void OLED_Init(void)
{
    uint32_t i, j;

    for (i = 0; i < 1000; i++)            //上电延时
    {
        for (j = 0; j < 1000; j++);
    }

    OLED_I2C_Init();            //端口初始化

    OLED_WriteCommand(0xAE);    //关闭显示

    OLED_WriteCommand(0xD5);    //设置显示时钟分频比/振荡器频率
    OLED_WriteCommand(0x80);

    OLED_WriteCommand(0xA8);    //设置多路复用率
    OLED_WriteCommand(0x3F);

    OLED_WriteCommand(0xD3);    //设置显示偏移
    OLED_WriteCommand(0x00);

    OLED_WriteCommand(0x40);    //设置显示开始行

    OLED_WriteCommand(0xA1);    //设置左右方向,0xA1正常 0xA0左右反置

    OLED_WriteCommand(0xC8);    //设置上下方向,0xC8正常 0xC0上下反置

    OLED_WriteCommand(0xDA);    //设置COM引脚硬件配置
    OLED_WriteCommand(0x12);

    OLED_WriteCommand(0x81);    //设置对比度控制,屏幕亮度
    OLED_WriteCommand(0xCF);

    OLED_WriteCommand(0xD9);    //设置预充电周期
    OLED_WriteCommand(0xF1);

    OLED_WriteCommand(0xDB);    //设置VCOMH取消选择级别
    OLED_WriteCommand(0x30);

    OLED_WriteCommand(0xA4);    //设置整个显示打开/关闭

    OLED_WriteCommand(0xA6);    //设置正常/倒转显示

    OLED_WriteCommand(0x8D);    //设置充电泵。打开VCC电源?
    OLED_WriteCommand(0x14);

    OLED_WriteCommand(0xAF);    //开启显示

    OLED_Clear();                //OLED清屏
}

void OLED_DISPLAY_OFF(void)        //关闭屏幕
{
    OLED_WriteCommand(0xAE);    //关闭显示

    OLED_WriteCommand(0x8D);    //关闭VCC电源?
    OLED_WriteCommand(0x10);
}
void OLED_Luminace(uint8_t x)    //设置屏幕亮度,(0~255)
{
    OLED_WriteCommand(0x81);    //设置对比度控制,屏幕亮度
    OLED_WriteCommand(x);
}
void OLED_Picture(uint8_t P)//显示1张图片
{
    uint8_t i,j;
    for(i=0;i<8;i++)
    {
        OLED_WriteCommand(0xB0+i);
        OLED_WriteCommand(0x10);//起始列地址的高4位
        OLED_WriteCommand(0x00);//起始列地址的第4位
        for(j=0;j<128;j++)//每页输出128个字节,显示8页128列图片内容
        {
            OLED_WriteData(PIC1[(j+i*128)+1024*P]);
        }
    }
}
3.主程序
#include "stm32f10x.h"                  // Device header
#include "OLED.h"
#include "Serial.h"

extern uint8_t PIC1[];

int main(void)
{
    Serial_Init();
    OLED_Init();


    while (1)
    {

        OLED_Picture(0);//在循环中不断调用显示一张画面


    }


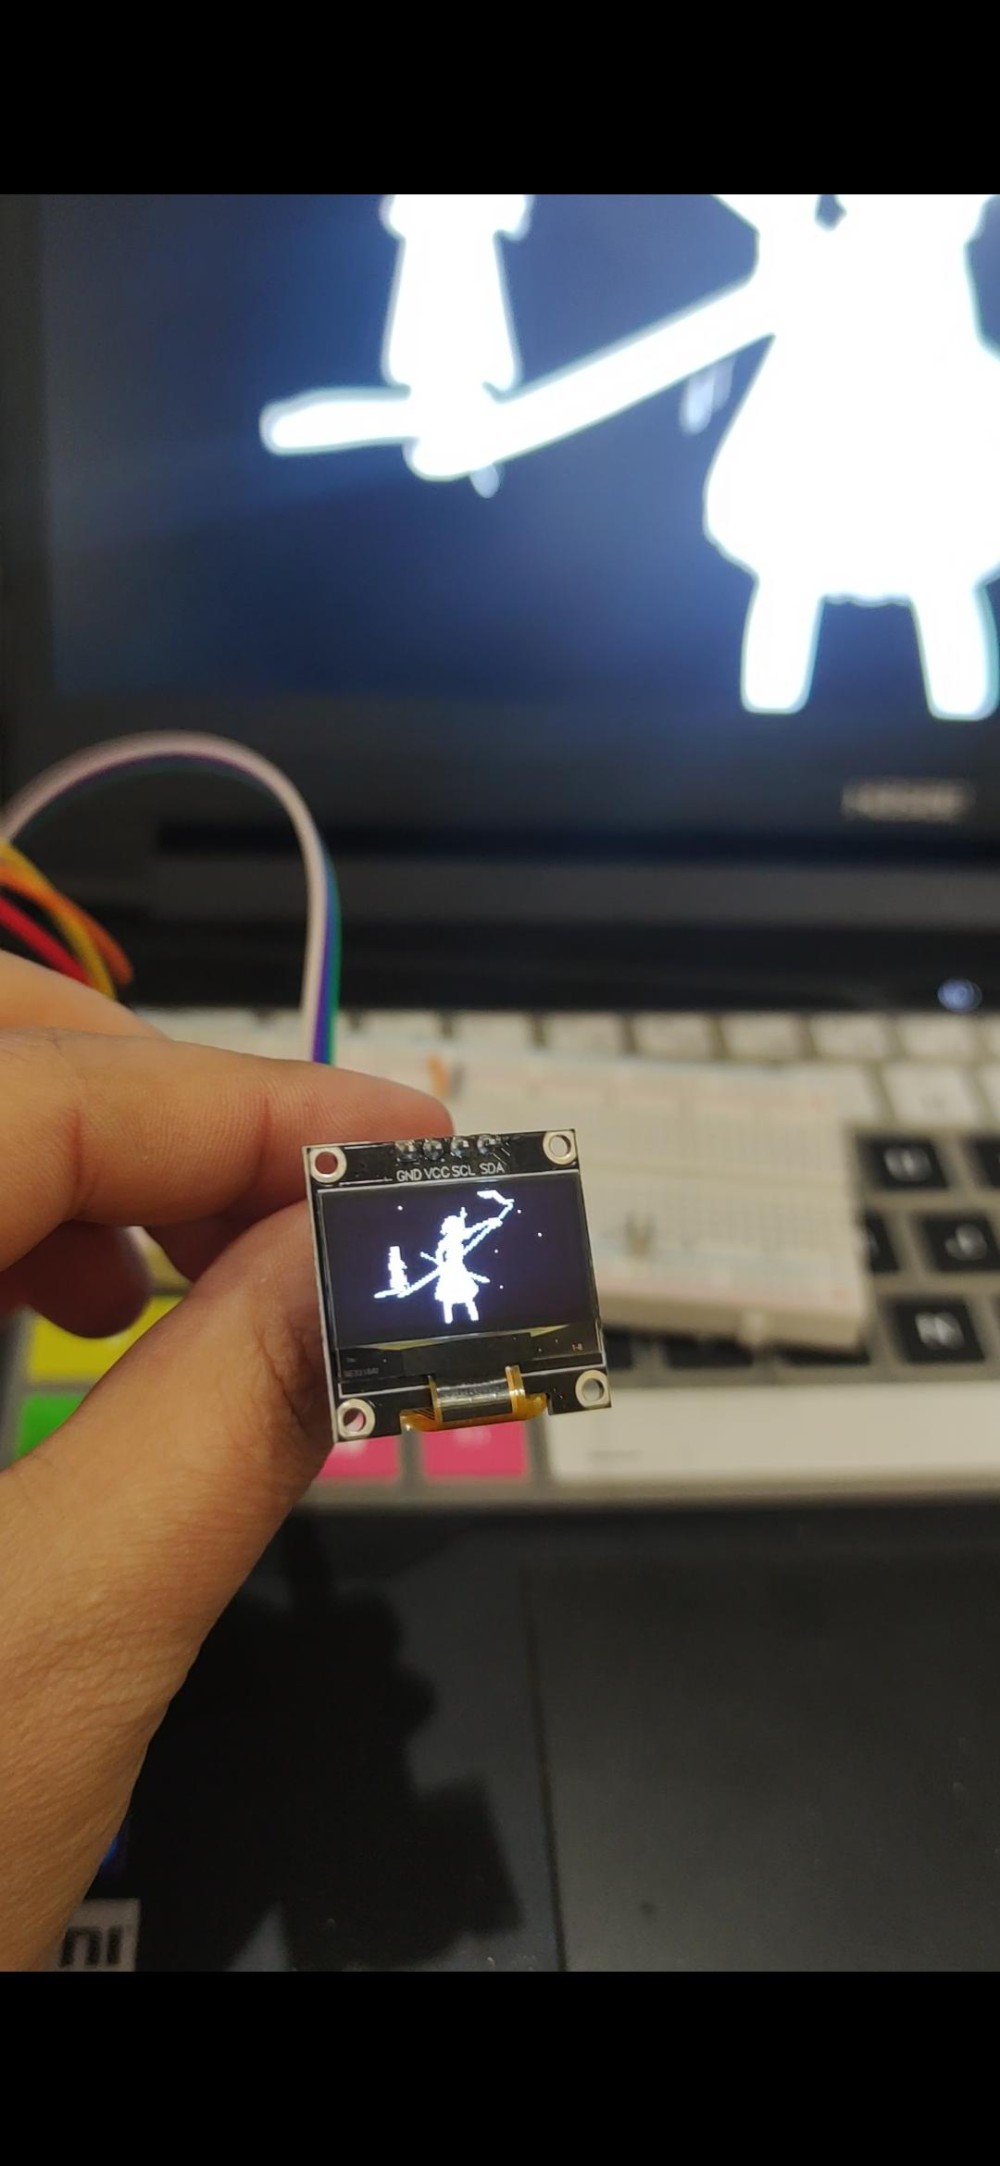
}4.电脑通过opencv库截取电脑当前1080p一帧画面,并对图片二值化处理,通过电脑端编写好的串口程序发送1024字节给stm32文章来源:https://www.toymoban.com/news/detail-536605.html
#include <opencv2/opencv.hpp>
#include <Windows.h>
#include <iostream>

#include <tchar.h>

using namespace cv;
using namespace std;

uchar stg [1024];
uchar sdf[8];

int bit2um()
{
    char aav[1];
    uchar aax=0;
    for (int ax = 0; ax < 8; ax++)
    {
        if (sdf[ax] == 1)
        {

                aax += pow(2, ax);
                /*sprintf(aav,"%x")*/
        }
    }
    return aax;
}

int main()
{
    HANDLE hCom;
    DCB dcb;
    Mat img;
    Mat str(64, 128, CV_8UC1);


    hCom = CreateFile(L"COM3", GENERIC_WRITE, 0, NULL, OPEN_EXISTING, 0, NULL);

    if (hCom == (HANDLE)-1)
    {
        cout << "打开失败" << endl;
        return -1;
    }
    else
    {

        SetupComm(hCom, 1024, 1024);
        GetCommState(hCom, &dcb);
        dcb.BaudRate = 460800;
        dcb.ByteSize = 8;
        dcb.Parity = NOPARITY;
        dcb.StopBits = ONESTOPBIT;
        SetCommState(hCom, &dcb);
        PurgeComm(hCom, PURGE_TXABORT | PURGE_RXABORT | PURGE_TXCLEAR | PURGE_RXCLEAR);


        cout << "开始发送" << endl;
    }
    double fps = 25;
    int width = GetSystemMetrics(SM_CXSCREEN);
    int height = GetSystemMetrics(SM_CYSCREEN);

    time_t seconds = time(0);
    int s = seconds % 60;
    int m = (seconds % 3600) / 60;
    int h = (seconds % (3600 * 24)) / 3600 + 8;

    HDC hdcScreen = GetDC(NULL);
    HDC hdcMemDC = CreateCompatibleDC(hdcScreen);
    HBITMAP hbmScreen = CreateCompatibleBitmap(hdcScreen, width, height);

    BITMAPINFO bi;
    bi.bmiHeader.biSize = sizeof(bi.bmiHeader);
    bi.bmiHeader.biWidth = width;
    bi.bmiHeader.biHeight = height;
    bi.bmiHeader.biPlanes = 1;
    bi.bmiHeader.biBitCount = 24;
    bi.bmiHeader.biCompression = BI_RGB;
    bi.bmiHeader.biSizeImage = 0;
    bi.bmiHeader.biXPelsPerMeter = 0;
    bi.bmiHeader.biYPelsPerMeter = 0;
    bi.bmiHeader.biClrUsed = 0;
    bi.bmiHeader.biClrImportant = 0;
    SelectObject(hdcMemDC, hbmScreen);

    int lineBytes = ((width * bi.bmiHeader.biBitCount + 31) / 32) * 4;
    int bmpSize = lineBytes * height;
    char* lpbitmap = new char[bmpSize];
    Mat bmpMat(height, width, CV_8UC3);

    while (true)
    {


            if (BitBlt(hdcMemDC, 0, 0, width, height, hdcScreen, 0, 0, SRCCOPY))
            {
                GetDIBits(hdcMemDC, hbmScreen, 0, height, lpbitmap, &bi, DIB_RGB_COLORS);
                for (int i = 0; i < height; i++)
                {
                    int srcIndex = (height - i - 1) * lineBytes;
                    int destIndex = i * width * 3;
                    memcpy(&bmpMat.data[destIndex], &lpbitmap[srcIndex], width * 3);
                }

                resize(bmpMat, img, Size(128, 64));
                cvtColor(img, img, COLOR_BGR2GRAY);
                threshold(img, img, 125, 255, THRESH_BINARY);

                for (int a = 0; a < 64; a++)
                {
                    for (int b = 0; b < 128; b++)
                    {

                        if (img.at<uchar>(a, b) == 0)
                        {
                            str.at<uchar>(a, b) = 0;
                        }
                        else
                        {
                            str.at<uchar>(a, b) = 1;
                        }

                    }
                }


                    for(uchar row = 0; row < 8;row++)
                    {
                        for (uchar col = 0; col < 128; col++)
                        {
                            for(uchar ssd=0;ssd<8;ssd++)
                            {
                                sdf[ssd] = str.at<uchar>(row*8+ssd , col);

                            }
                            stg[(row * 128) + col] = bit2um();
                        }
                    }


                waitKey(10);
                WriteFile(hCom, &stg, 1024, NULL, NULL);


            }
    }

    return 0;
}运行后播放视频试一下文章来源地址https://www.toymoban.com/news/detail-536605.html
到了这里,关于电脑传输数据STM32模拟I2C显示实时画面到OLED的文章就介绍完了。如果您还想了解更多内容,请在右上角搜索TOY模板网以前的文章或继续浏览下面的相关文章,希望大家以后多多支持TOY模板网!


