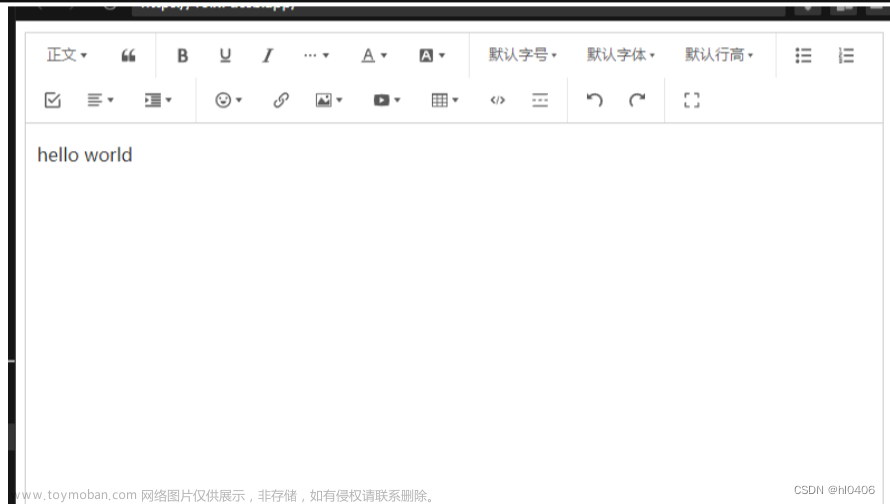
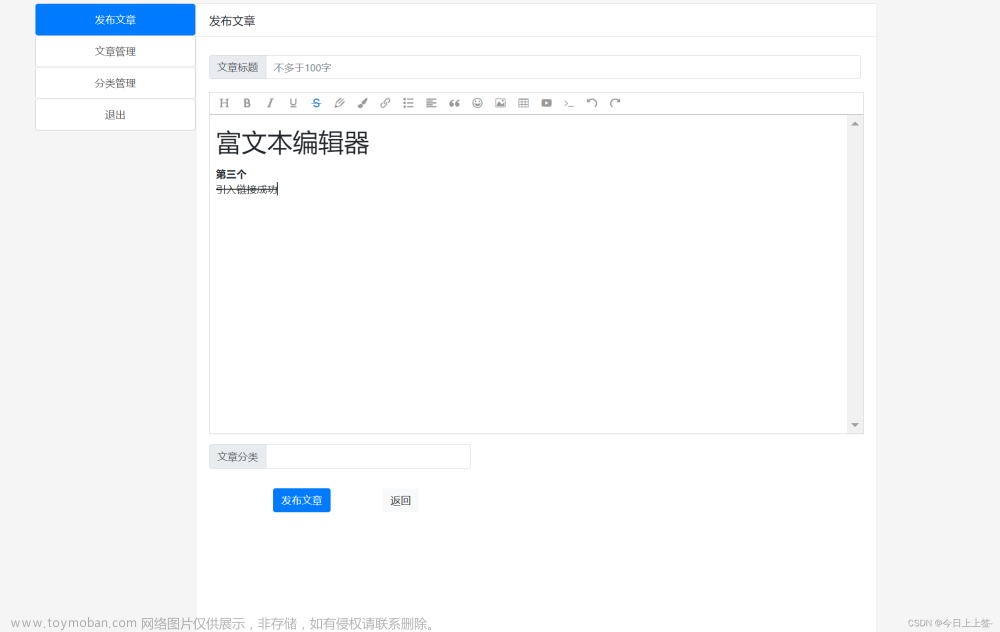
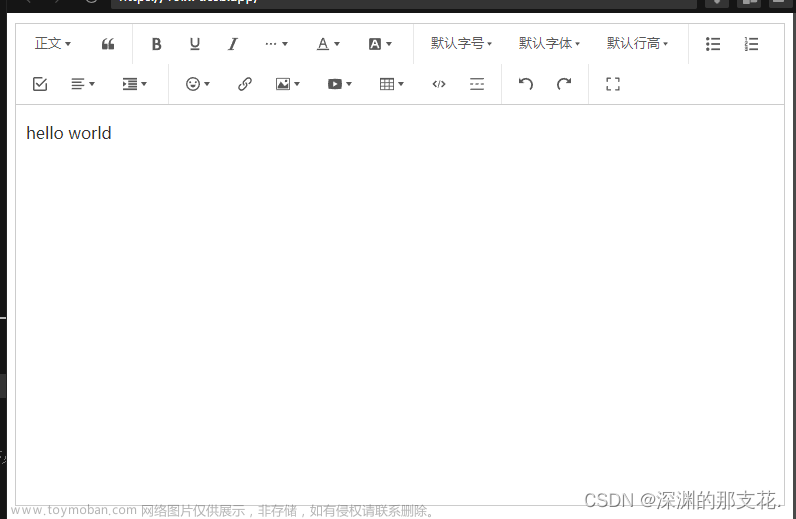
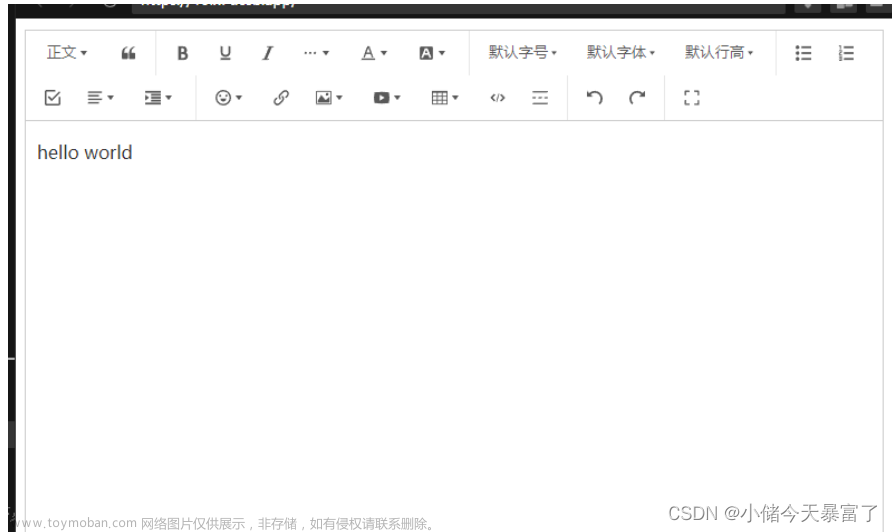
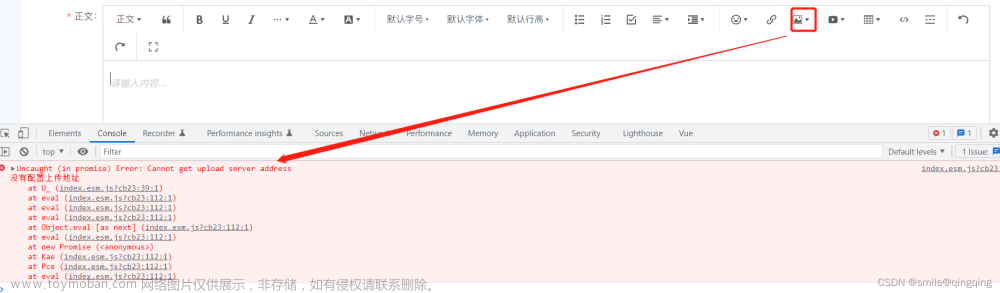
1.效果图

2.安装依赖
npm install wangeditor
3.在main.js 全局引入 富文本组件
import editorBar from "@/components/editor/editor.vue";
Vue.component('editorBar', editorBar)
全局引入页面使用
<editor-bar v-model="form.nr" :flag="false" @change="getcontent" />
mothods:{
//获取富文本内容
getcontent (content) {
this.form.nr = content;
},
}
或者直接在组件中使用
<editor-bar v-model="form.nr" :flag="false" @change="getcontent" />
import EditorBar from "@/components/editor/editor";
components: {
EditorBar,
},
mothods:{
//获取富文本内容
getcontent (content) {
this.form.nr = content;
},
}
4.封装富文本文件 在src公共文件下新建一个命名为editor.vue的文件
详情可参考:富文本编辑器安装使用_editor-bar_可不&可以的博客-CSDN博客
<template>
<div id="wangeditor" class="editor">
<div ref="toolbar" class="toolbar"></div>
<div ref="editor" class="text"></div>
</div>
</template><script>
import E from 'wangeditor'
import {
uploadPictures
} from '@/api/user'
export default {
model: {
prop: 'value',
event: 'change',
},
props: {
value: {
type: String,
required: true,
},//是否禁用
flag: {
type: Boolean,
required: true,
},
},
data () {
return {
editor: null,
info_: null,
tableHeight: '600px',
uploadurl: process.env.VUE_APP_BASE_API + '/cs/localStorage/pictures',
}
},watch: {
value (newval) {
if (newval !== this.editor.txt.html()) {
this.editor.txt.html(newval)
}
},
flag: {
immediate: true,
handler: function (newval) {
this.$nextTick(() => {
this.editor.$textElem.attr('contenteditable', newval)
})
},
deep: true,
},
},
mounted () {
//初始化富文本编辑器
this.seteditor();
// 这一步非常重要,用于富文本修改信息的时候,数据回显
// this.value是父子传参,动态传值的
this.editor.txt.html(this.value);
},
methods: {
seteditor () {
let that = this
that.editor = new E(that.$refs.toolbar, that.$refs.editor)
that.editor.customConfig.uploadImgShowBase64 = false
that.editor.customConfig.pasteFilterStyle = true// 配置菜单
that.editor.customConfig.menus = [
'head', // 标题
'bold', // 粗体
'fontSize', // 字号
'fontName', // 字体
'italic', // 斜体
'underline', // 下划线
'strikeThrough', // 删除线
'foreColor', // 文字颜色
'backColor', // 背景颜色
'link', // 插入链接
'list', // 列表
'justify', // 对齐方式
'quote', // 引用
// 'emoticon', // 表情
'image', // 插入图片
'table', // 表格
// 'video', // 插入视频
// 'code', // 插入代码
'undo', // 撤销
'redo', // 重复
// 'fullscreen', // 全屏
]
that.editor.customConfig.onchange = (html) => {
that.info_ = html // 绑定当前逐渐地值
that.$emit('change', that.info_) // 将内容同步到父组件中
}
// 字号
// console.log(this.editor)
that.editor.customConfig.uploadImgServer = that.uploadurl
that.editor.customConfig.uploadFileName = 'file'//自定义图片上传
that.editor.customConfig.customUploadImg = function (files, insert) {
// file是是input中选中的文件列表
// insert是获取图片url后,插入到编辑器中的方法
var formData = new FormData();
var obj = {};
for (var i = 0; i < files.length; i++) {
obj = files[i]
}
//后端所需的参数
formData.append('file', obj);
uploadPictures(formData).then(result => {
let url = 'http://192.168.2.40:8080/cs/file/' + result.type + '/' + result.realName
insert(url);
})
};
// 创建富文本编辑器
that.editor.create()
}
}
}
</script><style lang="scss" scoped>
.editor {
width: 100%;
margin: 0 auto;
position: relative;
z-index: 0;
}::v-deep table {
border-collapse: collapse;
}.toolbar {
border: 1px solid #ccc;
}.text {
border: 1px solid #ccc;
}::v-deep .w-e-text-container {
height: 500px !important;
}::v-deep #wangeditor {
.w-e-text-container {
z-index: 1 !important;
// table {
// margin-left: 0 !important;
// }
}.w-e-toolbar {
flex-wrap: wrap;
}.w-e-menu {
z-index: auto !important;文章来源:https://www.toymoban.com/news/detail-537682.html.w-e-droplist {
z-index: 2 !important;
}
}
}
</style>
文章来源地址https://www.toymoban.com/news/detail-537682.html
到了这里,关于vue使用富文本编辑器 Wangeditor 可显示编辑新增回显禁用的文章就介绍完了。如果您还想了解更多内容,请在右上角搜索TOY模板网以前的文章或继续浏览下面的相关文章,希望大家以后多多支持TOY模板网!