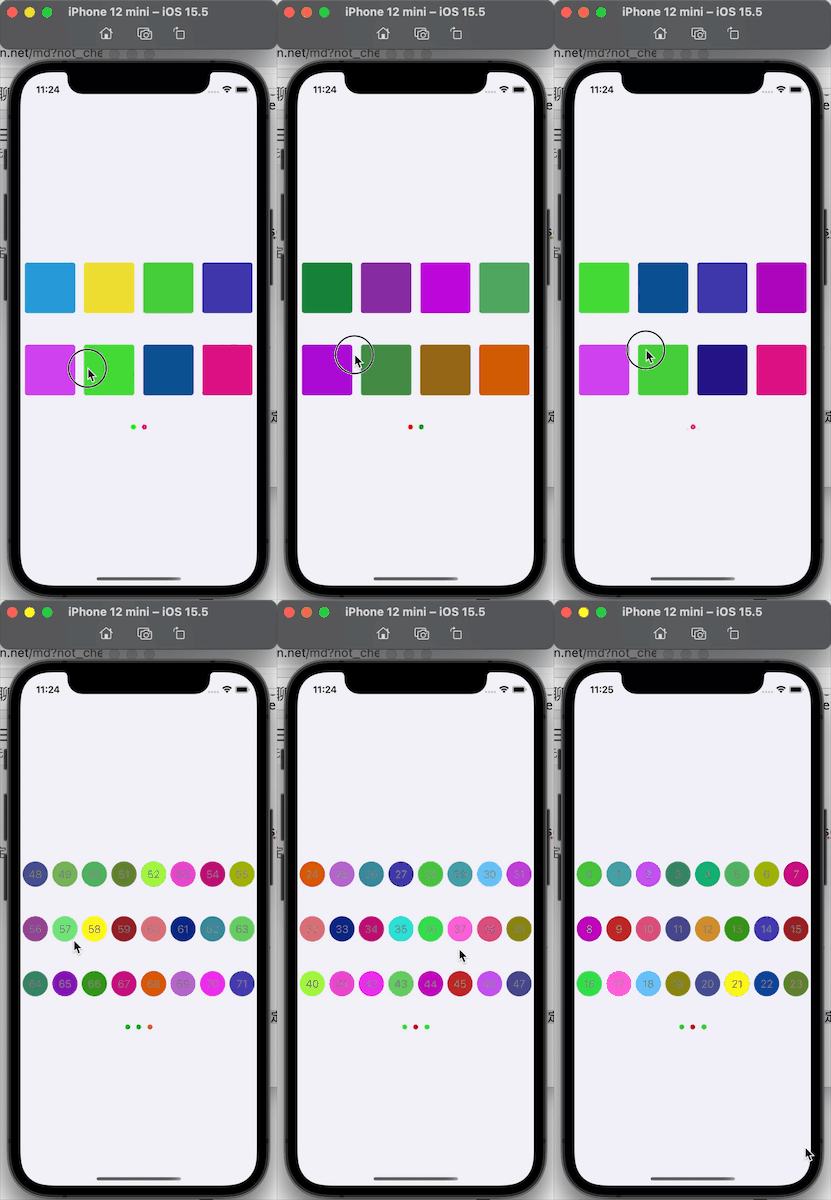
IOS 类似探探卡片滑动效果
之前写的类似的效果,现在整理一下demo,方便之后可能会用到。
卡片要实现
1、实现左右滑动
2、滑动之后删除或者还原
首先有数据Cards数组,以及CardViews数组,一次性只显示三个卡片,当滑动删除第一个后,从cards数组中取出数据,创建一个新的CardView加到界面上以及加入到CardViews数组中。
首先先创建三个卡片
- (void)layoutItemSubviews {
    NSInteger index = 0;
    for (UIView *subView in self.subviews) {
        if ([subView isKindOfClass:[INUserCardItemView class]]) {

            //第一个卡片,不缩小,第二个卡片缩小90%
            CGFloat scale = (1-kScalePrecent*(self.cardViews.count - 1 - index));
            NSLog(@"scale : %f",scale);
            [subView setScaleWithPercent:scale duration:0.0001 completion:nil];
            CGPoint targetCenter = CGPointMake(CGRectGetWidth(self.bounds)/2, CGRectGetHeight(self.bounds)/2+kCardPadding*(self.cardViews.count-index-1)+kCardOffsetY*(self.cardViews.count-1-index));

            NSLog(@"targetCenter : (%f,%f)",targetCenter.x,targetCenter.y);

            [subView setCenter:targetCenter duration:0.1f completion:nil];
            index ++;
        }
    }
}

- (void)setCards:(NSMutableArray *)cards {
    _cards = cards;
    [self setupCardViews];
}

- (void)setupCardViews {
    for (UIView *subView in self.subviews) {
        if ([subView isKindOfClass:[INUserCardItemView class]]) {
            [subView removeFromSuperview];
        }
    }

    //显示的卡片
    for (NSInteger index = 0; index < self.cards.count; index ++) {
        // 数据
        id object = [self.cards objectAtIndex:index];

        INUserCardItemView *cardView = [[INUserCardItemView alloc] initWithFrame:CGRectZero];
        cardView.frame = CGRectMake(kCardPadding, 0.0, CGRectGetWidth([UIScreen mainScreen].bounds) - 2*kCardPadding,  CGRectGetWidth([UIScreen mainScreen].bounds) - 2*kCardPadding);

        cardView.data = object;

        [self insertSubview:cardView atIndex:0];
        [self.cardViews insertObject:cardView atIndex:0];

        if (index >= 2) {
            break;
        }
    }
    [self layoutItemSubviews];
}
在通过手势控制卡片滑动的效果,加入拖动手势UIPanGestureRecognizer
- (id)initWithFrame:(CGRect)frame {
    self = [super initWithFrame:frame];
    if (self) {
        self.backgroundColor = [UIColor colorWithHexString:@"efeff4"];

        self.cardViews = [NSMutableArray arrayWithCapacity:0];

        UIPanGestureRecognizer *panGesture = [[UIPanGestureRecognizer alloc]initWithTarget:self action:@selector(panGestureHandle:)];
        panGesture.minimumNumberOfTouches = 1;
        panGesture.maximumNumberOfTouches = 1;
        [self addGestureRecognizer:panGesture];
    }
    return self;
}
实现拖动的过程中的移动及旋转
- (void)panGestureHandle:(UIPanGestureRecognizer *)pan {
    if (self.cardViews.count > 0) {
        INUserCardItemView *card = self.cardViews[self.cardViews.count-1];
        INUserCardItemView *nextCard = nil;
        if (self.cardViews.count >= 2) {
            nextCard = self.cardViews[self.cardViews.count-2];
        }
        if (pan.state == UIGestureRecognizerStateBegan) {
            self.transitionCardCenter = card.center;
        } else if (pan.state == UIGestureRecognizerStateChanged) {
            CGPoint transLcation = [pan translationInView:self];
            NSLog(@"transLcation:(%f,%f)",transLcation.x,transLcation.y);

            CGFloat XOffPercent = (card.center.x-CGRectGetWidth(self.bounds)/2)/(CGRectGetWidth(self.bounds)/2);

            CGPoint targetCenter = CGPointMake(self.transitionCardCenter.x+transLcation.x, self.transitionCardCenter.y+transLcation.y);
            [card setCenter:targetCenter duration:0.0 completion:nil];

            [nextCard setScaleWithPercent:1 duration:0.1f completion:nil];

            CGFloat rotation = M_PI_2/16*XOffPercent;
            //            [card setRorationWithAngle:rotation duration:0.0 completion:nil];

            CGFloat kInterval = 80.0;
            //卡片中心点在界面的中心的左右30.0内是,不显示关注或跳过icon
            if (card.center.x < (self.center.x - kInterval)) {
                //显示跳过icon
                // [card cardMoveLeft];
            } else if (card.center.x > (self.center.x + kInterval)){
                //显示关注icon
                //[card cardMoveRight];
            } else {
                //不显示关注或跳过icon
                //[card restoreCardIcon];
            }
            [self updateCardStatus:YES];

        } else if (pan.state == UIGestureRecognizerStateEnded || pan.state == UIGestureRecognizerStateCancelled || pan.state == UIGestureRecognizerStateFailed) {

            CGFloat kWdith = CGRectGetWidth(self.frame)/2;
            NSLog(@"card.center.x:%f",card.center.x);

            //卡片向右滑动,滑动到3/4时候移除
            if (card.center.x > (kWdith + 10.0)) {
                //向右滑动,关注该用户

                CGPoint targetCenter = CGPointMake(CGRectGetWidth(self.bounds)+CGRectGetWidth(card.frame)/2, card.center.y + CGRectGetHeight(card.frame)/3.0);
                CGFloat XOffPercent = (targetCenter.x-CGRectGetWidth(self.bounds)/2)/(CGRectGetWidth(self.bounds)/2);

                CGFloat rotation = M_PI_2/16*XOffPercent;

                [card setCenter:targetCenter duration:0.25f completion:nil];
                [card setRorationWithAngle:rotation duration:0.25f completion:nil];

                [self performSelector:@selector(cardRightRemoveDismiss:) withObject:card afterDelay:0.1f];

                return;
            }

            //卡片向左滑动
            if (card.center.x < (kWdith - 10.0)) {
                CGPoint targetCenter = CGPointMake(-CGRectGetWidth(card.frame)/2, card.center.y + CGRectGetHeight(card.frame)/3.0);
                CGFloat XOffPercent = (targetCenter.x-CGRectGetWidth(self.bounds)/2)/(CGRectGetWidth(self.bounds)/2);

                CGFloat rotation = M_PI_2/16*XOffPercent;

                [card setCenter:targetCenter duration:0.25f completion:nil];
                [card setRorationWithAngle:rotation duration:0.25f completion:nil];

                [self performSelector:@selector(cardLeftRemoveDismiss:) withObject:card afterDelay:0.1f];

                return;
            }

            //卡片还原到原先位置
            [self cardReCenterOrDismiss:NO card:card isRight:NO];
        }
    }
}
通过判断是向左还是向右滑动,当向左滑动到一定的距离后,移除该张卡片
/**
 0.25秒后移除重新创建卡片,移除该张卡片

 @param card card
 */
- (void)cardLeftRemoveDismiss:(INUserCardItemView *)card {
    [self cardReCenterOrDismiss:YES card:card isRight:NO];
}

/**
 0.25秒后移除重新创建卡片,移除该张卡片

 @param card card
 */
- (void)cardRightRemoveDismiss:(INUserCardItemView *)card {
    [self cardReCenterOrDismiss:YES card:card isRight:YES];
}

-(void)cardReCenterOrDismiss:(BOOL)isDismiss card:(INUserCardItemView *)card isRight:(BOOL)isRight{
    if (isDismiss) {
        //不显示关注或跳过icon
        // [card restoreCardIcon];

        [self cardRemove:card isRight:isRight];
    }  else {

        [card setScaleWithPercent:1 duration:0.25f completion:nil];
        [card setRorationWithAngle:0 duration:0.25f completion:nil];

        CGPoint targetCenter = CGPointMake(CGRectGetWidth(self.bounds)/2, CGRectGetHeight(self.bounds)/2);

        //不显示关注或跳过icon
        // [card restoreCardIcon];

        [card setCenter:targetCenter duration:0.35 completion:nil];
        [self cardRemove:nil isRight:isRight];
    }
}

/**
 移除卡片,

 @param card 卡片
 @param isRight 是否向右滑动
 */
-(void)cardRemove:(INUserCardItemView *)card isRight:(BOOL)isRight{
    if (card) {

        if (isRight) {
            //向右滑动,关注该用户
        }

        //不显示关注或跳过icon
        // [card restoreCardIcon];

        [card removeFromSuperview];
        [self.cardViews removeObjectIdenticalTo:card];


        //将卡片放到已经移除的数组中,方便撤回,限制五张图
        if (!isRight) {
            //如果跳过时候,才将移除的卡片放到数组中
        }

        if (self.cards.count <= 0) {

            for (UIView *subView in self.subviews) {
                if ([subView isKindOfClass:[INUserCardItemView class]]) {
                    [subView removeFromSuperview];
                }
            }
        }

        [self createNextCard];
    }

    [self updateCardStatus:NO];
}
移除之后需要创建一张新的卡片,放到剩余的卡片下面。
- (void)createNextCard {
    if (self.cardViews.count > 3) {
        return;
    }

    if (self.cards.count <= 0) {
        return;
    }

    id object = nil;
    if (self.cardViews.count > 0) {
        INUserCardItemView *lastCardView = [self.cardViews firstObject];
        if ([self.cards containsObject:lastCardView.data]) {
            NSInteger index = [self.cards indexOfObject:lastCardView.data];
            if (self.cards.count > (index+1)) {
                object = [self.cards objectAtIndex:(index+1)];
            }
        }
    } else {
        object = [self.cards objectAtIndex:0];
    }

    INUserCardItemView *cardView = [[INUserCardItemView alloc] initWithFrame:CGRectZero];
    cardView.frame = CGRectMake(kCardPadding, 0.0, CGRectGetWidth([UIScreen mainScreen].bounds) - 2*kCardPadding,  CGRectGetWidth([UIScreen mainScreen].bounds) - 2*kCardPadding);

    cardView.hidden = YES;
    [cardView setScaleWithPercent:(self.cardViews.count-1)*kScalePrecent duration:0.25f completion:nil];

    CGPoint targetCenter = CGPointMake(CGRectGetWidth(self.bounds)/2, CGRectGetHeight(self.bounds)/2 + kCardPadding*(self.cardViews.count-1) + kCardOffsetY*(self.cardViews.count-1));

    [cardView setCenter:targetCenter duration:0.25f completion:nil];

    [self insertSubview:cardView belowSubview:[self.cardViews firstObject]];
    [self.cardViews insertObject:cardView atIndex:0];
}
那没有滑动到指定距离的时候,需要还原该张卡片。
- (void)updateCardStatus:(BOOL)isUpdated {
    for (int i = 0; i < self.cardViews.count; i++) {
        UIView *sView = self.cardViews[i];
        int alphaIndex = i;
        if (isUpdated) {
            if (i == self.cardViews.count-2) {
                alphaIndex = i+1;
            }
        }

        CGFloat theAplha = 1-((self.cardViews.count-1-alphaIndex)*kAlphaOffset);
        if (theAplha > 1.0) {
            theAplha = 1.0;
        }

        if (theAplha < 0.0) {
            theAplha = 0.0;
        }

        BOOL isBelowCard = NO;
        if ((i == 0) && (self.cardViews.count > 2)) {
            isBelowCard = YES;
        }

        if ([sView isKindOfClass:[INUserCardItemView class]]) {
            INUserCardItemView *cardView = self.cardViews[i];
            NSLog(@"card index:%d",i);

            cardView.alpha = 1.0;

            if (!isUpdated) {
                [cardView setScaleWithPercent:(1-kScalePrecent*(self.cardViews.count-1-i)) duration:0.25f completion:nil];

                CGPoint targetCenter = CGPointMake(CGRectGetWidth(self.bounds)/2, ceil(CGRectGetHeight(self.bounds)/2+kCardPadding*(self.cardViews.count-1-i) + kCardOffsetY*(self.cardViews.count-1-i)));
                [cardView setCenter:targetCenter duration:0.25f completion:nil];
            }
        }
    }
}
当滑动的过程中,需要用到动画效果。这里使用的POP来实现,用到的三个动画
#import "UIView+PopAnimation.h"
#import "POP.h"
#import <CoreGraphics/CoreGraphics.h>
#import <QuartzCore/QuartzCore.h>

@implementation UIView (PopAnimation)

- (void)setCenter:(CGPoint)center duration:(CGFloat)duration completion:(void (^) (BOOL finished))completion {
    POPBasicAnimation * bAni = [POPBasicAnimation animationWithPropertyNamed:kPOPViewCenter];
    bAni.toValue = [NSValue valueWithCGPoint:center];
    bAni.duration = duration;
    [bAni setCompletionBlock:^(POPAnimation *ani, BOOL finished) {
        if (finished) {
            self.hidden = NO;
        }
        if (completion) {
            completion(finished);
        }
    }];
    [self pop_addAnimation:bAni forKey:@"center"];
}

- (void)setScaleWithPercent:(CGFloat)percent duration:(CGFloat)duration completion:(void (^) (BOOL finished))completion {
    POPBasicAnimation * bAni = [POPBasicAnimation animationWithPropertyNamed:kPOPLayerScaleXY];
    bAni.toValue = [NSValue valueWithCGSize:CGSizeMake(percent, percent)];
    bAni.duration = duration;
    [bAni setCompletionBlock:^(POPAnimation *ani, BOOL finished) {
        if (completion) {
            completion(finished);
        }
    }];
    [self.layer pop_addAnimation:bAni forKey:@"scale"];
}

- (void)setRorationWithAngle:(CGFloat)angele duration:(CGFloat)duration completion:(void (^) (BOOL finished))completion {
    POPBasicAnimation *bAni = [POPBasicAnimation animationWithPropertyNamed:kPOPLayerRotation];
    bAni.duration = duration;
    bAni.timingFunction = [CAMediaTimingFunction functionWithName:kCAMediaTimingFunctionEaseInEaseOut];
    bAni.toValue = [NSNumber numberWithFloat:angele];
    [bAni setCompletionBlock:^(POPAnimation *ani, BOOL finished) {
        if (completion) {
            completion(finished);
        }
    }];
    [self.layer pop_addAnimation:bAni forKey:@"rotation"];
}

@end
本文作为初学者的学习的记录,以便之后查阅。谢谢。
谢谢您的阅读,希望本站及文档能带给你帮助,给你带来简洁明了的阅读体验。谢谢。文章来源:https://www.toymoban.com/news/detail-542235.html
实例demo:https://github.com/goodbruce/TanCardUI文章来源地址https://www.toymoban.com/news/detail-542235.html
到了这里,关于IOS 类似探探卡片滑动效果的文章就介绍完了。如果您还想了解更多内容,请在右上角搜索TOY模板网以前的文章或继续浏览下面的相关文章,希望大家以后多多支持TOY模板网!


