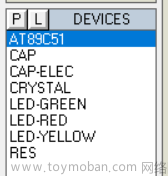
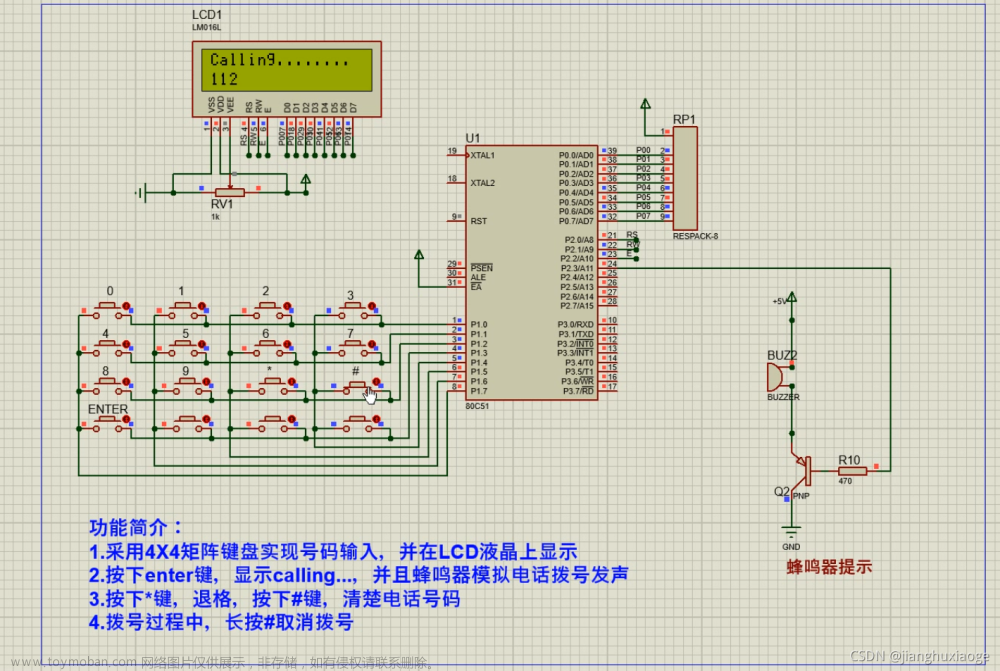
首先打开proteus软件,如图导入各个元器件,并连线。

然后编写c程序,看下面的代码。经过测试了,可以放心使用。
#include"reg52.h"

#define uint unsigned int

unsigned char code sin[256]=     //正弦表
{
	0x80,0x83,0x86,0x89,0x8d,0x90,0x93,0x96,0x99,0x9c,0x9f,0xa2,0xa5,0xa8,0xab,0xae,
	0xb1,0xb4,0xb7,0xba,0xbc,0xbf,0xc2,0xc5,0xc7,0xca,0xcc,0xcf,0xd1,0xd4,0xd6,0xd8,
	0xda,0xdd,0xdf,0xe1,0xe3,0xe5,0xe7,0xe9,0xea,0xec,0xee,0xef,0xf1,0xf2,0xf4,0xf5,
	0xf6,0xf7,0xf8,0xf9,0xfa,0xfb,0xfc,0xfd,0xfd,0xfe,0xff,0xff,0xff,0xff,0xff,0xff,
	0xff,0xff,0xff,0xff,0xff,0xff,0xfe,0xfd,0xfd,0xfc,0xfb,0xfa,0xf9,0xf8,0xf7,0xf6,
	0xf5,0xf4,0xf2,0xf1,0xef,0xee,0xec,0xea,0xe9,0xe7,0xe5,0xe3,0xe1,0xde,0xdd,0xda,
	0xd8,0xd6,0xd4,0xd1,0xcf,0xcc,0xca,0xc7,0xc5,0xc2,0xbf,0xbc,0xba,0xb7,0xb4,0xb1,
	0xae,0xab,0xa8,0xa5,0xa2,0x9f,0x9c,0x99,0x96,0x93,0x90,0x8d,0x89,0x86,0x83,0x80,
	0x80,0x7c,0x79,0x76,0x72,0x6f,0x6c,0x69,0x66,0x63,0x60,0x5d,0x5a,0x57,0x55,0x51,
	0x4e,0x4c,0x48,0x45,0x43,0x40,0x3d,0x3a,0x38,0x35,0x33,0x30,0x2e,0x2b,0x29,0x27,
	0x25,0x22,0x20,0x1e,0x1c,0x1a,0x18,0x16,0x15,0x13,0x11,0x10,0x0e,0x0d,0x0b,0x0a,
	0x09,0x08,0x07,0x06,0x05,0x04,0x03,0x02,0x02,0x01,0x00,0x00,0x00,0x00,0x00,0x00,
	0x00,0x00,0x00,0x00,0x00,0x00,0x01,0x02,0x02,0x03,0x04,0x05,0x06,0x07,0x08,0x09,
	0x0a,0x0b,0x0d,0x0e,0x10,0x11,0x13,0x15,0x16,0x18,0x1a,0x1c,0x1e,0x20,0x22,0x25,
	0x27,0x29,0x2b,0x2e,0x30,0x33,0x35,0x38,0x3a,0x3d,0x40,0x43,0x45,0x48,0x4c,0x4e,
	0x51,0x55,0x57,0x5a,0x5d,0x60,0x63,0x66,0x69,0x6c,0x6f,0x72,0x76,0x79,0x7c,0x80
};

void zhengxian(){                  //  正弦函数
	uint i=0;
	for(i=0; i<256; i++){          // 重复256次,每次使P2等于正弦表里面的一个值
		P2 = sin[i];                //  P2的值是逐渐增大的,到了0xff最大值后,又逐渐减少到0x00,又慢慢增加到0x80
	}

}


void main(){        //   主函数
	while(1){
		zhengxian();
	}
}
最后就是编译成hex文件,导入proteus中,仿真运行,就能得到下面的正弦波形了。

下面在写一个怎么生成三角波形的程序

程序代码看下面,很简单的。
#include"reg52.h"

#define uint unsigned int

unsigned char code sin[256]=     //正弦表
{
	0x80,0x83,0x86,0x89,0x8d,0x90,0x93,0x96,0x99,0x9c,0x9f,0xa2,0xa5,0xa8,0xab,0xae,
	0xb1,0xb4,0xb7,0xba,0xbc,0xbf,0xc2,0xc5,0xc7,0xca,0xcc,0xcf,0xd1,0xd4,0xd6,0xd8,
	0xda,0xdd,0xdf,0xe1,0xe3,0xe5,0xe7,0xe9,0xea,0xec,0xee,0xef,0xf1,0xf2,0xf4,0xf5,
	0xf6,0xf7,0xf8,0xf9,0xfa,0xfb,0xfc,0xfd,0xfd,0xfe,0xff,0xff,0xff,0xff,0xff,0xff,
	0xff,0xff,0xff,0xff,0xff,0xff,0xfe,0xfd,0xfd,0xfc,0xfb,0xfa,0xf9,0xf8,0xf7,0xf6,
	0xf5,0xf4,0xf2,0xf1,0xef,0xee,0xec,0xea,0xe9,0xe7,0xe5,0xe3,0xe1,0xde,0xdd,0xda,
	0xd8,0xd6,0xd4,0xd1,0xcf,0xcc,0xca,0xc7,0xc5,0xc2,0xbf,0xbc,0xba,0xb7,0xb4,0xb1,
	0xae,0xab,0xa8,0xa5,0xa2,0x9f,0x9c,0x99,0x96,0x93,0x90,0x8d,0x89,0x86,0x83,0x80,
	0x80,0x7c,0x79,0x76,0x72,0x6f,0x6c,0x69,0x66,0x63,0x60,0x5d,0x5a,0x57,0x55,0x51,
	0x4e,0x4c,0x48,0x45,0x43,0x40,0x3d,0x3a,0x38,0x35,0x33,0x30,0x2e,0x2b,0x29,0x27,
	0x25,0x22,0x20,0x1e,0x1c,0x1a,0x18,0x16,0x15,0x13,0x11,0x10,0x0e,0x0d,0x0b,0x0a,
	0x09,0x08,0x07,0x06,0x05,0x04,0x03,0x02,0x02,0x01,0x00,0x00,0x00,0x00,0x00,0x00,
	0x00,0x00,0x00,0x00,0x00,0x00,0x01,0x02,0x02,0x03,0x04,0x05,0x06,0x07,0x08,0x09,
	0x0a,0x0b,0x0d,0x0e,0x10,0x11,0x13,0x15,0x16,0x18,0x1a,0x1c,0x1e,0x20,0x22,0x25,
	0x27,0x29,0x2b,0x2e,0x30,0x33,0x35,0x38,0x3a,0x3d,0x40,0x43,0x45,0x48,0x4c,0x4e,
	0x51,0x55,0x57,0x5a,0x5d,0x60,0x63,0x66,0x69,0x6c,0x6f,0x72,0x76,0x79,0x7c,0x80
};

void zhengxian(){                  //  正弦函数
	uint i=0;
	for(i=0; i<256; i++){          // 重复256次,每次使P2等于正弦表里面的一个值
		P2 = sin[i];                //  P2的值是逐渐增大的,到了0xff最大值后,又逐渐减少到0x00,又慢慢增加到0x80
	}

}

void sanjiao(){               //  三角波形生成函数
	uint i=0;
	for(i=0; i<255; i++){      //  把P2的值从0递增的赋值到255
		P2 = i;
	}
	for(i=255; i>0; i--){       // 把P2的值从255递减的赋值到0
		P2 = i;
	}
}

void main(){        //   主函数    正弦波和三角波,想用哪个就把哪个函数取消注释
	while(1){
		// zhengxian();     //正弦波形生成函数
		sanjiao();           //  三角波形生成函数
	}
}
最后编译成hex文件导入proteus中模拟运行就得到下图的三角波波形了
 文章来源:https://www.toymoban.com/news/detail-543848.html
文章来源地址https://www.toymoban.com/news/detail-543848.html
到了这里,关于51单片机生成模拟正弦波的文章就介绍完了。如果您还想了解更多内容,请在右上角搜索TOY模板网以前的文章或继续浏览下面的相关文章,希望大家以后多多支持TOY模板网!


