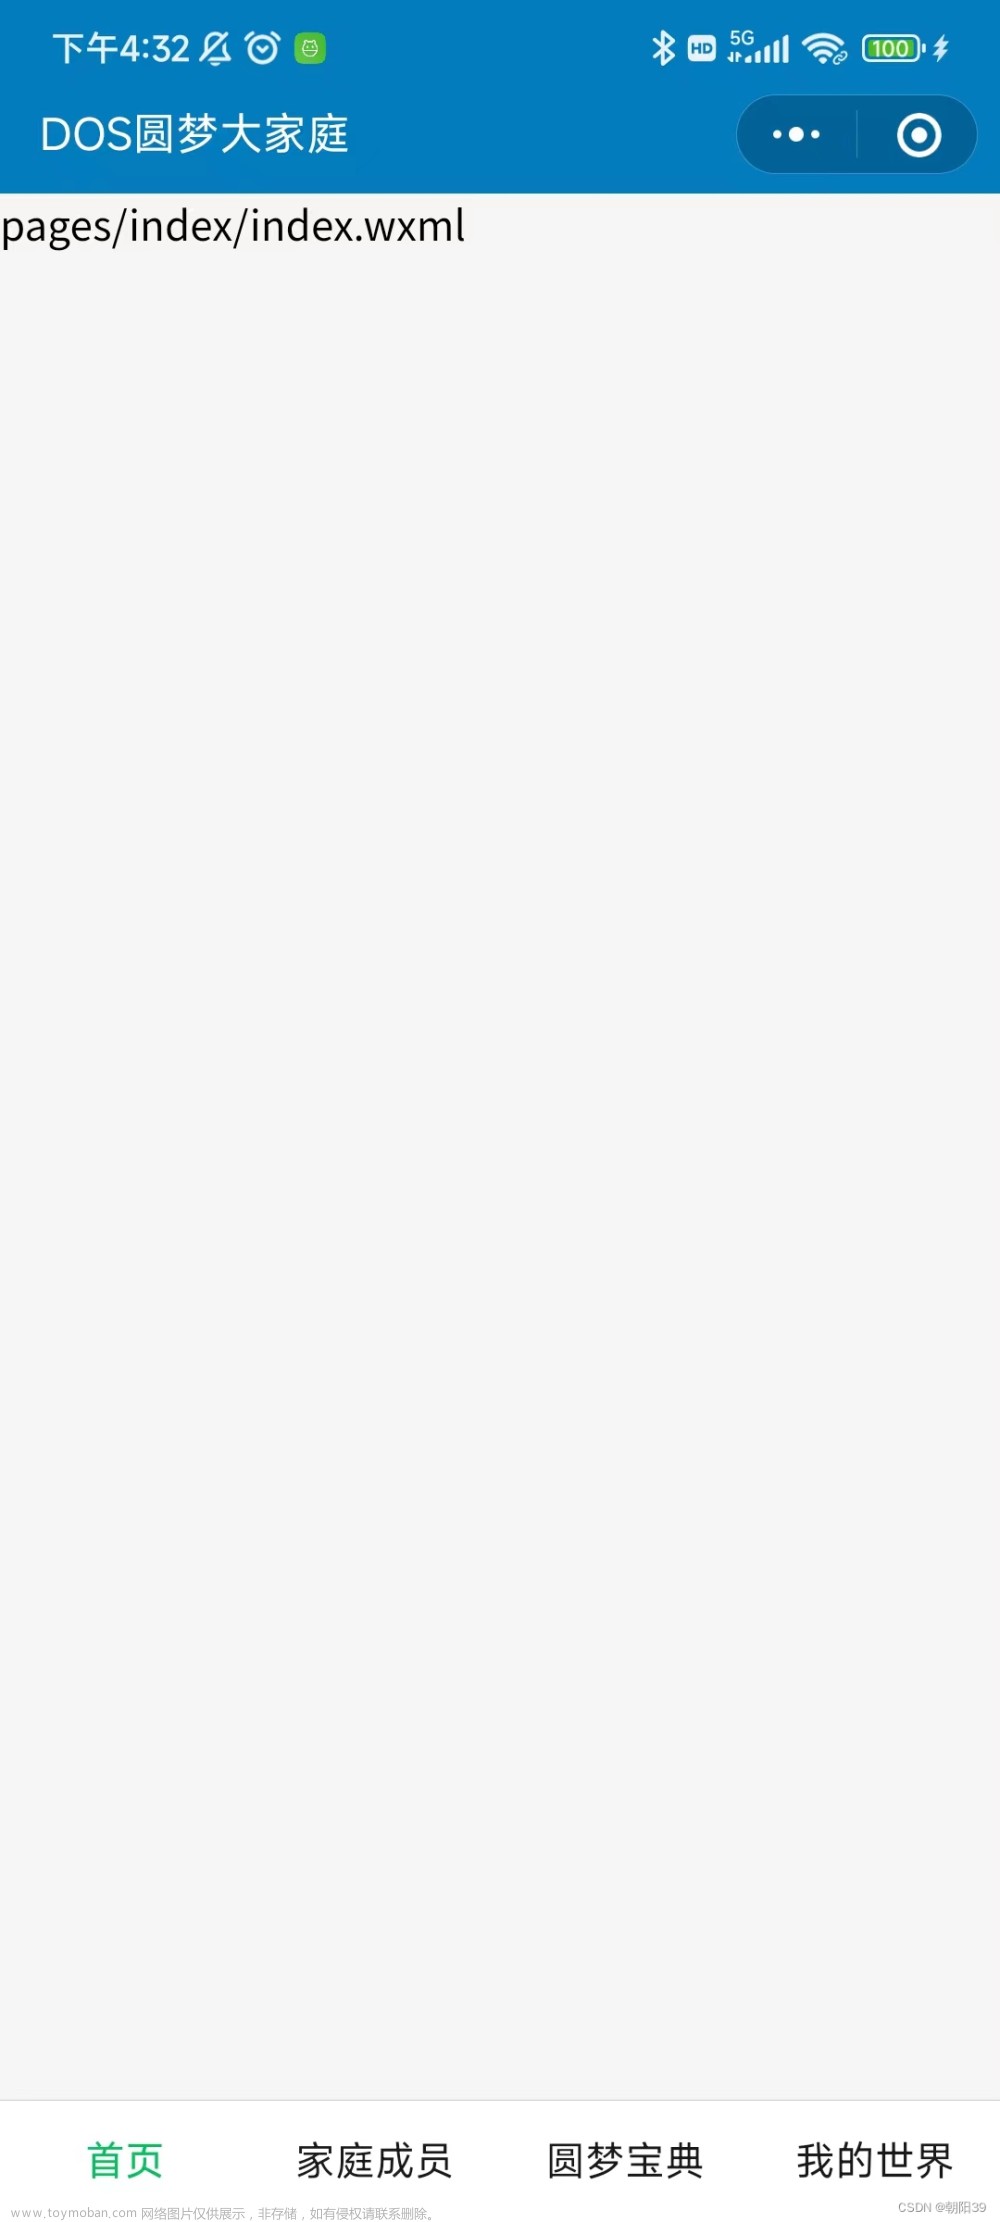
基于vant-weapp的底部导航栏,首先根据vant官网安装vant
https://vant-ui.github.io/vant-weapp/#/quickstart
由于vant的Tabbar 标签栏自带翻页效果,而且不够美观,且小程序最多只支持10个页面栈,点击多了会导致报错

报错如下

将wx.navigateTo改为wx.redirectTo在反复多点很多次之后依然会报错,所以还得优化
源码文件链接:
https://download.csdn.net/download/qq_48702470/86838097
贴上代码:
wxml:
<van-tabbar active="{{ active }}" bind:change="onChange" placeholder>
  <van-tabbar-item wx:for="{{ navList }}" wx:key="index" icon="{{ item.icon }}">{{
    item.text
  }}</van-tabbar-item>
</van-tabbar>
js:
Component({
    properties: {
        navList: {
            type: Array,
            default: () => {
                return [{
                        icon: 'home-o',
                        text: '页面1',
                        url: '/pages/home/home'
                    },
                    {
                        icon: 'search',
                        text: '页面2',
                        url: '/pages/mine/mine'
                    }
                ]
            }
        },
    },
    data: {
        active: 0
    },

    methods: {
        onChange(event) {
            // 当反复点击当前的页面,就不做切换操作了
            if (event.detail !== this.data.active) {
                this.setData({
                    active: event.detail
                });
                wx.switchTab({
                    url: this.data.navList[event.detail].url
                });
            }
            this.triggerEvent('onFooterNavChange', event)
        },

        init() {
            const page = getCurrentPages().pop();
            this.setData({
                active: this.data.navList.findIndex(item => item.url === `/${page.route}`)
            });
        }
    }
});
json:
{
	"component": true,
	"usingComponents": {
		"van-tabbar": "@vant/weapp/tabbar/index",
        "van-tabbar-item": "@vant/weapp/tabbar-item/index"
	}
}
使用方法:
1. 现将组件放入项目根目录的components文件夹下,自定义组件统一放在这里。(可以不用像微信官方案例一样的custom-tab-bar直接放在根目录下,强迫症表示很难受)

2. 然后在app.json中全局设置tabBar的custom属性为true,和其他相关属性
微信官方案例:https://developers.weixin.qq.com/miniprogram/dev/framework/ability/custom-tabbar.html
"tabBar": {
		"custom": true,
		"color": "#000000",
		"selectedColor": "#000000",
		"backgroundColor": "#000000",
		"list": [
			{
                "pagePath": "pages/home/home"
			},
			{
				"pagePath": "pages/mine/mine"
			}
		]
	}
3. 开始使用
在需要使用到该组件的页面wxml中:
<!-- 底部导航栏 -->
<footer-nav-bar
    id="footer-nav-bar-id"
    navList="{{footerNavList}}"
    bind:onFooterNavChange="onFooterNavChange"
>
</footer-nav-bar>
在需要使用到该组件的页面js中:
data: {
    footerNavList: [{
            icon: 'home-o',
            text: '首页',
            url: '/pages/home/home'
        },
        {
            icon: 'friends-o',
            text: '我的',
            url: '/pages/mine/mine'
        }
    ],
},

/**
 * 生命周期函数--监听页面显示
 */
onShow() {
   // 通过id获取底部导航栏组件,调用其中的init方法获取当前页面
   let footerNavComp = this.selectComponent('#footer-nav-bar-id');
   // 调用组件中的init方法,重要,若没有这一步,在切换导航页面的时候,底部图标高亮会有问题
   footerNavComp.init()
},

onFooterNavChange(event) {
    // 点击底部导航栏切换后回调
    // console.log('点击底部导航栏', event.detail.detail);
}
最终实现效果:

如果想要更高自由度或者特效的底部菜单,不受拘与vant的版本,请戳下方地址文章来源:https://www.toymoban.com/news/detail-547133.html
微信小程序自定义底部导航栏_微信小程序底部_夏夜追凉丶的博客-CSDN博客文章来源地址https://www.toymoban.com/news/detail-547133.html
到了这里,关于微信小程序基于vant的自定义底部导航栏的文章就介绍完了。如果您还想了解更多内容,请在右上角搜索TOY模板网以前的文章或继续浏览下面的相关文章,希望大家以后多多支持TOY模板网!


