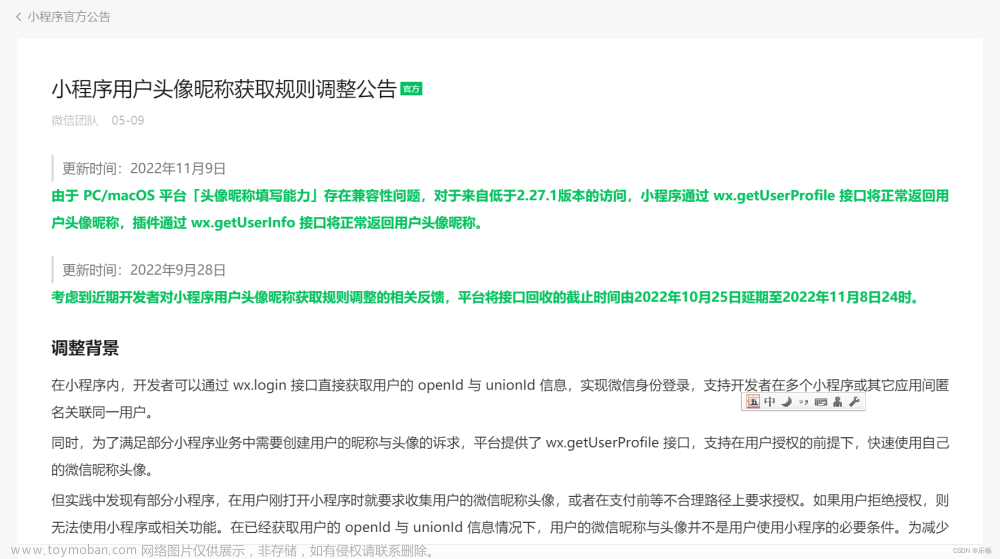
前言:由于.uni.getUserInfo无法获得用户真正的的昵称和头像,所以改uni.getUserProfile
误区:以为uni.getUserProfile()跟uni.getUserInfo()一样可以直接写在方法里面就能自动触发。
我将下图uni.getUserInfo直接改成了uni.getUserProfile(),搞了半天死活不弹授权窗
uni.login({
				provider: "weixin",
				success: (res) => {
					// console.log(res)
					if (res.errMsg == 'login:ok') {
						// console.log("==========")
						//通过code获取openId等信息
						uni.getUserInfo({
							desc: "weixin",
							success: (info) => {
								console.log('=info==', info)
                            }
                         })
                     }
                }
         })
正确思路:
方法一:将uni.getUserProfile()单独拿出来放在一个方法里面,通过点击按钮触发文章来源:https://www.toymoban.com/news/detail-552344.html
<template>
<view @click="login">获得信息</view>
</template>

<script>
		methods: {
			login() {
				// console.log("触发")
				uni.getUserProfile({
					desc: "获取你的昵称、头像、地区及性别",
					success: (res) => {
						console.log("所有",res)
					},
					fail() {

					}
				})
			}
		}
	}
</script>
方法二:通过uni.showModel()的确定键触发文章来源地址https://www.toymoban.com/news/detail-552344.html
<template>
</template>

<script>
	export default {
		created() {
			uni.showModal({
				title:'授权',
				content:"是否授权",
				success: () => {
					this.login()
				}
			})
		},
		methods: {
			login() {
				// console.log("触发")
				uni.getUserProfile({
					desc: "获取你的昵称、头像、地区及性别",
					success: (res) => {
						console.log("所有",res)

					},
					fail() {

					}
				})
			}
		}
	}
</script>

<style>
</style>
到了这里,关于uni.getUserProfile()的用法的文章就介绍完了。如果您还想了解更多内容,请在右上角搜索TOY模板网以前的文章或继续浏览下面的相关文章,希望大家以后多多支持TOY模板网!


