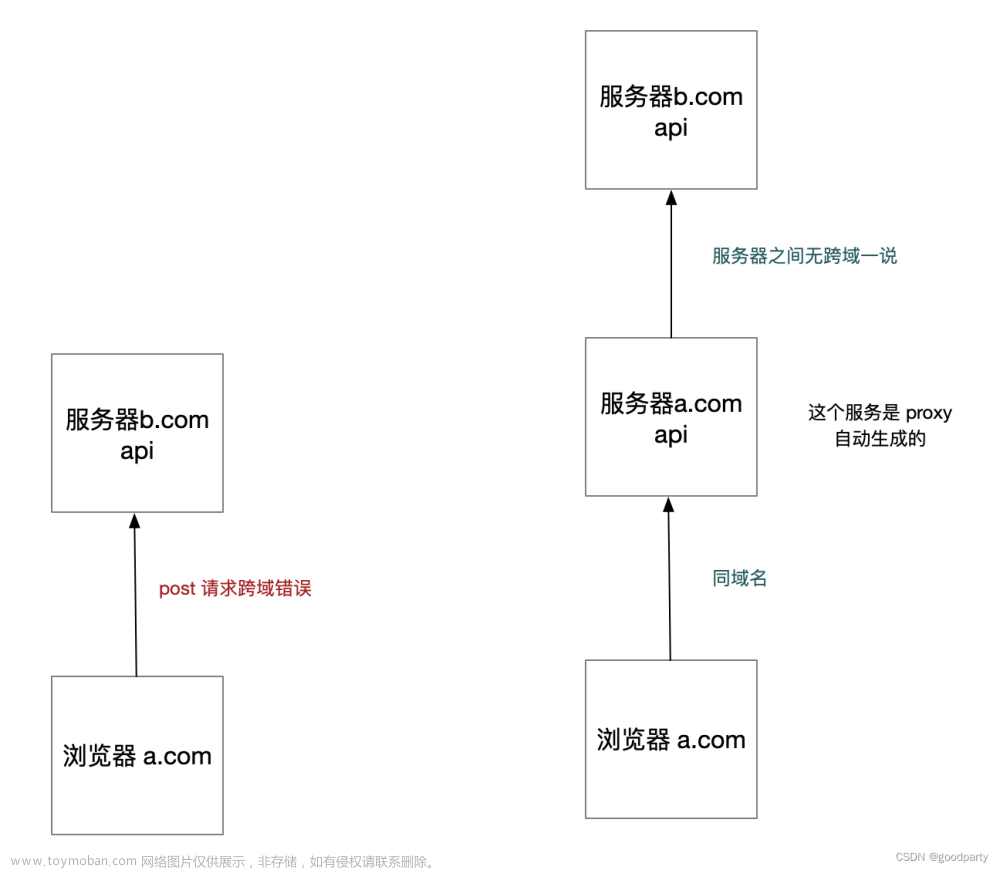
如何配置跨域,代理域名,下面是vite的代理
server: {
      port: 8516,
      host: true,
      open: true,
      proxy: {
        '/license-province': {
          target: 'http://xxx.xxx.x.xxx:xxxx',
          changeOrigin: true,//是否跨域
          rewrite: (p) => p.replace(/^\/license-province/, 'license-province')//重写路径
        }
      }
    },
区分开发环境和生产环境,以及预发布环境
在根目录创建 .env[mode]文件,在项目执行 npm run dev 的时候vite会自动去读取 .env.development 文件里面的配置,执行 npm run build 进行打包之后也会自动将 .env.production 的内容打包进去.
注意: 如果你想进入预发布模式的话需要在打包的时候进行mode配置: npm run build --mode staging
公共的: .env
开发环境: .env.development
生产环境: .env.production
预发布环境: .env.staging
我们的 .env.development 和 .env.production 文件里面都会有 VITE_APP_ENV 配置:


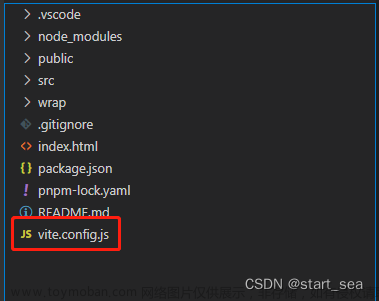
在我们的 vite.config.js文件中:

以上是 vite.config.js 的配置,上面展示了在不同环境下去请求对应环境的域名并且配置代理进行跨域.文章来源:https://www.toymoban.com/news/detail-558220.html
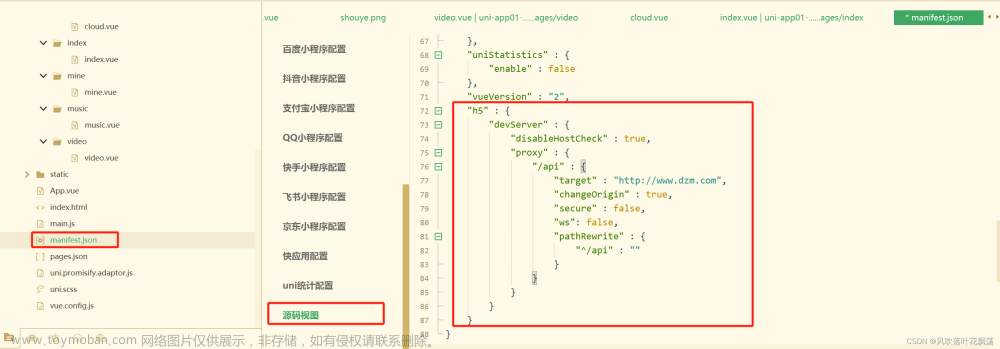
VUE中常用proxy来解决跨域问题
1.在vue.config.js中设置一下代码:
module.exports = {
  dev: {
    // Paths
    assetsSubDirectory: 'static',
    assetsPublicPath: '/',
    proxyTable: { // 配置跨域
    '/api':{
        target:`http://xxx.xxx.xxx`, //请求后台接口
        changeOrigin:true, // 允许跨域
        pathRewrite:{
            '^/api' : '' // 重写请求
        }
    }
  },
}
2. 创建axioss实例时,将baseUrl设置为 '/api'文章来源地址https://www.toymoban.com/news/detail-558220.html
const http = axios.create({
  timeout: 1000 * 1000000,
  withCredentials: true,
  BASE_URL: '/api'
  headers: {
     'Content-Type': 'application/json; charset=utf-8'
   }
})
到了这里,关于vue中vite.config.js配置跨域以及环境配置详解的文章就介绍完了。如果您还想了解更多内容,请在右上角搜索TOY模板网以前的文章或继续浏览下面的相关文章,希望大家以后多多支持TOY模板网!


