flutter开发实战-生日等日期选择器DatePicker
在开发遇到设置生日等信息需要选择日期,这里用到的是CupertinoDatePicker
iOS效果的日期、时间选择器
一、效果图
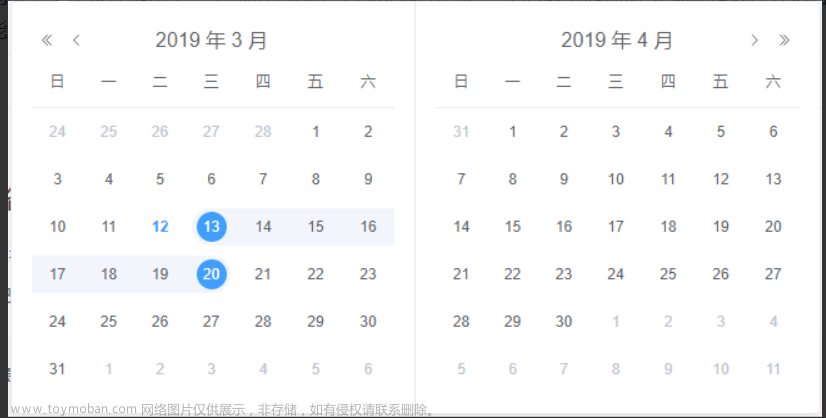
运行后效果图如下

二、代码实现
我们需要调用底部弹窗显示
//显示底部弹窗
  static void bottomSheetDialog(
    BuildContext context,
    Widget widget, {
    bool? isScrollControlled,
    bool? enableDrag,
    Color? backgroundColor,
  }) {
    showModalBottomSheet(
      context: context,
      isScrollControlled: isScrollControlled ?? true,
      enableDrag: enableDrag ?? true,
      backgroundColor: backgroundColor ?? Colors.white,
      builder: (ctx) {
        return widget;
      },
    );
  }
生日日期选择
ProfileBirthdayPicker
class ProfileBirthdayPicker extends StatefulWidget {
const ProfileBirthdayPicker({
Key? key,
required this.confirmPressed,
}) : super(key: key);
final Function(String date) confirmPressed;
State<ProfileBirthdayPicker> createState() => _ProfileBirthdayPickerState();
}
class _ProfileBirthdayPickerState extends State<ProfileBirthdayPicker> {
String _datePickerDate = "";
Widget build(BuildContext context) {
return Container(
height: 256.0,
color: Colors.white,
child: Column(
mainAxisAlignment: MainAxisAlignment.start,
crossAxisAlignment: CrossAxisAlignment.center,
children: [
_buildButtonRow(context),
Expanded(
child: CupertinoDatePicker(
dateOrder: DatePickerDateOrder.ymd,
mode: CupertinoDatePickerMode.date,
initialDateTime: DateTime.now(),
onDateTimeChanged: (date) {
print('onDateTimeChanged - $date');
String dateString =
DateUtil.formatDate(date, format: "yyyy-MM-dd");
_datePickerDate = dateString;
},
),
),
],
),
);
}
Widget _buildButtonRow(BuildContext context) {
return Row(
mainAxisAlignment: MainAxisAlignment.spaceBetween,
crossAxisAlignment: CrossAxisAlignment.center,
children: [
ButtonWidget(
width: 80,
height: 50,
onPressed: () {
DialogUtil.pop(context);
},
child: Text(
"取消",
textAlign: TextAlign.center,
softWrap: true,
style: TextStyle(
fontSize: 16,
fontWeight: FontWeight.w500,
fontStyle: FontStyle.normal,
color: ColorUtil.hexColor(0xA1A1A1),
decoration: TextDecoration.none,
),
),
highlightedColor: ColorUtil.hexColor(0xf7f7f7),
bgColor: ColorUtil.hexColor(0xffffff),
bgHighlightedColor: ColorUtil.hexColor(0xf7f7f7),
enabled: true,
bgDisableColor: Colors.grey,
borderRadius: 8.0,
),
ButtonWidget(
width: 80,
height: 50,
onPressed: () {
widget.confirmPressed(_datePickerDate);
DialogUtil.pop(context);
},
child: Text(
"确定",
textAlign: TextAlign.center,
softWrap: true,
style: TextStyle(
fontSize: 16,
fontWeight: FontWeight.w400,
fontStyle: FontStyle.normal,
color: ColorUtil.hexColor(0x338FFF),
decoration: TextDecoration.none,
),
),
highlightedColor: ColorUtil.hexColor(0xf7f7f7),
bgColor: ColorUtil.hexColor(0xffffff),
bgHighlightedColor: ColorUtil.hexColor(0xf7f7f7),
enabled: true,
bgDisableColor: Colors.grey,
borderRadius: 8.0,
),
],
);
}
}
三、小结
flutter开发实战-生日等日期选择器DatePicker。iOS效果风格的日期选择器:CupertinoDatePicker。文章来源:https://www.toymoban.com/news/detail-565797.html
学习记录,每天不停进步。文章来源地址https://www.toymoban.com/news/detail-565797.html
到了这里,关于flutter开发实战-生日等日期选择器DatePicker的文章就介绍完了。如果您还想了解更多内容,请在右上角搜索TOY模板网以前的文章或继续浏览下面的相关文章,希望大家以后多多支持TOY模板网!


