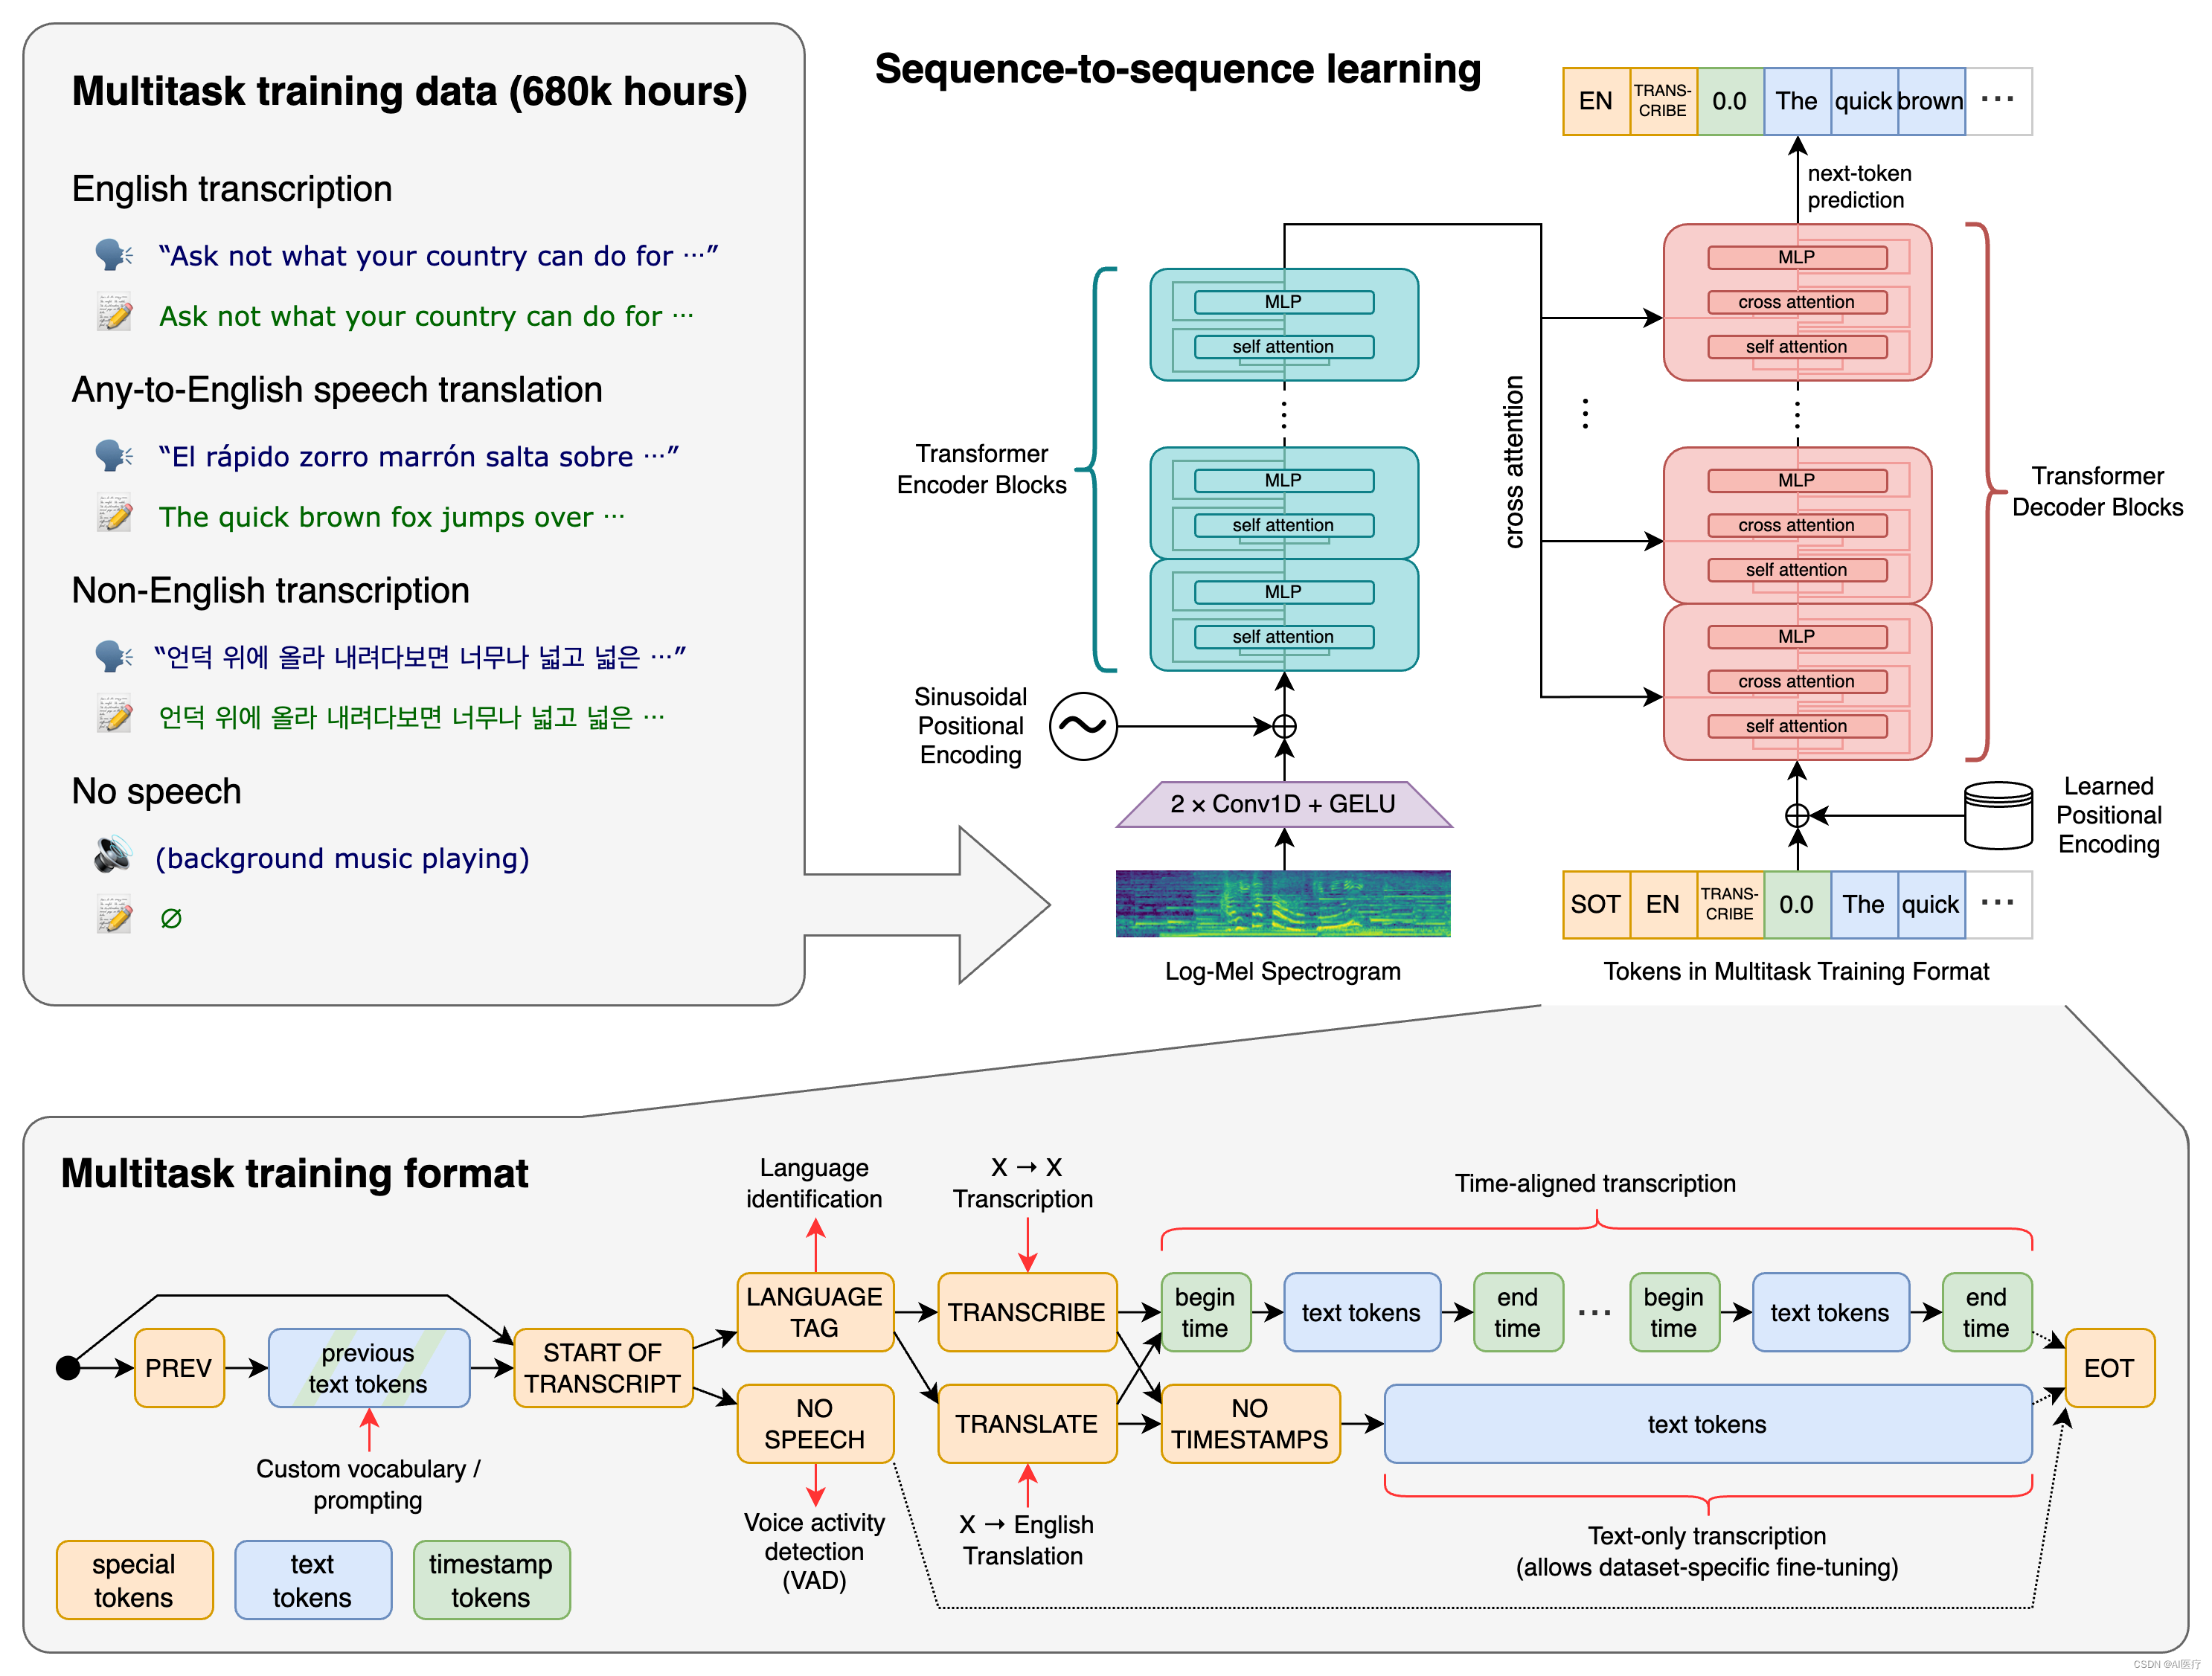
WhisperX 是一个优秀的开源Python语音识别库。
下面记录Windows10系统下部署Whisper
1、在操作系统中安装 Python环境
2、安装 CUDA环境
3、安装Annaconda或Minconda环境
4、下载安装ffmpeg
下载release-builds包,如下图所示
将下载的包解压到你想要的路径,然后配置系统环境:我的电脑->高级系统设置->环境变量->Path

设置完成后打开cmd窗口输入
ffmpeg

5、conda环境安装指定位置的虚拟环境
conda create --prefix=D:\Projects\LiimouDemo\WhisperX\Code\whisperX\whisperXVenv python=3.10
6、激活虚拟环境
conda activate D:\Projects\LiimouDemo\WhisperX\Code\whisperX\whisperXVenv
7、安装WhisperX库
pip install git+https://github.com/m-bain/whisperx.git
8、更新WhisperX库
pip install git+https://github.com/m-bain/whisperx.git --upgrade
9、在Python中使用
import whisperx
import time
import zhconv
device = "cuda"
audio_file = "data/test.mp3"
batch_size = 16 # reduce if low on GPU mem
compute_type = "float16" # change to "int8" if low on GPU mem (may reduce accuracy)
# compute_type = "int8" # change to "int8" if low on GPU mem (may reduce accuracy)
print('开始加载模型')
start = time.time()
# 1. Transcribe with original whisper (batched)
model = whisperx.load_model("large-v2", device, compute_type=compute_type)
# model = whisperx.load_model("small", device, compute_type=compute_type)
end = time.time()
print('加载使用的时间:',end-start,'s')
start = time.time()
audio = whisperx.load_audio(audio_file)
result = model.transcribe(audio, batch_size=batch_size)

print(result["segments"][0]["text"]) # before alignment
end = time.time()
print('识别使用的时间:',end-start,'s')
封装上述代码,初始化时调用一次loadModel()方法,之后使用就直接调用asr(path)方法文章来源:https://www.toymoban.com/news/detail-568326.html
import whisperx
import zhconv
from whisperx.asr import FasterWhisperPipeline
import time

class WhisperXTool:
    device = "cuda"
    audio_file = "data/test.mp3"
    batch_size = 16  # reduce if low on GPU mem
    compute_type = "float16"  # change to "int8" if low on GPU mem (may reduce accuracy)
    # compute_type = "int8" # change to "int8" if low on GPU mem (may reduce accuracy)
    fast_model: FasterWhisperPipeline

    def loadModel(self):
        # 1. Transcribe with original whisper (batched)
        self.fast_model = whisperx.load_model("large-v2", self.device, compute_type=self.compute_type)
        print("模型加载完成")

    def asr(self, filePath: str):
        start = time.time()
        audio = whisperx.load_audio(filePath)
        result = self.fast_model.transcribe(audio, batch_size=self.batch_size)
        s = result["segments"][0]["text"]
        s1 = zhconv.convert(s, 'zh-cn')
        print(s1)
        end = time.time()
        print('识别使用的时间:', end - start, 's')
        return s1
zhconv是中文简体繁体转换的库,安装命令如下文章来源地址https://www.toymoban.com/news/detail-568326.html
pip install zhconv
到了这里,关于whisperX 语音识别本地部署的文章就介绍完了。如果您还想了解更多内容,请在右上角搜索TOY模板网以前的文章或继续浏览下面的相关文章,希望大家以后多多支持TOY模板网!


