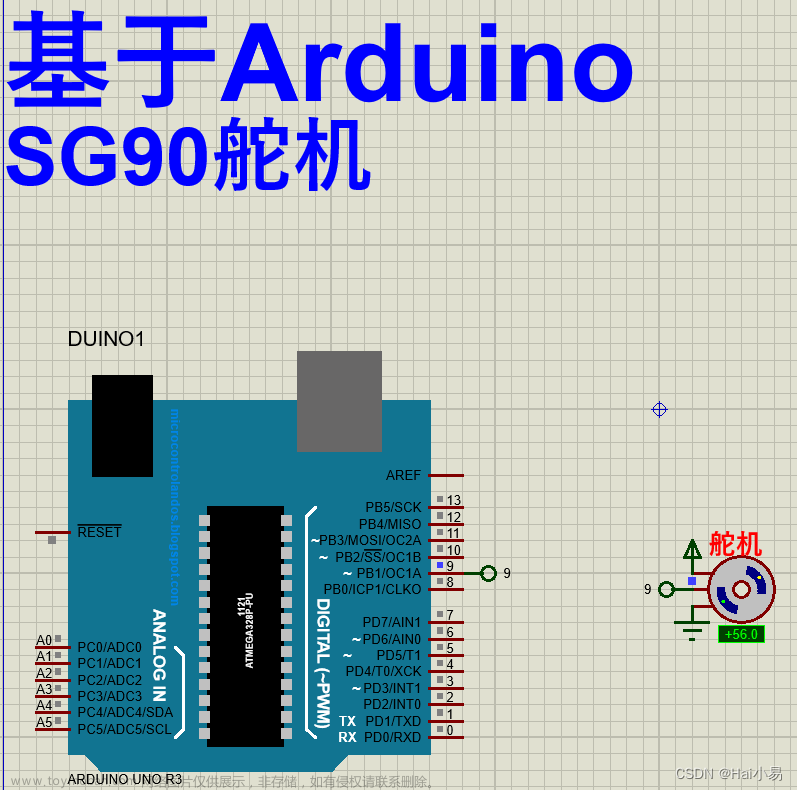
180度舵机文章来源:https://www.toymoban.com/news/detail-591623.html
//驱动180读舵机  安装ServoESP32库
//接线 棕色 负极   红色 5V    橘黄色 信号线 D4
//安装库 ServoESP32
//控制舵机正传180度  反转180度
#include <Servo.h>

static const int servoPin = 4;
Servo servo1;

void setup() {
    Serial.begin(115200);
    servo1.attach(servoPin);
}

void loop() {
    for(int posDegrees = 0; posDegrees <= 180; posDegrees++) {
        servo1.write(posDegrees);
        Serial.println(posDegrees);
        delay(20);
    }
    for(int posDegrees = 180; posDegrees >= 0; posDegrees--) {
        servo1.write(posDegrees);
        Serial.println(posDegrees);
        delay(20);
    }
}360度舵机文章来源地址https://www.toymoban.com/news/detail-591623.html
#include <Arduino.h>
int t = 100;
int channel_PWM = 3;  //使用3号通道 定时器1  总共16个通道
// 舵机频率,那么周期也就是1/50,也就是20ms ,PWM⼀共有16个通道,0-7位⾼速通道由80Mhz时钟驱动,后⾯8个为低速通道由1Mhz
int freq_PWM = 50;  //50HZ pwm波
// PWM分辨率,取值为 0-20 之间  ,这⾥填写为10,那么后⾯的ledcWrite 这个⾥⾯填写的pwm值就在 0 - 2的10次⽅ 之间 也就是 0-1024,如果是要求不⾼的东西你可以直接拿1000去算了
int res_PWM = 10;  //分辨率  0-1024  共1025
const int  PWM_PIN = 4; //使用4号引脚
void setup() {
  ledcSetup(channel_PWM,freq_PWM,res_PWM);  //设置通道
  ledcAttachPin(PWM_PIN,channel_PWM);  //将引脚绑定到通道上
}
//正传t秒 停止t秒 反转t秒 停止t秒 循环...
void loop() {
  ledcWrite(channel_PWM,52); //20ms⾼电平为1ms左右 ,也就是1/20*1024 = 52,此时360度舵机正传5秒
  delay(t);
  ledcWrite(channel_PWM, 77);  //20ms⾼电平为1.5ms左右 ,也就是1.5/20*1024 = 77,此时360度舵机⼏乎停转
  delay(t);
  ledcWrite(channel_PWM, 102);  //20ms⾼电平为2ms左右 ,也就是2/20*1024 = 102,此时360度舵机反转
  delay(t);
  ledcWrite(channel_PWM, 77);  //20ms⾼电平为1.5ms左右 ,也就是1.5/20*1024 = 77,此时360度舵机⼏乎停转
  delay(t);
  //ledcDetachPin(PWM_Pin);  //这个是解除IO⼝的pwm输出功能模式
}
到了这里,关于ESP32使用Arduino驱动180 360度舵机的文章就介绍完了。如果您还想了解更多内容,请在右上角搜索TOY模板网以前的文章或继续浏览下面的相关文章,希望大家以后多多支持TOY模板网!


