文章来源地址https://www.toymoban.com/news/detail-592265.html
目录
安装InputSystem
在编辑的脚本中使用 InputSystem生成的脚本
Unity版本:2019.2.3f1
安装InputSystem
菜单栏/Window/Package Manager/Input System

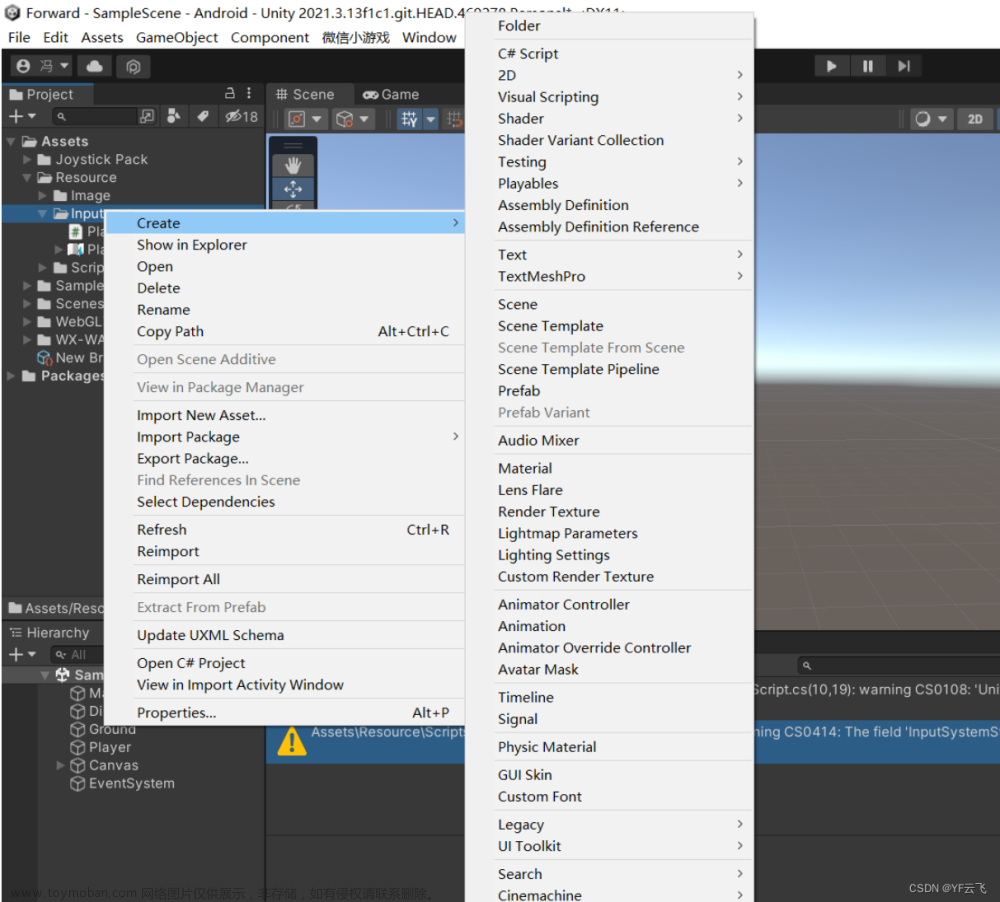
工程面板内 右键-->创建Input Actions 
选中New Controls改名为PlayerControls 然后属性 面板按下Edit asset
Action Maps添加:PlayerMovement
文章来源:https://www.toymoban.com/news/detail-592265.html
Actions添加:New action 改名为MovementAction
Properties项 修改ActionType=Pass Through
修改ControlType= Vector2

在MovementAction项点击+号 选择Add 2D Vector Composite

生成WASD

绑定Up、Down、Left、Right,如此类推

回到PlayerControls属性面板 勾选Generate C# Class[*]

工程面板就生成了一份 PlayerControls.cs 脚本 
在编辑的脚本中使用 InputSystem生成的脚本
using System.Collections;
using System.Collections.Generic;
using UnityEngine;

public class PlayerLocomotion : MonoBehaviour
{

    PlayerControls inputActions;//声明 InputSystem的脚本对象
    public new Rigidbody rigidbody;
    Vector2 movementInput;//存储 WASD输入的值

    [Header("Stats")]
    [SerializeField]
    float movementSpeed = 5;


    // Start is called before the first frame update
    void Start()
    {
        rigidbody = GetComponent<Rigidbody>();
    }

    // Update is called once per frame
    void Update()
    {
        Vector3 vector3 = new Vector3(movementInput.x * movementSpeed, 0, movementInput.y * movementSpeed);
        rigidbody.velocity = vector3;//给刚体 这个方向的速度
    }


    public void OnEnable()
    {
        //获取设备上的输入
        if (inputActions==null)
        {
            inputActions = new PlayerControls();
            //绑定输入的值
            inputActions.PlayerMovement.MovementAction.performed += outputActions => movementInput = outputActions.ReadValue<Vector2>();
        }

        inputActions.Enable();//启用
    }

    public void OnDisable()
    {
        inputActions.Disable();//禁用
    }
}


 \
\
完成
到了这里,关于Unity简单操作:InputSystem获取WASD键盘输入 移动人物的文章就介绍完了。如果您还想了解更多内容,请在右上角搜索TOY模板网以前的文章或继续浏览下面的相关文章,希望大家以后多多支持TOY模板网!


