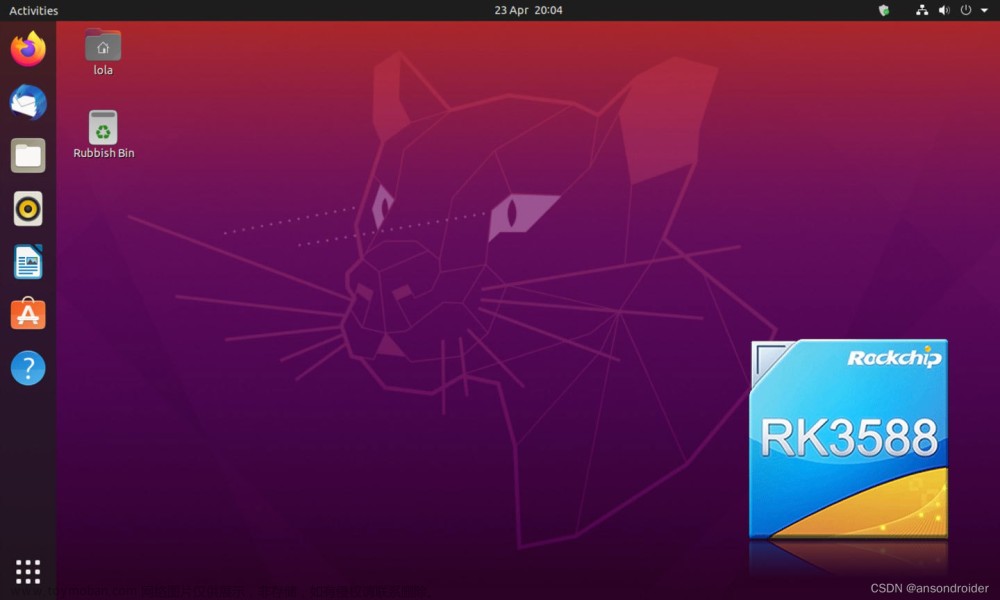
1.查看Ubuntu版本:
sudo lsb_release -a
显示结果如下:
2.备份系统镜像源文件
备份配置文件,当配置出错时,可以回滚,ubuntu镜像配置文件是:/etc/apt/sources.list,执行下面命令进行备份。
cp /etc/apt/sources.list /etc/apt/sources.list.back
3.使用vi修改 sources.list 文件
sudo vi /etc/apt/sources.list
使用命令::%d 清空文件所有内容
复制下面的源镜像到文件中,选择其中一个源镜像或者将三个镜像源都复制进去sources.list文件中。
- 阿里源镜像
deb http://mirrors.aliyun.com/ubuntu/ jammy main restricted universe multiverse
deb http://mirrors.aliyun.com/ubuntu/ jammy-security main restricted universe multiverse
deb http://mirrors.aliyun.com/ubuntu/ jammy-updates main restricted universe multiverse
deb http://mirrors.aliyun.com/ubuntu/ jammy-backports main restricted universe multiverse

# deb-src http://mirrors.aliyun.com/ubuntu/ jammy main restricted universe multiverse
# deb-src http://mirrors.aliyun.com/ubuntu/ jammy-security main restricted universe multiverse
# deb-src http://mirrors.aliyun.com/ubuntu/ jammy-updates main restricted universe multiverse
# deb-src http://mirrors.aliyun.com/ubuntu/ jammy-backports main restricted universe multiverse

## Pre-released source, not recommended.
# deb http://mirrors.aliyun.com/ubuntu/ jammy-proposed main restricted universe multiverse
# deb-src http://mirrors.aliyun.com/ubuntu/ jammy-proposed main restricted universe multiverse
- 清华源镜像
deb https://mirrors.tuna.tsinghua.edu.cn/ubuntu/ jammy main restricted universe multiverse
deb https://mirrors.tuna.tsinghua.edu.cn/ubuntu/ jammy-updates main restricted universe multiverse
deb https://mirrors.tuna.tsinghua.edu.cn/ubuntu/ jammy-backports main restricted universe multiverse
deb https://mirrors.tuna.tsinghua.edu.cn/ubuntu/ jammy-security main restricted universe multiverse

# deb-src https://mirrors.tuna.tsinghua.edu.cn/ubuntu/ jammy main restricted universe multiverse
# deb-src https://mirrors.tuna.tsinghua.edu.cn/ubuntu/ jammy-updates main restricted universe multiverse
# deb-src https://mirrors.tuna.tsinghua.edu.cn/ubuntu/ jammy-backports main restricted universe multiverse
# deb-src https://mirrors.tuna.tsinghua.edu.cn/ubuntu/ jammy-security main restricted universe multiverse

## Pre-released source, not recommended.
# deb https://mirrors.ustc.edu.cn/ubuntu/ jammy-proposed main restricted universe multiverse
# deb-src https://mirrors.ustc.edu.cn/ubuntu/ jammy-proposed main restricted universe multiverse
- 网易源镜像
deb http://mirrors.163.com/ubuntu/ jammy main restricted universe multiverse
deb http://mirrors.163.com/ubuntu/ jammy-security main restricted universe multiverse
deb http://mirrors.163.com/ubuntu/ jammy-updates main restricted universe multiverse
deb http://mirrors.163.com/ubuntu/ jammy-backports main restricted universe multiverse

# deb-src http://mirrors.163.com/ubuntu/ jammy main restricted universe multiverse
# deb-src http://mirrors.163.com/ubuntu/ jammy-security main restricted universe multiverse
# deb-src http://mirrors.163.com/ubuntu/ jammy-updates main restricted universe multiverse
# deb-src http://mirrors.163.com/ubuntu/ jammy-backports main restricted universe multiverse

## Pre-released source, not recommended.
# deb http://mirrors.163.com/ubuntu/ jammy-proposed main restricted universe multiverse
# deb-src http://mirrors.163.com/ubuntu/ jammy-proposed main restricted universe multiverse
5.更新系统镜像源:
- 更新源
sudo apt-get update
- 更新软件
sudo apt-get upgrade
6.报错
如果更新源时报错,可能是本地时间不对,需要重新设置时间。
更新日期
date -s YYYY/MM/DD
更新时间文章来源:https://www.toymoban.com/news/detail-592434.html
sudo date -s hh:mm:ss
生效文章来源地址https://www.toymoban.com/news/detail-592434.html
sudo hwclock --systohc
到了这里,关于Ubuntu20.04切换阿里源镜像(清华源、网易源)的文章就介绍完了。如果您还想了解更多内容,请在右上角搜索TOY模板网以前的文章或继续浏览下面的相关文章,希望大家以后多多支持TOY模板网!


