一,下载
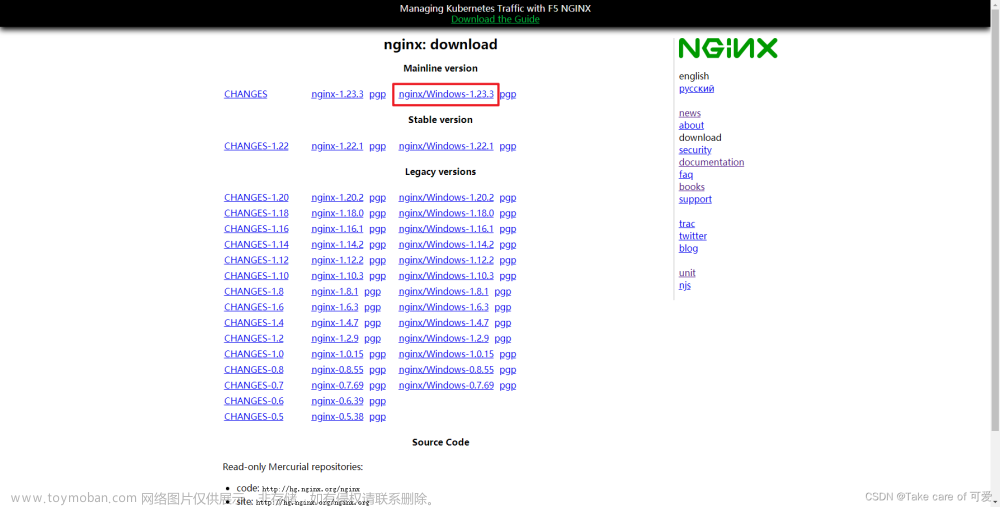
http://nginx.org/,打开官网,点击download
选择下载稳定版
二,解压
1,解压到硬盘某个目录
2,由于80端口被占用,于是我要修改conf目录下的nginx.conf文件
查看端口是否被占用
netstat -ano|findstr 0.0.0.0:80
netstat -ano|findstr “80”
我这里查看80端口已被占用,于是修改配置文件
查看配置文件是否配置正确的命令
D:\Config\nginx-1.24.0>nginx -t
nginx: the configuration file D:\Config\nginx-1.24.0/conf/nginx.conf syntax is ok
nginx: configuration file D:\Config\nginx-1.24.0/conf/nginx.conf test is successful
三,启动Nginx
方法1,命令行启动
start nginx
方法2,双击nginx.exe
黑框一闪而过,即启动成功
PS:我把端口设置成了87,启动成功了,但是访问localhost:87没有用,最后才改的8087重新启动后,居然就能访问了
关闭命令:
1,我们可以直接去任务管理器中找到nginx.exe关闭
2,也可以命令关闭文章来源:https://www.toymoban.com/news/detail-599504.html
nginx -s stop文章来源地址https://www.toymoban.com/news/detail-599504.html
到了这里,关于Windows下nginx的配置与启动的文章就介绍完了。如果您还想了解更多内容,请在右上角搜索TOY模板网以前的文章或继续浏览下面的相关文章,希望大家以后多多支持TOY模板网!


