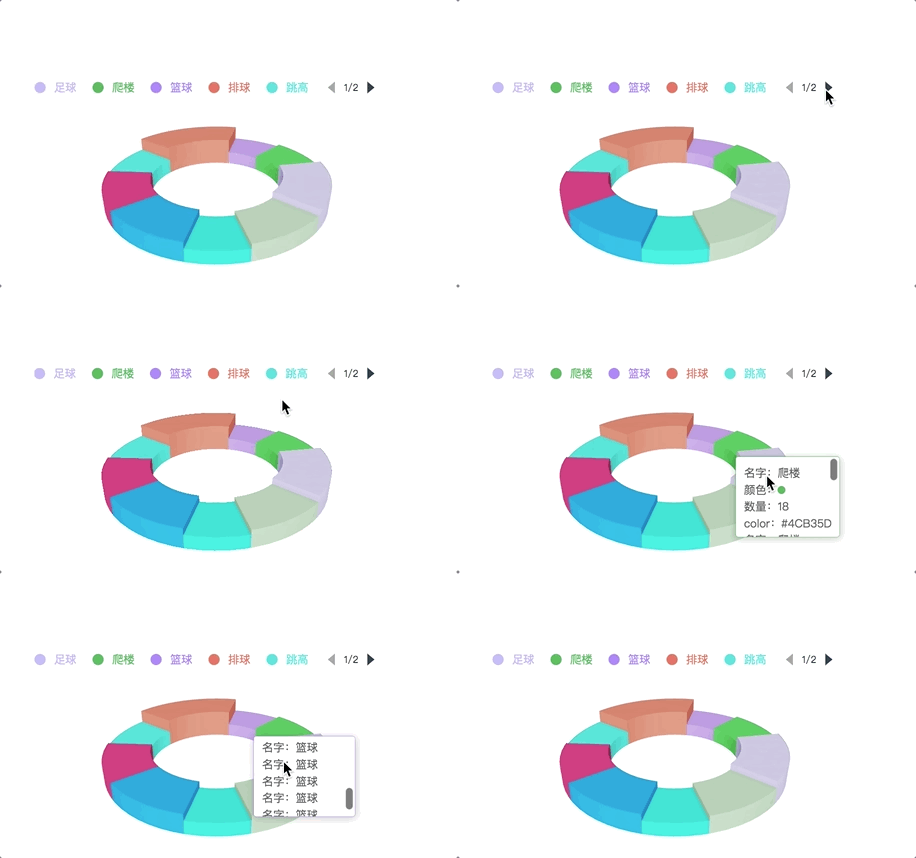
tooltip提示框位置有单独的字段(position),相信大家都知道
方式一:
tooltip: {
   // 主要在柱状图,折线图等会使用类目轴的图表中使用。
   trigger: 'axis',
   // 第一种: 数字设置绝对位置
   position: [20,20],
   // 第一种: 百分比设置相对位置 position: ['50%', '50%']
   position: [20,20],
},
方式二:
tooltip: {
   // 主要在散点图,饼图等无类目轴的图表中使用。
   trigger: 'item',
   position: 'top',  // 可选值 'inside'|'top'|'bottom'|'left'|'right'
},
方式三:
tooltip: {
   trigger: 'axis',
   // 回调函数
   position: function (point, params, dom, rect, size) {
       // 返回值可以是一个数组
       return ['40%', 30];
       // 返回值也可以是一个对象
       return {left: '40%', bottom: 20};
   }
},
大概说一下这几种方式:
第一种:不设置position字段,默认不设置时位置会跟随鼠标的位置。(但我们的需求是:提示框始终在拐点的斜上方)。
第二种: 通过数组方式,里边可以填写数字也可以填写百分比 。例:position: [20, 20]。
第三种:position后跟字符串,注:只在 trigger 为'item'的时候有效。
第四种:回调函数。
回调函数,会导致提示框显示不全。提示框位置随鼠标移动,并解决提示框显示不全的问题。
position: function (point, params, dom, rect, size) {
  // 鼠标坐标和提示框位置的参考坐标系是:以外层div的左上角那一点为原点,x轴向右,y轴向下
  // 提示框位置
  var x = 0; // x坐标位置
  var y = 0; // y坐标位置

  // 当前鼠标位置
  var pointX = point[0];
  var pointY = point[1];

  // 外层div大小
  // var viewWidth = size.viewSize[0];
  // var viewHeight = size.viewSize[1];

  // 提示框大小
  var boxWidth = size.contentSize[0];
  var boxHeight = size.contentSize[1];

  // boxWidth > pointX 说明鼠标左边放不下提示框
  if (boxWidth > pointX) {
    x = 5;
  } else { // 左边放的下
    x = pointX - boxWidth;
  }

  // boxHeight > pointY 说明鼠标上边放不下提示框
  if (boxHeight > pointY) {
    y = 5;
  } else { // 上边放得下
    y = pointY - boxHeight;
  }

  return [x, y];
}
虽然可以用,但是解决不了我的问题,我是每一个提示框都需要在斜上方。所以我只能一个一个判断了(笨办法 )
)
因为我发现
代码如下: 文章来源:https://www.toymoban.com/news/detail-600424.html
point[0]一直是正确的,所以以他为距离提示线的位置.记得考虑提示框是否出边界的问题,主要是上边的代码思路 ↑
position: function (point, params, dom, rect, size) {
            // console.log(point, params, dom, rect, size)
            if (params[2].name == '0月') {
              return [point[0] + 10, point[1] - size.contentSize[1] + 20];
            } else if (params[2].name == '03月') {
              return [point[0] + 10, point[1] - size.contentSize[1] + 20];
            } else if (params[2].name == '06月') {
              return [point[0] + 10, point[1] - size.contentSize[1] + 20];
            } else if (params[2].name == '09月') {
              return [point[0] + 10, point[1] - size.contentSize[1] + 20];
            } else if (params[2].name == '12月') {
              return [point[0] + 10, point[1] - size.contentSize[1] + 20];
            } else if (params[2].name == '15月') {
              return [point[0] + 10, point[1] - size.contentSize[1] + 20];
              // return [point[0]- size.contentSize[0] - 10, point[1] - size.contentSize[1] + 10];
            } else if (params[2].name == '18月') {
              return [point[0]- size.contentSize[0] - 10, point[1] - 40];
            } else if (params[2].name == '21月') {
              return [point[0]- size.contentSize[0] - 10, point[1] - 30 ];
            } else if (params[2].name == '24月') {
              return [point[0]- size.contentSize[0] - 10, point[1] - 25];
            } else if (params[2].name == '30月') {
              return [point[0]- size.contentSize[0] - 10, point[1]-10];
            } else if (params[2].name == '36月') {
              return [point[0]- size.contentSize[0] - 10, point[1]];
            }
},
文章来源地址https://www.toymoban.com/news/detail-600424.html
到了这里,关于echarts多图联动下,提示框(tooltip)位置跟随鼠标(拐点)移动的文章就介绍完了。如果您还想了解更多内容,请在右上角搜索TOY模板网以前的文章或继续浏览下面的相关文章,希望大家以后多多支持TOY模板网!


![[element-ui] el-table表格头添加图标-鼠标移入显示el-tooltip提示信息](https://imgs.yssmx.com/Uploads/2024/02/512233-1.png)


