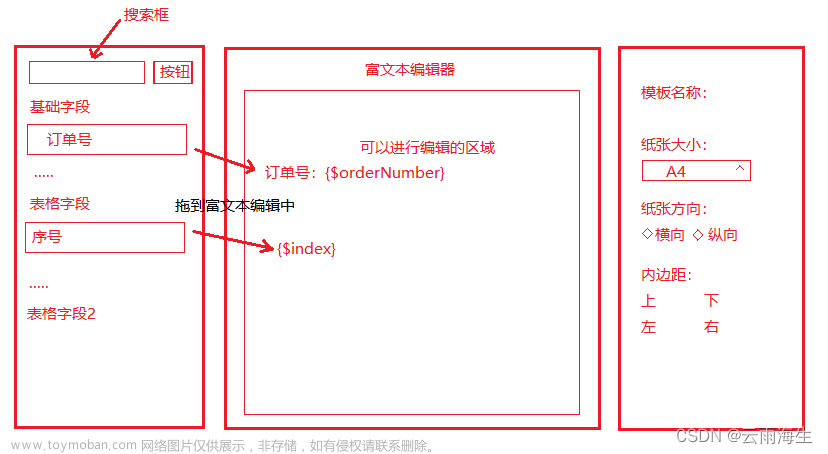
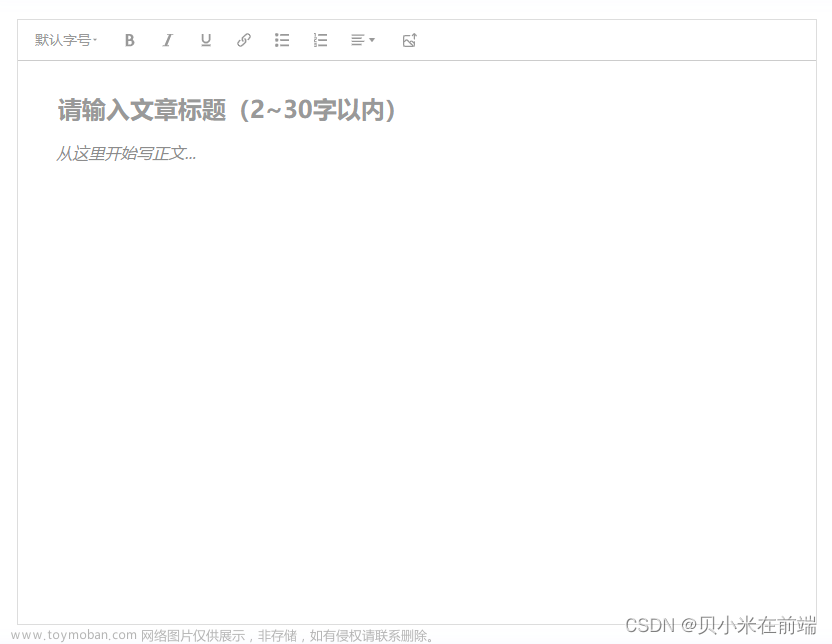
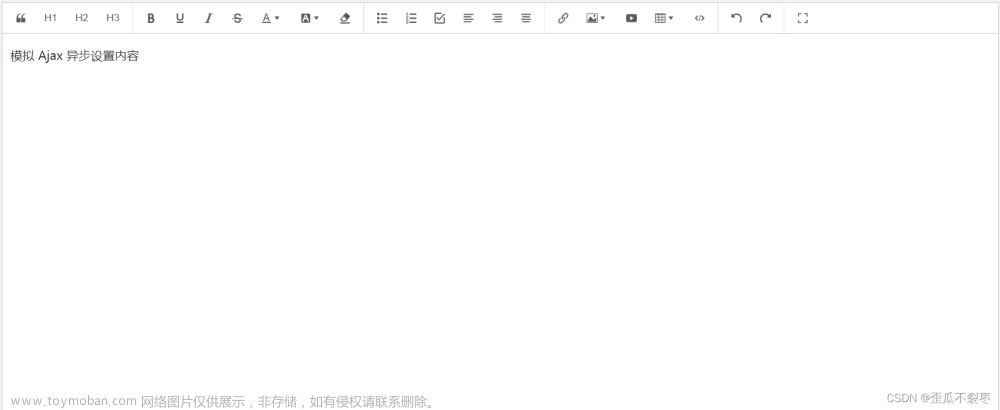
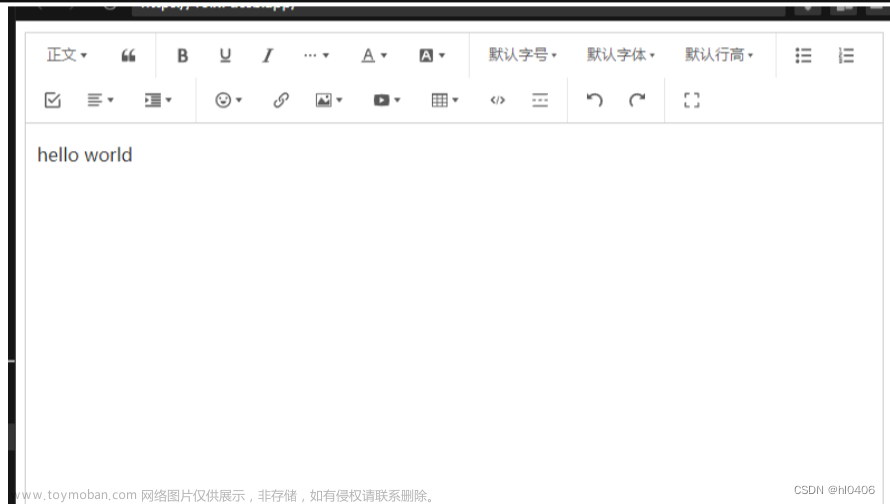
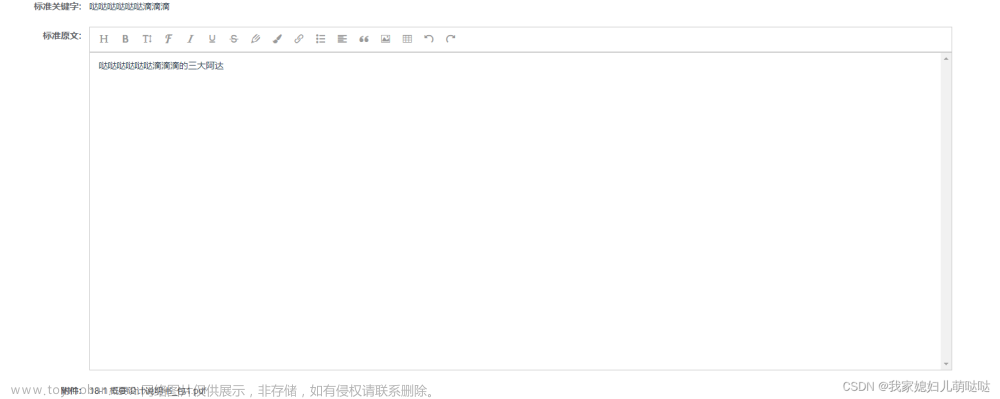
实现效果

文章来源地址https://www.toymoban.com/news/detail-603108.html
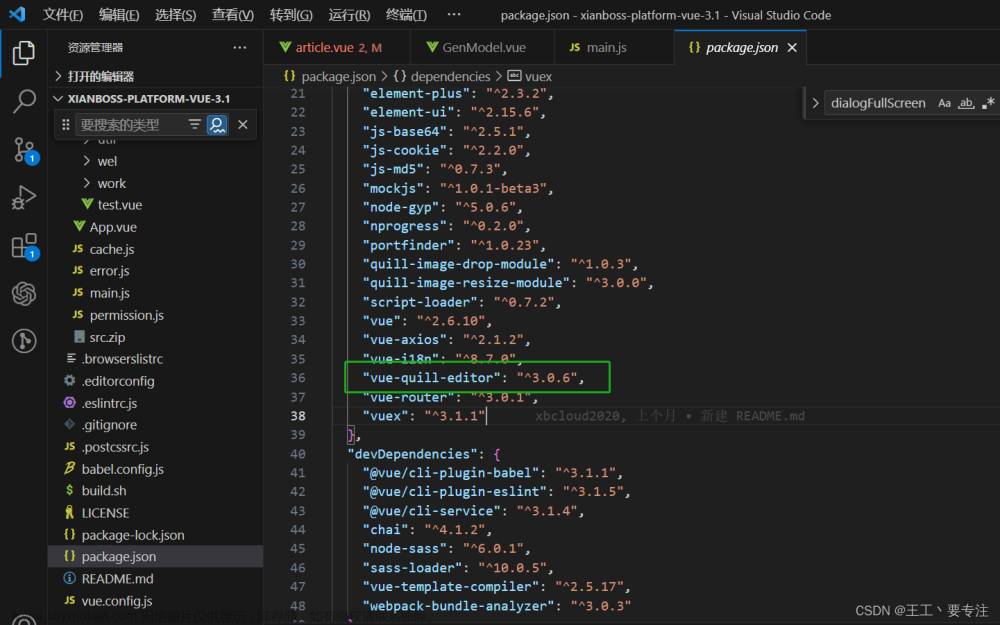
1.安装插件 npm install vue-quill-editor --save
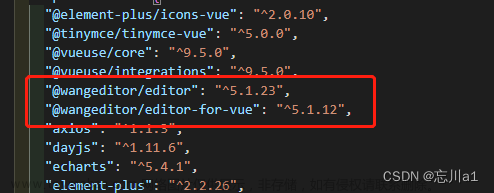
2.安装成功后在package.json中查看
3.在main.js中全局引入插件
// 富文本编辑器
import VueQuillEditor from 'vue-quill-editor'
import 'quill/dist/quill.core.css'
import 'quill/dist/quill.snow.css'
import 'quill/dist/quill.bubble.css'
Vue.use(VueQuillEditor)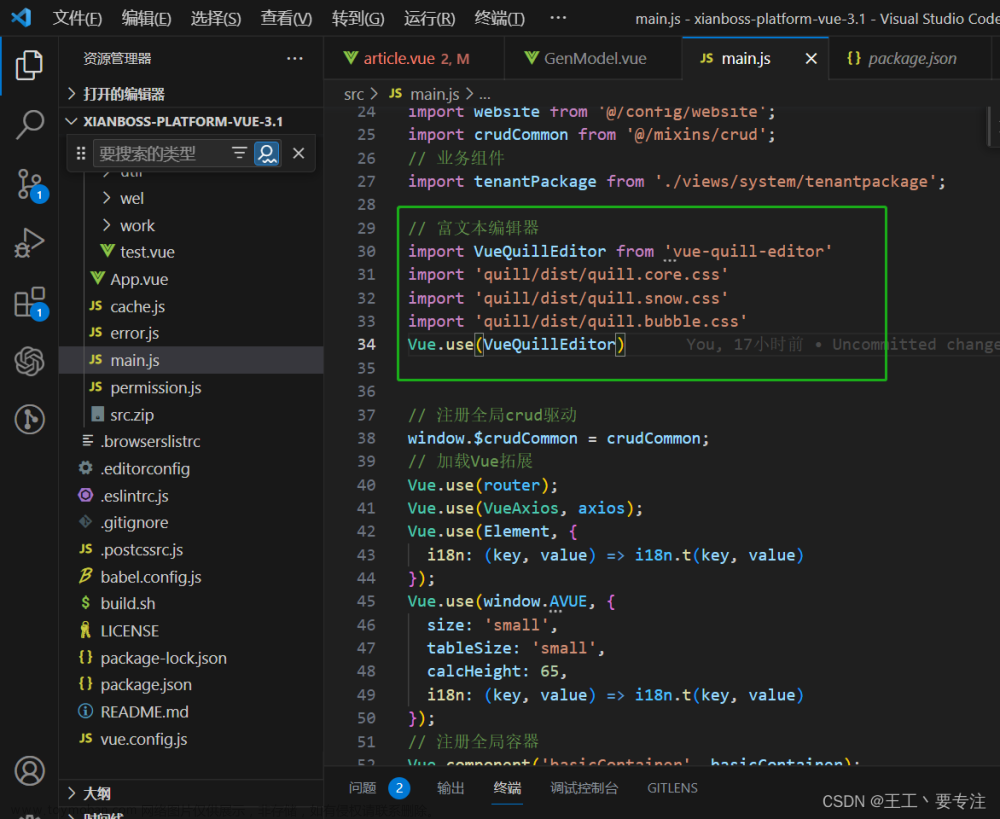
4.页面实现
<template>
  <div class="body">
    <h2>富文本编辑器</h2>
    <quill-editor ref="text" v-model="content" class="editor" :options="editorOption"/>
    <el-button class="button" @click="onEditor">提交</el-button>
  </div>
</template>

<script>
export default {
  data() {
    return {
      content: "",
      editorOption: {},
    };
  },
  methods: {
    onEditor() {
      console.log("富文本内容=",this.$refs.text.value);
    },
  },
};
</script>

<style lang="less" scoped>
.body {
  height: 700px;
  .editor {
    height: 500px;
  }
  .button {
    margin-left: 50%;
    margin-top: 50px;
  }
}
</style>
感谢老哥: ElementUI生成富文本编辑器https://blog.csdn.net/keplerm/article/details/123379511?spm=1001.2101.3001.6650.9&utm_medium=distribute.pc_relevant.none-task-blog-2%7Edefault%7EBlogCommendFromBaidu%7ERate-9-123379511-blog-125430395.235%5Ev36%5Epc_relevant_anti_vip_base&depth_1-utm_source=distribute.pc_relevant.none-task-blog-2%7Edefault%7EBlogCommendFromBaidu%7ERate-9-123379511-blog-125430395.235%5Ev36%5Epc_relevant_anti_vip_base&utm_relevant_index=18https://blog.csdn.net/keplerm/article/details/123379511?spm=1001.2101.3001.6650.9&utm_medium=distribute.pc_relevant.none-task-blog-2%7Edefault%7EBlogCommendFromBaidu%7ERate-9-123379511-blog-125430395.235%5Ev36%5Epc_relevant_anti_vip_base&depth_1-utm_source=distribute.pc_relevant.none-task-blog-2%7Edefault%7EBlogCommendFromBaidu%7ERate-9-123379511-blog-125430395.235%5Ev36%5Epc_relevant_anti_vip_base&utm_relevant_index=18文章来源:https://www.toymoban.com/news/detail-603108.html
到了这里,关于简版的富文本编辑器、VUE+ElementUI 富文本编辑器 element ui富文本编辑器的使用(quill-editor) 不好用你来打我!全网醉简单!要复杂的别来!的文章就介绍完了。如果您还想了解更多内容,请在右上角搜索TOY模板网以前的文章或继续浏览下面的相关文章,希望大家以后多多支持TOY模板网!

