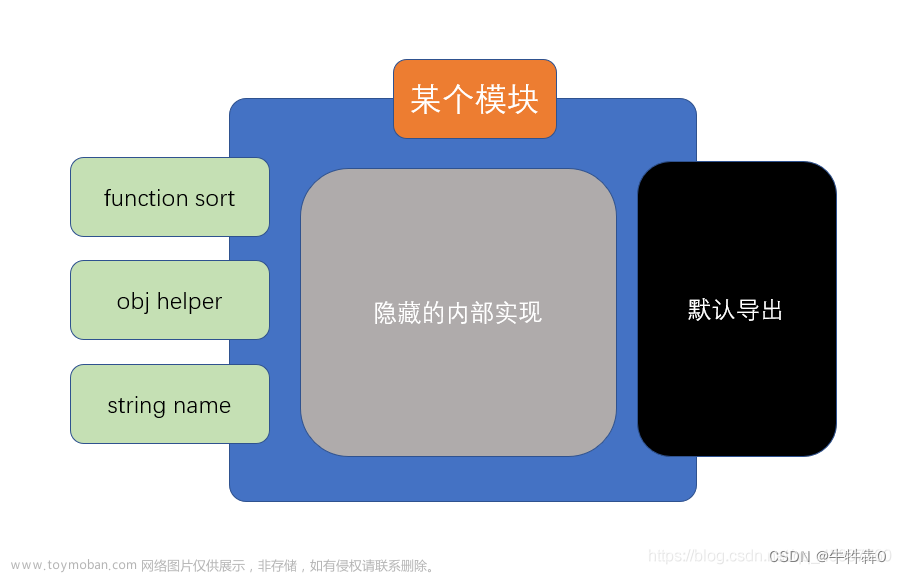
模块化驱动启动led,蜂鸣器,风扇,震动马达并加上Makefile
封装模块化驱动,可自由安装卸载驱动,便于驱动更新(附图)
1.安装模块驱动同时初始化各个设备并使能
2.该驱动会自动创建驱动节点.
3.通过c函数程序输入控制各个设备
4.卸载模块驱动
//编译驱动(注意Makefile的编译到移植到开发板的内核)
make arch=arm
//安装驱动
insmod mycdev.ko
//卸载驱动
rmmod mycdev
//编译fun.c 函数(用到交叉工具编译)
arm-linux-gnueabihf-gcc fun.c
head.h //头文件
#ifndef __HEAD_H__
#define __HEAD_H__

typedef struct{
    unsigned int MODER;
    unsigned int OTYPER;
    unsigned int OSPEEDR;
    unsigned int PUPDR;
    unsigned int IDR;
    unsigned int ODR;
}gpio_t;
#define PHY_LED1_ADDR   0X50006000   //GPIOE 10
#define PHY_LED2_ADDR   0X50007000   //GPIOF 10
#define PHY_LED3_ADDR   0X50006000   //GPIOE 8
#define PHY_RCC_ADDR    0X50000A28   //RCC

#define PHY_FAN_ADDR    0X50006000      //GPIOE 9  TIM1  风扇
#define PHY_ATO_ADDR    0X50007000      //GPIOF 6  TIM16 震动马达
#define PHY_WMM_ADDR    0X50003000      //GPIOB 6  TIM4  蜂鸣器

//功能码
#define LED_ON _IOW('1',1,int)
#define LED_OFF _IOW('1',0,int)

#endif // MACRO
mycmod.c //驱动函数
#include <linux/init.h>
#include <linux/module.h>
#include <linux/fs.h>
#include <linux/io.h>
#include <linux/device.h>
#include "head.h"


unsigned int major;
char kbuf[128] = {0};

gpio_t *vir_led1;
gpio_t *vir_led2;
gpio_t *vir_led3;

gpio_t *vir_wmm;
gpio_t *vir_fan;
gpio_t *vir_ato;


unsigned int *vir_rcc;

struct class *cls;
struct device *dev;


int mycdev_open(struct inode *inode,struct file *file)
{
	printk("%s:%s:%d\n",__FILE__,__func__,__LINE__);
	return 0;
}

long mycdev_ioctl(struct file *file,unsigned int cmd,unsigned long arg)
{

    int which;
	copy_from_user(&which,(void *)arg,4);
	  switch (cmd)
    {
    case LED_ON:
        switch (which)
        {
        case 1:                           // LED1
            vir_led1->ODR |= (0x1 << 10); // LED1开灯
            break;
        case 2:                           // LED2
            vir_led2->ODR |= (0x1 << 10); // LED2开灯
            break;
        case 3:                          // LED3
            vir_led3->ODR |= (0x1 << 8); // LED3开灯
            break;
        case 4:                           // FAN
            vir_fan->ODR |= (0x1 << 9); // FAN开灯
            break;
        case 5:                           // ATO
            vir_ato->ODR |= (0x1 << 6); // ATO开灯
            break;
        case 6:                          // WMM
            vir_wmm->ODR |= (0x1 << 6); // WMM开灯
            break;
        }

        break;
    case LED_OFF:
        switch (which)
        {
        case 1:
            vir_led1->ODR &= (~(0X1 << 10));
            break;
        case 2:
            vir_led2->ODR &= (~(0X1 << 10));
            break;
        case 3:
            vir_led3->ODR &= (~(0X1 << 8));
		    break;
        case 4:
            vir_fan->ODR &= (~(0X1 << 9));
            break;
        case 5:
            vir_ato->ODR &= (~(0X1 << 6));
            break;
        case 6:
            vir_wmm->ODR &= (~(0X1 << 6));
		break;

		default:
		return -1;
		}
		default:
		return -1;
	}

	return 0;
}


int mycdev_close(struct inode *inode,struct file *file)
{
	printk("%s:%s:%d\n",__FILE__,__func__,__LINE__);
	return 0;
}


//定义操作方法结构体变量并赋值
struct file_operations fops={
	.open = mycdev_open,
	.release = mycdev_close,
	.unlocked_ioctl = mycdev_ioctl,
};

int all_led_init(void)
{
    // 寄存器地址的映射
    vir_led1 = ioremap(PHY_LED1_ADDR, sizeof(gpio_t));
    if (vir_led1 == NULL)
    {
        printk("ioremap filed:%d\n", __LINE__);
        return -ENOMEM;
    }
    vir_led2 = ioremap(PHY_LED2_ADDR, sizeof(gpio_t));
    if (vir_led2 == NULL)
    {
        printk("ioremap filed:%d\n", __LINE__);
        return -ENOMEM;
    }
    vir_led3 = vir_led1;
    vir_fan = vir_led1;
    vir_ato = vir_led2;

    vir_wmm = ioremap(PHY_WMM_ADDR, sizeof(gpio_t));
    if (vir_wmm == NULL)
    {
        printk("ioremap filed:%d\n", __LINE__);
        return -ENOMEM;
    }

    vir_rcc = ioremap(PHY_RCC_ADDR, 4);
    if (vir_rcc == NULL)
    {
        printk("ioremap filed:%d\n", __LINE__);
        return -ENOMEM;
    }


    printk("物理地址映射成功\n");
    // 寄存器的初始化
    // rcc
    (*vir_rcc) |= (3 << 4);
    (*vir_rcc) |= (1 << 1);
    // led1
    vir_led1->MODER &= (~(3 << 20));
    vir_led1->MODER |= (1 << 20);
    vir_led1->ODR &= (~(1 << 10));
    // led2
    vir_led2->MODER &= (~(3 << 20));
    vir_led2->MODER |= (1 << 20);
    vir_led2->ODR &= (~(1 << 10));
    // led3
    vir_led3->MODER &= (~(3 << 16));
    vir_led1->MODER |= (1 << 16);
    vir_led1->ODR &= (~(1 << 8));

    // WMM  B 6
    vir_wmm->MODER &= (~(3 << 12));
    vir_wmm->MODER |= (1 << 12);
    vir_wmm->ODR &= (~(1 << 6));
    // FAM  E 9
    vir_fan->MODER &= (~(3 << 18));
    vir_fan->MODER |= (1 << 18);
    vir_fan->ODR &= (~(1 << 9));
    // ATO  F 6
    vir_ato->MODER &= (~(3 << 12));
    vir_ato->MODER |= (1 << 12);
    vir_ato->ODR &= (~(1 << 6));
    printk("寄存器初始化成功\n");

    return 0;
}


static int __init mycdev_init(void)
{
	int i;

	//字符设备驱动注册
	major = register_chrdev(0,"mycdev",&fops);
	if(major < 0)
	{
		printk("注册失败\n");
		return major;

	}
	printk("注册成功major = %d\n",major);
	//向上提交目录
	cls = class_create(THIS_MODULE,"mycdev");
	if(IS_ERR(cls))
	{
		printk("向上提交目录失败\n");
		return -PTR_ERR(cls);

	}
	printk("向上提交目录信息成功\n");

	//向上提交设备节点信息
	for(i = 0;i < 3; i++)
	{
		dev = device_create(cls,NULL,MKDEV(major,i),NULL,"myled%d",i);
		if(IS_ERR(dev))
		{
			printk("向上提交设备节点信息失败\n");
			return -PTR_ERR(dev);
		}
	}
	printk("向上提交设备节点信息成功\n");
	//寄存器映射以及初始化
	all_led_init();

	return 0;

}
static void __exit mycdev_exit(void)
{
	int i;
	//设备初始化
	all_led_init();
	//取消虚拟映射
	iounmap(vir_led1);
	iounmap(vir_led2);
    iounmap(vir_led3);
	iounmap(vir_rcc);


	//销毁节点信息
	for(i = 0; i < 3; i++)
	{
		device_destroy(cls,MKDEV(major,i));
	}

	//销毁目录信息
	class_destroy(cls);

	//注销字符设备驱动
	unregister_chrdev(major,"mycdev");
	printk("出口函数\n");
}

module_init(mycdev_init);

module_exit(mycdev_exit);

MODULE_LICENSE("GPL");
fun.c
#include <stdio.h>
#include <unistd.h>
#include <sys/types.h>
#include <sys/stat.h>
#include <fcntl.h>
#include <stdlib.h>
#include <sys/ioctl.h>
#include <string.h>
#include "head.h"

int main(int argc, char const *argv[])
{
	/* code */
	int a,b;
	char buf[128] = {0};
	printf("调用open\n");
	int fd = open ("/dev/myled0",O_RDWR);
	if(fd < 0)
	{
		printf("打开设备文件失败\n");
		exit(-1);
	}

	while(1)
	{
		        //从终端读取
        printf("请输入指令\n");
        printf("0(关) 1(开)\n");
        printf("请输入>");
        scanf("%d",&a);
    if(a)
	{
		printf("打开以下设备\n");
	}
	else
	{
		printf("关闭以下设备\n");
	}
		printf(" 1(LED1) 2(LED2) 3(LED3)\n");
		printf(" 4(FAN)  5(ATO)  6(WMM)\n");
		printf("请输入要控制的设备:");

        scanf("%d",&b);
        switch(a)
        {
            case 1:
                ioctl(fd,LED_ON,&b);//开灯
                break;
            case 0:
                ioctl(fd,LED_OFF,&b);
                break;
        }
	}
	printf("调用close\n");
	close (fd);
	return 0;
}
Makefile
modname ?= mycdev

arch ?= arm

ifeq ($(arch),arm)
KERNELDIR:= /home/ubuntu/13_UBOOT/linux-stm32mp-5.10.61-stm32mp-r2-r0/linux-5.10.61
else
KERNELDIR:=/lib/modules/$(shell uname -r)/build/
endif


PWD:=$(shell pwd)

all:
	make -C $(KERNELDIR) M=$(PWD) modules

clean:
	make -C $(KERNELDIR) M=$(PWD) clean

obj-m:=$(modname).o

文章来源地址https://www.toymoban.com/news/detail-604133.html文章来源:https://www.toymoban.com/news/detail-604133.html
到了这里,关于驱动开发 day3 (模块化驱动启动led,蜂鸣器,风扇,震动马达)的文章就介绍完了。如果您还想了解更多内容,请在右上角搜索TOY模板网以前的文章或继续浏览下面的相关文章,希望大家以后多多支持TOY模板网!


