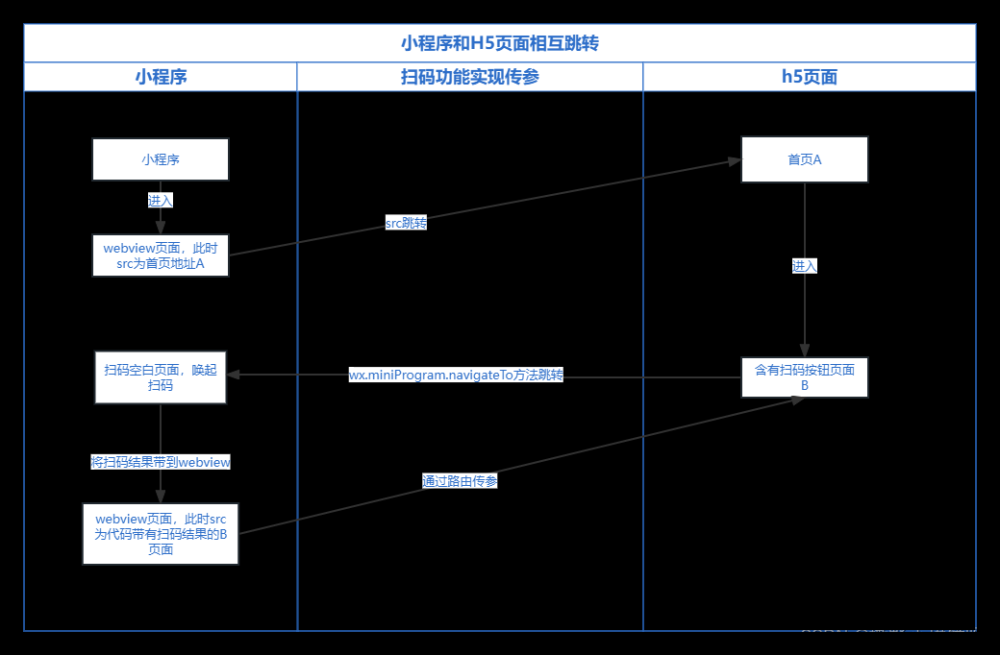
因扫码功能需支持自定义输入,调用微信 scanCode 无法自定义界面补充输入框,所以使用原生组件 camera。
一、Demo 演示
小程序自定义扫码演示
二、核心逻辑
1、调用摄像头扫码
将媒体组件 camera 应用模式设置为 scanCode,并绑定扫码识别成功方法
// wxml
<camera mode="scanCode" bindscancode='scancode' />

// js
scancode(event){
  const { result } = event.detail // 获取校验扫描结果
  wx.showToast({ title: `扫描结果:${result}`, icon: 'none' })
}
2、模拟扫码动画
为提升体验,模拟扫码动画
// wxml
<view class="scan-container">
  <view class="scan-box" />
  <view class='scan-animation' animation="{{animation}}" />
</view>

// js
const animation = wx.createAnimation({}); // 创建移动动画对象

// 扫描动画
startAnimation(){
  // 是否向下平移
  let down = true

  setInterval(() => {
    if (down) {
      animation.translateY(100).step({ duration: 3000 })
    } else {
      animation.translateY(0).step({ duration: 3000 })
  }

  down = !down
  this.setData({ animation: animation.export() })
  }, 3000)
}
三、完整代码
JS 代码
const animation = wx.createAnimation({}); // 创建移动动画对象
const innerAudioContext = wx.createInnerAudioContext() // 提示音
innerAudioContext.src = 'https://qdstorage.okii.com/retail-app/common/beep.mp3'

Page({

  /**
   * Lifecycle function--Called when page load
   */
  onLoad() {
    const { height, top } = wx.getMenuButtonBoundingClientRect();

    this.setData({
      menuButtonTop: `${top}px`,
      menuButtonHeight: `${height}px`
    })
  },

  /**
   * Lifecycle function--Called when page show
   */
  onShow() {
    this.startAnimation()
  },

  // 扫描动画
  startAnimation(){
	  // 是否向下平移
    let down = true

    setInterval(() => {
      if (down) {
        animation.translateY(100).step({ duration: 3000 })
      } else {
        animation.translateY(0).step({ duration: 3000 })
      }

      down = !down
      this.setData({ animation: animation.export() })
    }, 3000)
  },
  // 扫码
  scancode(event){
    wx.vibrateShort() // 触发手机振动
    innerAudioContext.play() // 提示音
    const { result } = event.detail // 获取校验扫描结果

    wx.showToast({ title: `扫描结果:${result}`, icon: 'none' })
  },
  changeInputType() {
    wx.showToast({ title: '请自定义实现', icon: 'none' })
  },
  // 返回上一级
  goBack() {
    wx.showToast({ title: '请自定义实现', icon: 'none' })
  },
})
wxml 代码文章来源:https://www.toymoban.com/news/detail-605150.html
<view class="custom-scan">
  <!-- 扫码区域 -->
  <camera
    mode="scanCode"
    frame-size='large'
    flash="{{ cameraFlash }}"
    class="scan-view"
    bindscancode='scancode'
  >
    <view class="navigation-container" style="{{ 'height: ' + menuButtonHeight + ';padding-top: ' + menuButtonTop }}">
      <icon class="icon-close" type="cancel" size="30" color="#fff" bindtap="goBack" />
    </view>

    <view class="header-container">
      <view class="input-button" bindtap="changeInputType">手动输入</view>
    </view>
    <view class="scan-container">
      <view class="scan-box" />
      <view class='scan-animation' animation="{{animation}}" />
    </view>
  </camera>
</view>
less 代码文章来源地址https://www.toymoban.com/news/detail-605150.html
.custom-scan {
  width: 100vw;
  height: 100vh;

  .scan-view {
    width: 100%;
    height: 100%;
  }

  .navigation-container {
    display: flex;
    align-items: center;

    .icon-close {
      padding-left: 22px;
    }
  }

  .header-container {
    display: flex;
    justify-content: flex-end;
    padding: 80rpx 30rpx 40rpx 30rpx;

    .input-button {
      display: flex;
      align-items: center;
      justify-content: center;
      width: 130rpx;
      height: 64rpx;
      border-radius: 54rpx;
      color: #eee;
      font-size: 24rpx;
      background-color: rgba(50, 50, 50, 0.6);
    }
  }

  .scan-container {
    display: flex;
    justify-content: center;
    margin-top: 60rpx;
    width: 100%;
    height: 100%;

    .scan-box {
      position: relative;
      width: 500rpx;
      height: 220rpx;
      border-radius: 20rpx;
      background-image: url("https://qdstorage.okii.com/retail-app/common/scan-box.png");
      background-size: 100% 100%;
    }

    .scan-animation {
      position: absolute;
      margin-top: 10rpx;
      width: 530rpx;
      height: 6rpx;
      background-color: #ddd;
      border-radius: 50%;
    }
  }
}
到了这里,关于微信小程序自定义扫码界面的文章就介绍完了。如果您还想了解更多内容,请在右上角搜索TOY模板网以前的文章或继续浏览下面的相关文章,希望大家以后多多支持TOY模板网!


