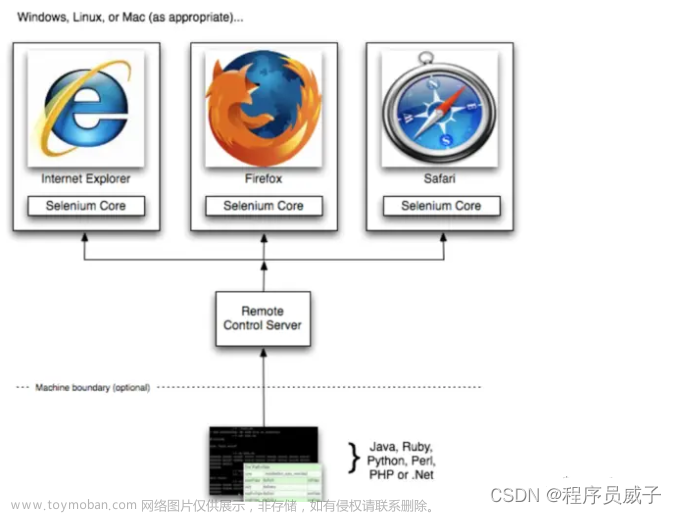
Linux 下如何利用无头浏览器执行web自动化的用例?本文以centos 7为例,安装chrome、利用Python + conda +selenium简单演示执行自动化。文章来源:https://www.toymoban.com/news/detail-606135.html
- 安装chrome浏览器
- 安装chromedriver
- Linux安装好Python环境-conda
- 设置Chrome为无头浏览模式(只在后台内存中执行、无浏览器页面)
- 准备测试用例
- 执行用例
1、Chrome浏览器安装
- 安装必要依赖
yum install liberation-fonts -y
yum install vulkan-1.1.97.0-1.el7.x86_64  -y
- 下载安装Chrome浏览器
wget  https://dl.google.com/linux/direct/google-chrome-stable_current_x86_64.rpm

rpm -ivh  google-chrome-stable_current_x86_64.rpm
2、chromedriver配置
- chromedriver下载地址: https://registry.npmmirror.com/binary.html?path=chromedriver/
 # 查看chrome版本

google-chrome --version

# 根据版本下载对应chromedriver

wget https://registry.npmmirror.com/-/binary/chromedriver/104.0.5112.79/chromedriver_linux64.zip

# 解压
unzip chromedriver_linux64.zip

# 将解压的文件放到 /usr/bin/ 文件下
mv chromedriver /usr/bin

# 添加执行权限
chmod +x /usr/bin/chromedriver
3、Linux的Python环境-conda
- 因为Anaconda3过大,现使用更小的miniconda,下载地址:https://docs.conda.io/en/latest/miniconda.html
# 下载
wget https://repo.anaconda.com/miniconda/Miniconda3-latest-Linux-x86_64.sh

# 执行安装脚本,一路enter,提示yes则yes,直到提示:Thank you for installing Miniconda3!
sh Miniconda3-latest-Linux-x86_64.sh

# 安装完成,配置环境变量(如已存在则直接跳过)
vim ~/.bashrc
export PATH="/root/miniconda3/bin:$PATH"

# 如果提示没有命令,需刷新bashrc
source ~/.bashrc
- conda使用,更多使用方法参考官方文档:https://docs.conda.io/projects/conda/en/latest/
# 安装完成查看版本
conda -V

# 查看当前有哪些环境
conda env list
    # base 为默认环境(尽量不用)

# 退出默认的环境
source activate
conda deactivate

# 创建conda环境
conda create -n wulitou_py3.9 python==3.9 pytest selenium
    # -n 后为环境名称
    # python==3.9 指定Python版本
    # pytest selenium 为需要添加的依赖(可省略暂不添加,后续在添加)

# 激活环境(使用环境)
conda activate wulitou_py3.9

# 如在创建时未添加依赖,可添加(yes直接确认)
conda install pytest -y

# 查看已安装的依赖
conda list
4、无头浏览器设置
 chrome_options  = webdriver.ChromeOptions()
 # 设置driver以无头浏览的模式运行
 chrome_options.add_argument('-headless')
 # Linux上需要禁用sandbox
 chrome_options.add_argument('-no-sandbox')
 # 禁用GPU(可选)
 chrome_options.add_argument('-disable-gpu')
 self.driver= webdriver.Chrome(options=self.chrome_options)
5、准备测试用例
- 因利用pytest、selenium,因此conda 需要提前添加依赖
conda install pytest -y
conda install selenium -y
- 完整test_ui.py
# -*-coding:utf-8 -*-

"""
@File   : test_ui.py
"""
import time

import pytest
from selenium import webdriver
from selenium.webdriver.common.by import By


class TestSahi:
    def setup_class(self):
        self.chrome_options  = webdriver.ChromeOptions()
        # 设置driver以无头浏览的模式运行
        self.chrome_options.add_argument('-headless')
        # Linux上需要禁用sandbox
        self.chrome_options.add_argument('-no-sandbox')
        # 禁用GPU(可选)
        self.chrome_options.add_argument('-disable-gpu')

        self.driver= webdriver.Chrome(options=self.chrome_options)
        # Linux需要手动设置大小,不使用最大化
        self.driver.set_window_size(1366, 768)

        self.driver.implicitly_wait(3)

    def teardown_class(self):
        time.sleep(2)
        self.driver.quit()

    # 业务代码
    def testAlter_01(self):
        self.driver.get("https://sahitest.com/demo/clicks.htm")
        # 虽无界面,依旧可截图查看
        self.driver.save_screenshot("sahitest-1.png")
        self.driver.find_element(By.XPATH, '//input[@value="click me"]').click()
        self.driver.find_element(By.XPATH, '//input[@value="click me"]').click()

    def testAlter_02(self):
        self.driver.get("https://sahitest.com/demo/clicks.htm")
        self.driver.find_element(By.XPATH, '//input[@value="click me"]').click()
        self.driver.save_screenshot("sahitest-2.png")
        self.driver.find_element(By.XPATH, '//input[@value="click me"]').click()
        self.driver.find_element(By.XPATH, '//input[@value="click me"]').click()
        self.driver.find_element(By.XPATH, '//input[@value="click me"]').click()
        self.driver.save_screenshot("sahitest-3.png")


if __name__ == '__main__':
    pytest.main()
    # pytest  -vs test_ui.py
6、执行测试用例
pytest -vs test_ui.py
执行结束后,当前位置下生成对应截图文章来源地址https://www.toymoban.com/news/detail-606135.html
到了这里,关于Linux无头浏览器的自动化测试实现的文章就介绍完了。如果您还想了解更多内容,请在右上角搜索TOY模板网以前的文章或继续浏览下面的相关文章,希望大家以后多多支持TOY模板网!


