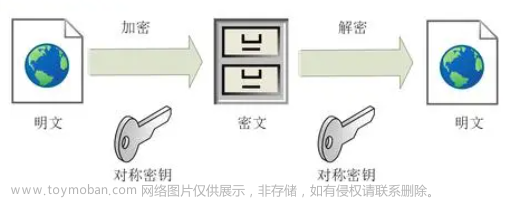
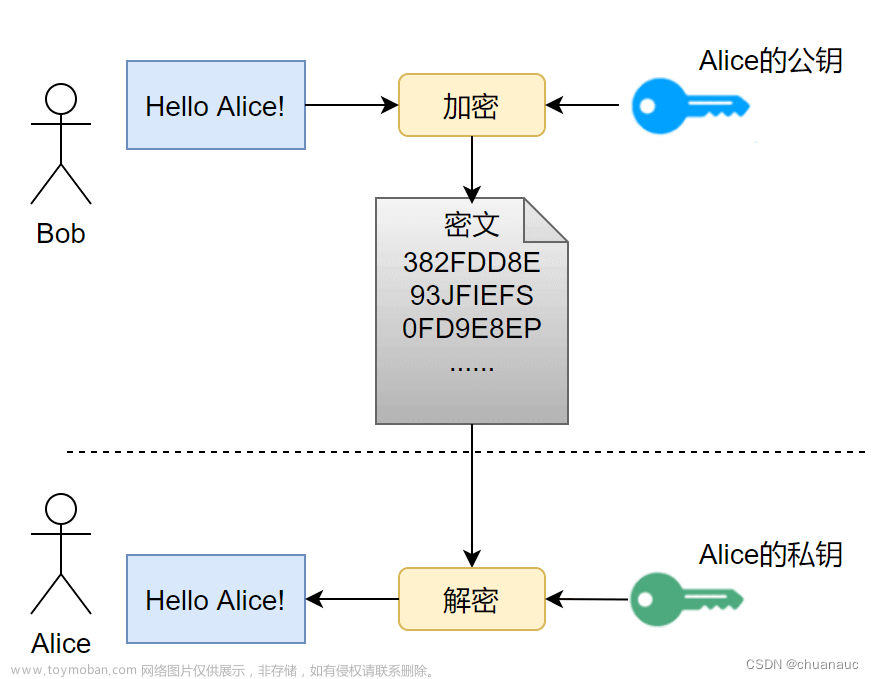
搭建https有两种方式,分为单向认证和双向认证。单向认证就是传输的数据加密过了,但是不会校验客户端的来源,也就只有客户端验证服务端证书。
本次实验是搭建单向认证的https证书
1、 建立服务器私钥,生成RSA秘钥,过程中会输入密码(123456)
1.1、 创建存放ssl证书的路径
  [root@localhost ~]# mkdir -p  /home/ssl/certificate
  [root@localhost ~]# cd /home/ssl/certificate
1.2、 创建私钥
[root@localhost certificate]#
openssl genrsa -des3 -out server.key
2048 Generating RSA private key, 2048 bit long modulus
…+++
…+++ e is 65537 (0x10001) Enter pass phrase for
server.key: 123456 Verifying - Enter pass phrase for server.key:123456server.key 私钥名称
2048 加密程度
123456 个人理解,这个估计是对这个密码进行加密
2、 生成一个证书请求,需要输入私钥的密码
[root@localhost certificate]#
openssl req -new -key server.key -out server.csr
server.csr Enter pass phrase for server.key:123456 // 私钥密码You are
about to be asked to enter information that will be incorporated into
your certificate request. What you are about to enter is what is
called a Distinguished Name or a DN. There are quite a few fields but
you can leave some blank For some fields there will be a default
value, If you enter ‘.’, the field will be left blank.
----- Country Name (2 letter code) [XX]:cn // 国家,只能输入两个字节State or Province Name (full name) []:Fujian // 省份Locality Name (eg, city)
[Default City]:Xiamen // 城市Organization Name (eg, company)
[Default Company Ltd]:bcx // 公司Organizational Unit Name (eg,
section) []:bcx // 组织Common Name (eg, your name or your server’s
hostname) []:bcx // 名字或者主机名Email Address []:2734542837@qq.com // 邮箱地址
Please enter the following ‘extra’ attributes to be sent with your
certificate request A challenge password []:123456 私钥密码An optional company name []:
bcx // 公司名称
3、 对私钥进行ssl加密
[root@localhost certificate]#
cp server.key server.key.org
[root@localhost certificate]#openssl rsa -in server.key.org -out server.key
Enter pass phrase for server.key.org: writing RSA key
4、 生成签名证书
[root@localhost certificate]#
openssl x509 -req -days 365 -in server.csr -signkey server.key -out server.crt
Signature ok subject=/C=cn/ST=fujian/L=xiamen/O=bcx/OU=bcx/CN=bcx/emailAddress=2734542837@qq.com
Getting Private key Enter pass phrase for server.key:123456 // 私钥密码-days 365 // 这很明显是证书有效时间
-out server.crt // server.crt 这个是证书名
5、查看一下生成了那些文件
[root@localhost certificate]#
ll
-rw-r–r–. 1 root root 1257 3月 31 15:40 server.crt
-rw-r–r–. 1 root root 1090 3月 31 15:30 server.csr
-rw-r–r–. 1 root root 1679 3月 31 16:23 server.key
-rw-r–r–. 1 root root 1751 3月 31 16:21 server.key.org
5、 在nginx中部署证书
server {
    listen       443 ssl;
    server_name  192.168.44.140;
    root         /usr/share/nginx/html;
    ssl_certificate /home/ssl/certificate/server.crt;
    ssl_certificate_key /home/ssl/certificate/server.key;
    ssl_session_timeout 10m;
    ssl_session_cache shared:SSL:10m;
    ssl_protocols TLSv1 TLSv1.1 TLSv1.2;
    ssl_ciphers ALL:!ADH:!EXPORT56:-RC4+RSA:+HIGH:+MEDIUM:!EXP;
    ssl_prefer_server_ciphers on;
}
6、 访问测试

#到此自建证书就完成了,这是单项加密文章来源:https://www.toymoban.com/news/detail-607462.html
参考:linux中自建证书搭建https
谷歌浏览器导入证书文章来源地址https://www.toymoban.com/news/detail-607462.html
到了这里,关于linux自建证书搭建https(单项加密)的文章就介绍完了。如果您还想了解更多内容,请在右上角搜索TOY模板网以前的文章或继续浏览下面的相关文章,希望大家以后多多支持TOY模板网!


