uniApp微信小程序CI机器人自动化部署
1. 微信公众平台上,在开发设置里面小程序代码,将上传代码的服务IP地址填充下,生成一个上传秘钥下载下来

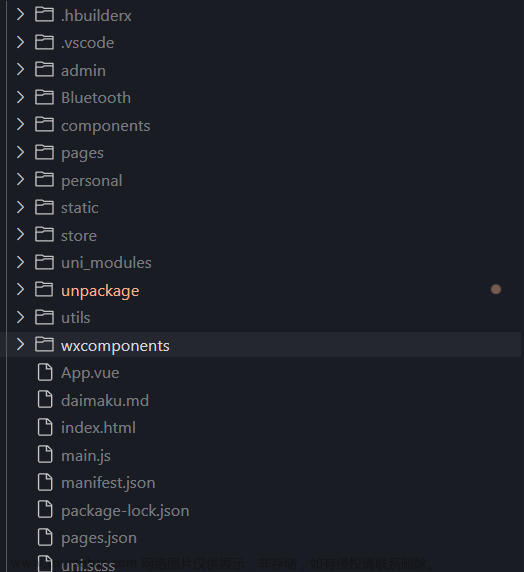
2. 将下载的秘钥文件放在uni-cli 项目的根目录下
 文章来源:https://www.toymoban.com/news/detail-610149.html
3. npm 微信官方的miniprogram-ci模块
const ci = require('miniprogram-ci')
const path = require('path') // 需要用到项目目录文件
const project = await new ci.Project({
    appid: appid, //appid
    type: 'miniProgram',
    projectPath: path.resolve(__dirname, './dist/build/mp-weixin'), //项目路径
    privateKeyPath: path.resolve(__dirname, `./private.${appid}.key`), //小程序后台的上传密匙
    ignores: ['node_modules/**/*'],
});
// 预览小程序
const previewResult = await ci.preview({
    project,
    desc: '预览', // 此备注将显示在“小程序助手”开发版列表中
    setting: {
        es6: true,
    },
    qrcodeFormat: 'image',
    qrcodeOutputDest: path.resolve(__dirname, `./preview/previewQrcode.jpg`),
    onProgressUpdate: console.log
});
let env_object = {
    production: 1,
    master: 2,
    test: 3,
    test02: 5,
    development: 4
}
// 上传代码方法以及回调
const uploadResult = await ci.upload({
    project,
    robot: env_object[status],
    version: mainfest.versionName,
    desc: mainfest.description,
    setting: mainfest['mp-weixin'].setting,
    onProgressUpdate: console.log,
}).then(res => {
    console.log(`版本${mainfest.versionName}`)
}).catch(error => {
    throw error
})
4. 把上面的代码写到一个js 文件放在项目根目录下
 文章来源地址https://www.toymoban.com/news/detail-610149.html
5. 在package.json里面写好打包和启动的scripts脚本命令
"dev:mp-weixin": "cross-env NODE_ENV=development ENV_STATUS=development START_UP=dev UNI_PLATFORM=mp-weixin node autoUpload.js",
6.剩下的操作就是你上传好代码,打包交给jenkins构建工具就好了
到了这里,关于uni-app 微信小程序CI机器人自动化部署方案的文章就介绍完了。如果您还想了解更多内容,请在右上角搜索TOY模板网以前的文章或继续浏览下面的相关文章,希望大家以后多多支持TOY模板网!


![[uni-app]设置运行到微信小程序](https://imgs.yssmx.com/Uploads/2024/02/541887-1.png)


![[uni-app] 微信小程序 如何修改替换头像](https://imgs.yssmx.com/Uploads/2024/02/516718-1.png)


