前言
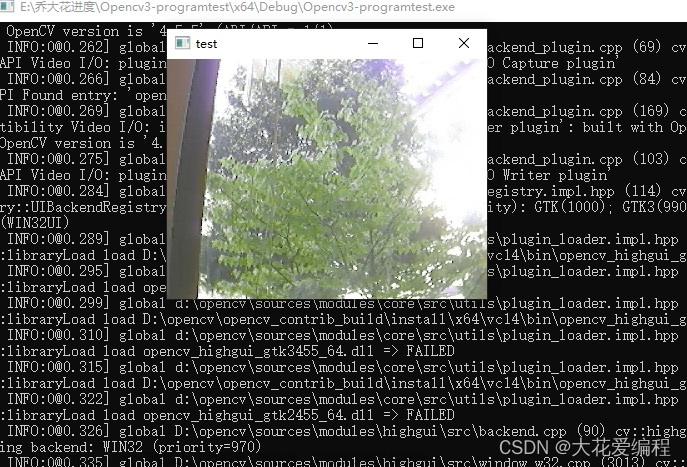
网上非常多的代码打不开CSI摄像头,但是使用Python2可以解决,根本原因在于OpenCV版本,Python2库中的CV2版本高于Python3导致,通过更新Python3库中的OpenCV即可解决该问题。
断电安装CSI摄像头,注意排线线缆的方向和正反,安装完成后上电开机。
如果是USB摄像头,安装有手就行。
一、检测摄像头是否安装好
JetsonNano终端输入:
ls -l /dev/video*

查看是否查询到: /dev/video [number]
二、安装jetcam库
代码如下(示例):
git clone https://github.com/NVIDIA-AI-IOT/jetcam
cd jetcam
sudo python3 setup.py install
三、示例程序
CSI摄像头_OpenCV(使用python2 编译)
import cv2

# 设置gstreamer管道参数
def gstreamer_pipeline(
    capture_width=1280, #摄像头预捕获的图像宽度
    capture_height=720, #摄像头预捕获的图像高度
    display_width=1280, #窗口显示的图像宽度
    display_height=720, #窗口显示的图像高度
    framerate=60,       #捕获帧率
    flip_method=0,      #是否旋转图像
):
    return (
        "nvarguscamerasrc ! "
        "video/x-raw(memory:NVMM), "
        "width=(int)%d, height=(int)%d, "
        "format=(string)NV12, framerate=(fraction)%d/1 ! "
        "nvvidconv flip-method=%d ! "
        "video/x-raw, width=(int)%d, height=(int)%d, format=(string)BGRx ! "
        "videoconvert ! "
        "video/x-raw, format=(string)BGR ! appsink"
        % (
            capture_width,
            capture_height,
            framerate,
            flip_method,
            display_width,
            display_height,
        )
    )

if __name__ == "__main__":
    capture_width = 1280
    capture_height = 720
    display_width = 1280
    display_height = 720
    framerate = 60
    flip_method = 0

    # 创建管道
    print(gstreamer_pipeline(capture_width,capture_height,display_width,display_height,framerate,flip_method))

    #管道与视频流绑定
    cap = cv2.VideoCapture(gstreamer_pipeline(flip_method=0), cv2.CAP_GSTREAMER)

    if cap.isOpened():
        window_handle = cv2.namedWindow("CSI Camera", cv2.WINDOW_AUTOSIZE)

        # 逐帧显示
        while cv2.getWindowProperty("CSI Camera", 0) >= 0:
            ret_val, img = cap.read()
            cv2.imshow("CSI Camera", img)

            keyCode = cv2.waitKey(30) & 0xFF
            if keyCode == 27:# ESC键退出
                break

        cap.release()
        cv2.destroyAllWindows()
    else:
        print("打开摄像头失败")
CSI摄像头_Jetcam (使用python2 编译)
from jetcam.csi_camera import CSICamera
camera = CSICamera(width=640, height=480)
image = camera.read()
import ipywidgets
from IPython.display import display
from jetcam.utils import bgr8_to_jpeg
image_widget = ipywidgets.Image(format='jpeg')
image_widget.value = bgr8_to_jpeg(image)
display(image_widget)
camera.running = True
def update_image(change):
    image = change['new']
    image_widget.value = bgr8_to_jpeg(image)
camera.observe(update_image, names='value')
# 断开摄像头连接
camera.unobserve(update_image, names='value')
USB摄像头_OpenCV(使用python3 编译)
import cv2

if __name__ == "__main__":

    cap = cv2.VideoCapture(3)

    if cap.isOpened():
        window_handle = cv2.namedWindow("D435", cv2.WINDOW_AUTOSIZE)

        # 逐帧显示
        while cv2.getWindowProperty("D435", 0) >= 0:
            ret_val, img = cap.read()
            cv2.imshow("D435", img)

            keyCode = cv2.waitKey(30) & 0xFF
            if keyCode == 27:# ESC键退出
                break

        cap.release()
        cv2.destroyAllWindows()
    else:
        print("打开摄像头失败")
常见问题
调用jetcam库显示RuntimeError: Could not read image from camera
修改usb_camera.py 和 csi_camera.py 20行:
#self.cap = cv2.VideoCapture(self._gst_str(), cv2.CAP_GSTREAMER)
self.cap = cv2.VideoCapture(self.capture_device)
然后重新安装jetcam
摄像头采集数据在jupyter notebook中显示错误

pip3 install ipywidgets
jupyter nbextension enable --py widgetsnbextension
jupyter labextension install @jupyter-widgets/jupyterlab-manager
参照JetsonNano学习(二)
程序编译出现绿屏
终端直接输入命令:
nvgstcapture-1.0
成功调用摄像头
但是程序编译出现绿屏
 文章来源:https://www.toymoban.com/news/detail-610922.html
大概率未使用Python2编译文章来源地址https://www.toymoban.com/news/detail-610922.html
到了这里,关于JetsonNano学习(四)OPENCV开启CSI摄像头的文章就介绍完了。如果您还想了解更多内容,请在右上角搜索TOY模板网以前的文章或继续浏览下面的相关文章,希望大家以后多多支持TOY模板网!


