使用 poi-tl 根据模板生成 word 文件。
使用 xdocreport 将 docx 文件转换为 pdf 文件。
xdocreport 也支持根据模板导出 word ,但是 poi-tl 的功能更齐全,操作更简单,文档清晰。
poi-tl 、xdocreport 内部均依赖了 poi ,要注意两者中 poi 和 自身项目引用的 poi 的版本是否存在冲突。
Pom 依赖
使用 poi 5.2.2 ,poi-tl 1.12.1 ,xdocreport 2.0.3
<!--        poi依赖-->
        <dependency>
            <groupId>org.apache.poi</groupId>
            <artifactId>poi-ooxml</artifactId>
            <version>5.2.2</version>
        </dependency>
<!--        poi-tl依赖-->
        <dependency>
            <groupId>com.deepoove</groupId>
            <artifactId>poi-tl</artifactId>
            <version>1.12.1</version>
        </dependency>
<!--        xdocreport依赖-->
        <dependency>
            <groupId>org.apache.poi</groupId>
            <artifactId>poi-ooxml-full</artifactId>
            <version>5.2.2</version>
        </dependency>
        <dependency>
            <groupId>fr.opensagres.xdocreport</groupId>
            <artifactId>xdocreport</artifactId>
            <version>2.0.3</version>
        </dependency>
        <dependency>
            <groupId>fr.opensagres.xdocreport</groupId>
            <artifactId>org.apache.poi.xwpf.converter.pdf</artifactId>
            <version>1.0.6</version>
        </dependency>
生成 DOCX 文件
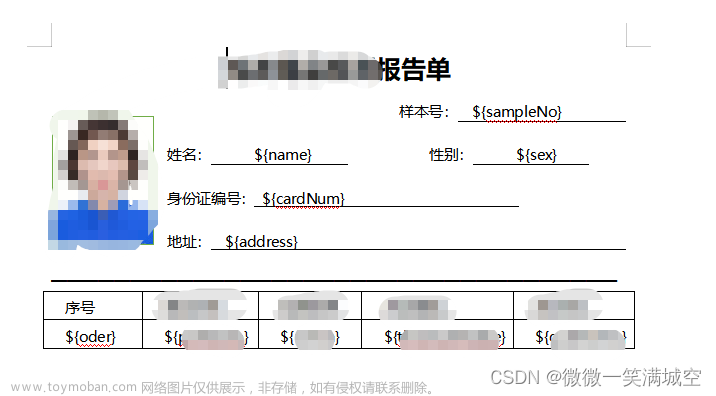
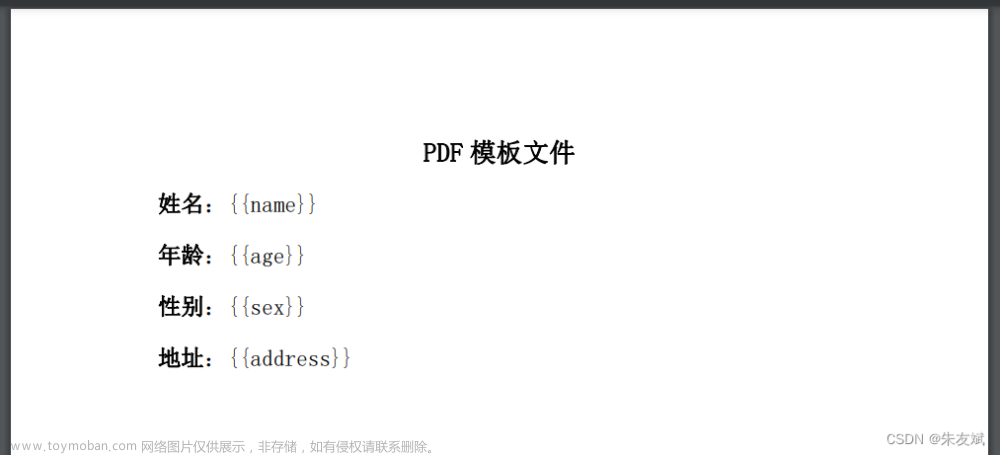
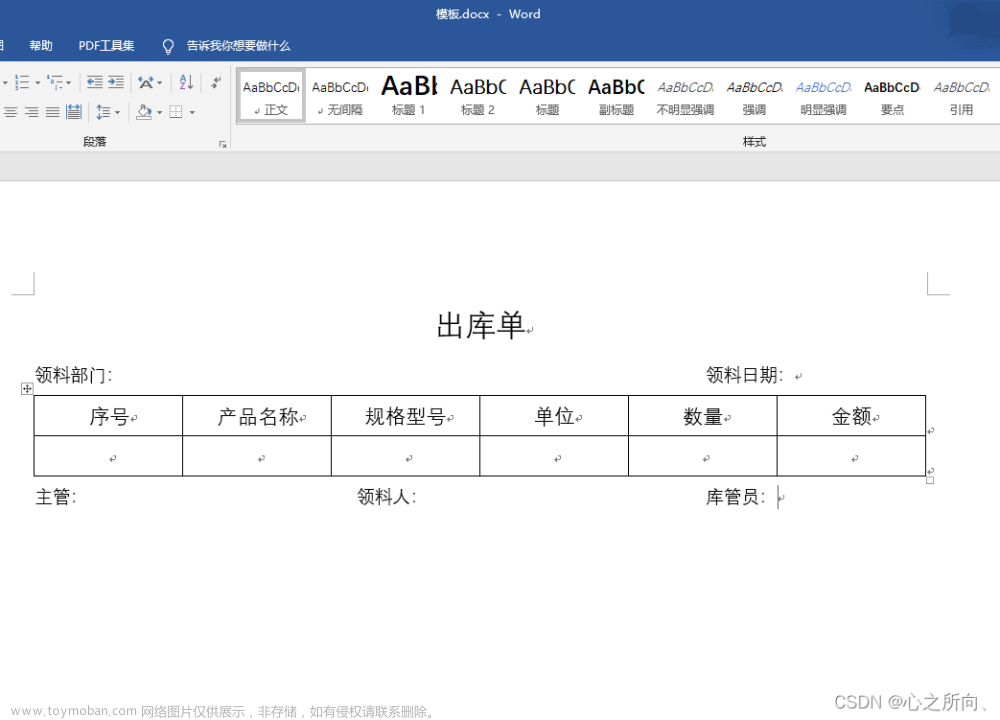
创建 DOCX 模板
根据官方文档按要求创建模板,并放在resources文件夹下。官方文档 http://deepoove.com/poi-tl/。

生成 DOCX 文档
创建模板填充类
其实也可以在生成文件时使用 Map 类型的方式填充文件内容,如下
XWPFTemplate.compile(inputStream).render(
  new HashMap<String, Object>(){{
    put("title", "Hi, poi-tl Word模板引擎");
}});
但是使用实体类更规范一些。
@Data
public class ChildRoundsProvalDocxEntity {
    private String childName;//孩子姓名
    private String identify;//身份证号
    private String gender;//性别
    private String childRounds;//孩次
    private PictureRenderData avatar;//头像地址
    private String entryDate;//入院时间
    private String gardenMonths;//孩次
    private String charge;//每月收费
    private String fatherName;//父亲姓名
    private String fatherIdentify;//父亲身份证号
    private String motherName;//母亲姓名
    private String motherIdentify;//母亲身份证号
    private String address;//住址及联系方式
    private String firstChildName;//第一个子女姓名
    private String firstChildIdentify;//第一个子女身份证号
    private String secondChildName;//第二个子女姓名
    private String secondChildIdentify;//第二个子女身份证号
    private String signDate;//签署日期
}
生成文件(多种方式)
1、生成一个文件输入流,方便用于再次编辑
不要在方法内部将输入流关闭
/**
 * 生成文件到输入流中
 * @param templatePath
 * @param data
 * @return
 */
public InputStream createWordFile1(Object data){
    Resource templateFile = resourceLoader.getResource("classpath:wordtemplate/childRoundsProval.docx");
    XWPFTemplate template = null;
    InputStream resultStream = null;
    try {
        // word模板填充
        InputStream inputStream = templateFile.getInputStream();
        template = XWPFTemplate.compile(inputStream).render(data);
        resultStream = PoitlIOUtils.templateToInputStream(template);
        PoitlIOUtils.closeQuietlyMulti(template);
    } catch (Exception e) {
        log.error("导出失败,异常原因:" + e.getMessage());
    } finally {
        try {
            if (template != null) {
                template.close();
            }
        } catch (Exception e) {
            log.error("流关闭失败,异常原因:" + e.getMessage());
        }
    }

    return resultStream;
}
2、生成docx到输出流中,一般是在网络响应中直接输出,浏览器去下载
public void createWordFile2(Object data, HttpServletResponse httpServletResponse){
	//获取模板信息
	Resource templateFile = resourceLoader.getResource("classpath:wordtemplate/childRoundsProval.docx");
	XWPFTemplate template = null;
	docName = URLEncoder.encode(docName, StandardCharsets.UTF_8);
	try {
		httpServletResponse.setContentType("application/octet-stream");
        httpServletResponse.addHeader("Content-Disposition", "attachment;filename=" + docName + ".docx");
        httpServletResponse.addHeader("filename", docName);
	    // word模板内容填充
	    InputStream inputStream = templateFile.getInputStream();
	    template = XWPFTemplate.compile(inputStream).render(data);
	    OutputStream out = httpServletResponse.getOutputStream();//要记得关闭
	    BufferedOutputStream bos = new BufferedOutputStream(out);//要记得关闭
	    template.write(bos);
	    bos.flush();
	    out.flush();
	    PoitlIOUtils.closeQuietlyMulti(template, bos, out);
	} catch (Exception e) {
	    log.error("导出失败,异常原因:" + e.getMessage());
	    throw new BaseException("Word文档生成失败");
	} finally {
	    try {
	        if (template != null) {
	            template.close();
	        }
	    } catch (Exception e) {
	        log.error("流关闭失败,异常原因:" + e.getMessage());
	    }
	}
}
3、直接生成文件到指定路径
public void createWordFile3(Object data, String path){
	//获取模板信息
	Resource templateFile = resourceLoader.getResource("classpath:wordtemplate/childRoundsProval.docx");
	XWPFTemplate template = null;
	try {
	    // word模板内容填充
	    InputStream inputStream = templateFile.getInputStream();
	    template = XWPFTemplate.compile(inputStream).render(data);
	    template.writeToFile(path);//文件夹路径必须存在 可以提前创建
	    PoitlIOUtils.closeQuietlyMulti(template);
	} catch (Exception e) {
	    log.error("导出失败,异常原因:" + e.getMessage());
	    throw new BaseException("Word文档生成失败");
	} finally {
	    try {
	        if (template != null) {
	            template.close();
	        }
	    } catch (Exception e) {
	        log.error("流关闭失败,异常原因:" + e.getMessage());
	    }
	}
}
生成效果

DOCX 转 PDF
初始化 XWPFDocument 需要一个输入流,以下是直接使用文件输入流去初始化。
FileInputStream inputStream1 = new FileInputStream("docx文件位置.docx");
XWPFDocument xwpfDocument = new XWPFDocument(inputStream1);
PdfOptions options = PdfOptions.create();
try (OutputStream outPDF = Files.newOutputStream(Paths.get("要生成的pdf位置.pdf"))) {
    PdfConverter.getInstance().convert(xwpfDocument.getXWPFDocument(), outPDF, options);
} catch (IOException e) {
    log.error("PDF转换失败",e);
}
PDF 生成效果
 文章来源:https://www.toymoban.com/news/detail-615317.html
注意
DOCX 模板中如果表格元素中放了图片(如上图中的头像),要确保生成的文件中的图片大小不超过模板中单元格大小。
即图片所在单元格不能被图片撑大,否则图片在转换成PDF时无法展示。
。。。。。。。。。。。。。。。。。。。。。。
此方法转换出来的PDF格式可能有点问题,所以换了个新的文档转换工具类,点击这里查看文章来源地址https://www.toymoban.com/news/detail-615317.html
到了这里,关于Springboot -- 按照模板生成docx、pdf文件,docx转pdf格式的文章就介绍完了。如果您还想了解更多内容,请在右上角搜索TOY模板网以前的文章或继续浏览下面的相关文章,希望大家以后多多支持TOY模板网!


