vue3 + eslint + prettier + cz-git
一:vue3
1.1 vue3创建
输入命令后根据提示选择,项目是ts所以必选typescript
pnpm create vite
1.2 安装依赖
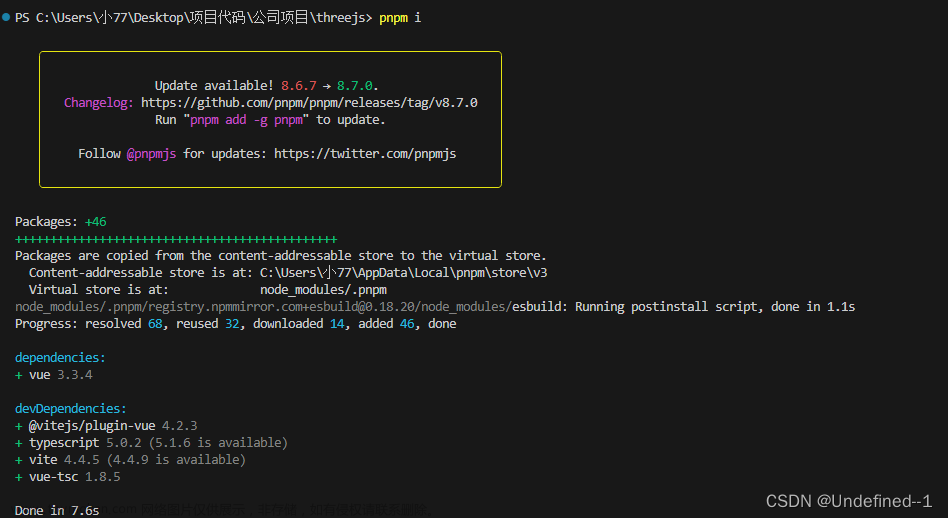
pnpm i
1.3 运行
pnpm run dev
二:配置eslint
2.1 执行安装命令
pnpm add eslint -D
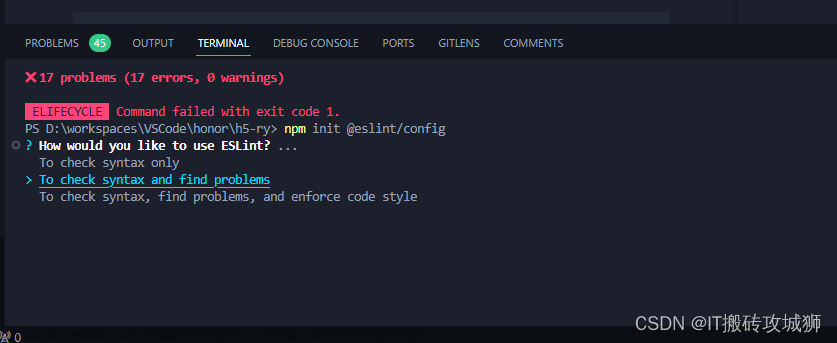
2.2 初始化eslint
pnpm eslint --init
- 依次选择

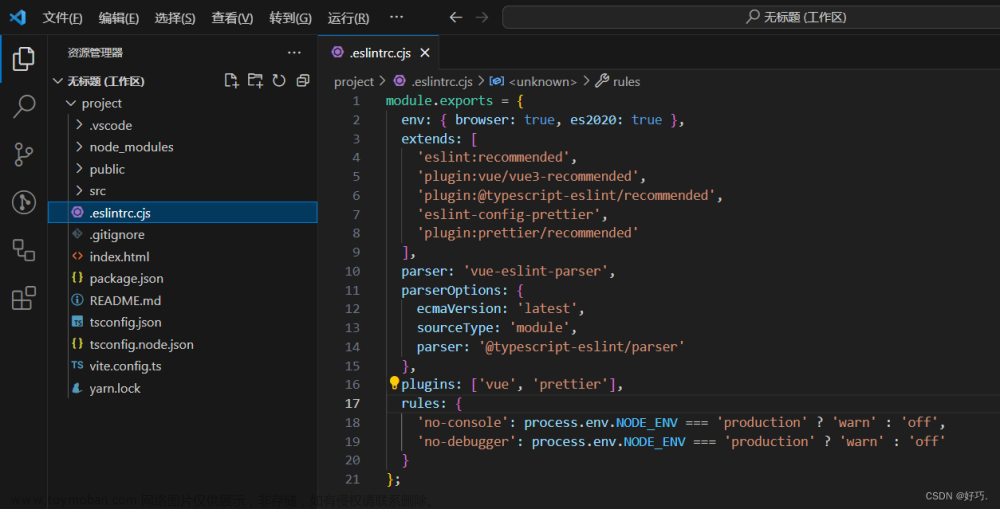
2.3 依赖安装完成后,会生成.eslintrc.cjs配置文件
module.exports = {
  env: {
    browser: true,
    es2021: true,
    node: true
  },
  extends: [
    'eslint:recommended',
    'plugin:vue/vue3-essential',
    'plugin:@typescript-eslint/recommended',
    'plugin:prettier/recommended' // 解决ESlint和Prettier冲突
  ],
  overrides: [],
  // 配置支持 vue 和 ts
  parser: 'vue-eslint-parser',
  parserOptions: {
    ecmaVersion: 'latest',
    sourceType: 'module',
    parser: '@typescript-eslint/parser'
  },
  plugins: ['vue', '@typescript-eslint'],
  rules: {
    '@typescript-eslint/no-explicit-any': 'off', // 禁止使用该any类型。
    '@typescript-eslint/no-unused-vars': 'off', //禁止未使用的变量
    'vue/valid-template-root': 'off',
    'vue/no-v-html': 'off',
    'prefer-const': 'off',
    '@typescript-eslint/ban-types': 'off',
    '@typescript-eslint/no-empty-function': 'off',
    '@typescript-eslint/ban-ts-comment': 'off',
    'vue/multi-word-component-names': 'off',
    endOfLine: 'off', // 添加忽略换行格式的检查。
    'vue/require-default-prop': 'off' // props 需要设置默认值
  }
}
2.4 在package.json文件中的script中添加lint命令
{
    "scripts": {
        // eslint . 为指定lint当前项目中的文件
        // --ext 为指定lint哪些后缀的文件
        // --fix 开启自动修复
        "lint": "eslint . --ext .vue,.js,.ts,.jsx,.tsx --fix"
    }
}
2.5 执行lint命令
pnpm lint

遇到这样的错误,很明显少安装插件了
pnpm install eslint-plugin-prettier@latest --save-dev

pnpm add prettier -D

2.6 安装插件eslint

在项目中新建
.vscode/settings.json文件,然后在其中加入以下配置。
{
    // 开启自动修复
    "editor.codeActionsOnSave": {
        "source.fixAll": false,
        "source.fixAll.eslint": true
    }
}
三:配置prettier
3.1 执行安装命令
pnpm add prettier -D
3.2 在根目录下新建.prettierrc.cjs
更多配置可查看官方文档
module.exports = {
  singleQuote: true, // 使用单引号, 默认false(在jsx中配置无效, 默认都是双引号)
  semi: false, // 使用分号, 默认true
  printWidth: 120, //  每行超过多少字符自动换行
  arrowParens: 'avoid', // avoid 能省略括号的时候就省略 例如x => x
  bracketSpacing: true, // 对象中的空格 默认true
  trailingComma: 'none', // all 包括函数对象等所有可选
  tabWidth: 2, // tab缩进大小,默认为2
  useTabs: false, // 使用tab缩进,默认false
  htmlWhitespaceSensitivity: 'ignore',
  // 对象大括号直接是否有空格,默认为true,效果:{ foo: bar }
  bracketSpacing: true
}
3.3 在package.json中的script中添加以下命令
{
    "scripts": {
        "format": "prettier --write \"./**/*.{html,vue,ts,js,json,md}\"",
    }
}
3.4 安装Prettier - Code formatter插件

在
.vscode/settings.json中添加一下规则文章来源:https://www.toymoban.com/news/detail-615596.html
{
    // 保存的时候自动格式化
    "editor.formatOnSave": true,
    // 默认格式化工具选择prettier
    "editor.defaultFormatter": "esbenp.prettier-vscode"
}
四:使用cz-git
4.1 全局安装commitizen,如此一来可以快速使用 cz 或 git cz 命令进行启动。
npm install -g commitizen
4.2 安装依赖
pnpm install -D cz-git
4.3 修改 package.json 添加 config 指定使用的适配器
{
  "scripts": {

  },
  "config": {
    "commitizen": {
      "path": "node_modules/cz-git"
    }
  }
}
4.4 添加自定义配置
在根目录自行添加.commitlintrc.cjs文件进行配置文章来源地址https://www.toymoban.com/news/detail-615596.html
// .commitlintrc.js
module.exports = {
  rules: {
    // @see: https://commitlint.js.org/#/reference-rules
  },
  prompt: {
    messages: {
      type: '选择你要提交的类型 :',
      scope: '选择一个提交范围(可选):',
      customScope: '请输入自定义的提交范围 :',
      subject: '填写简短精炼的变更描述 :\n',
      body: '填写更加详细的变更描述(可选)。使用 "|" 换行 :\n',
      breaking: '列举非兼容性重大的变更(可选)。使用 "|" 换行 :\n',
      footer: '列举关联issue (可选) 例如: #31, #I3244 :\n',
      confirmCommit: '是否提交或修改commit ?'
    },
    types: [
      { value: 'feat', name: 'feat:        新增功能 | A new feature', emoji: '✨' },
      { value: 'fix', name: 'fix:         修复缺陷 | A bug fix', emoji: '🐛' },
      { value: 'docs', name: 'docs:        文档更新 | Documentation only changes', emoji: '📄' },
      {
        value: 'style',
        name: 'style:       代码格式 | Changes that do not affect the meaning of the code',
        emoji: '💄'
      },
      {
        value: 'refactor',
        name: 'refactor:    代码重构 | A code change that neither fixes a bug nor adds a feature',
        emoji: '♻️'
      },
      { value: 'perf', name: 'perf:        性能提升 | A code change that improves performance', emoji: '⚡️' },
      { value: 'test', name: 'test:        测试相关 | Adding missing tests or correcting existing tests', emoji: '✅' },
      {
        value: 'build',
        name: 'build:       构建相关 | Changes that affect the build system or external dependencies',
        emoji: '📦️'
      },
      { value: 'ci', name: 'ci:          持续集成 | Changes to our CI configuration files and scripts', emoji: '🎡' },
      { value: 'revert', name: 'revert:      回退代码 | Revert to a commit', emoji: '⏪️' },
      {
        value: 'chore',
        name: 'chore:       其他修改 | Other changes that do not modify src or test files',
        emoji: '🔨'
      }
    ],
    useEmoji: true,
    // scope 类型(定义之后,可通过上下键选择)
    scopes: [
      ['components', '组件相关'],
      ['hooks', 'hook 相关'],
      ['utils', 'utils 相关'],
      ['element-ui', '对 element-ui 的调整'],
      ['styles', '样式相关'],
      ['deps', '项目依赖'],
      ['auth', '对 auth 修改'],
      ['other', '其他修改']
    ].map(([value, description]) => {
      return {
        value,
        name: `${value.padEnd(30)} (${description})`
      }
    }),

    // 是否允许自定义填写 scope,在 scope 选择的时候,会有 empty 和 custom 可以选择。
    allowCustomScopes: true,

    // 跳过要询问的步骤
    skipQuestions: ['body', 'breaking', 'footer'],
    subjectLimit: 100, // subject 限制长度
    // 设置只有 type 选择了 feat 或 fix,才询问 breaking message
    allowBreakingChanges: ['feat', 'fix'],

    issuePrefixs: [
      // 如果使用 gitee 作为开发管理
      { value: 'link', name: 'link:     链接 ISSUES 进行中' },
      { value: 'comment', name: 'comment: 评论 ISSUES' },
      { value: 'closed', name: 'closed:   标记 ISSUES 已完成' }
    ]
  }
}
到了这里,关于vue3-eslint-prettier-czgit配置的文章就介绍完了。如果您还想了解更多内容,请在右上角搜索TOY模板网以前的文章或继续浏览下面的相关文章,希望大家以后多多支持TOY模板网!


