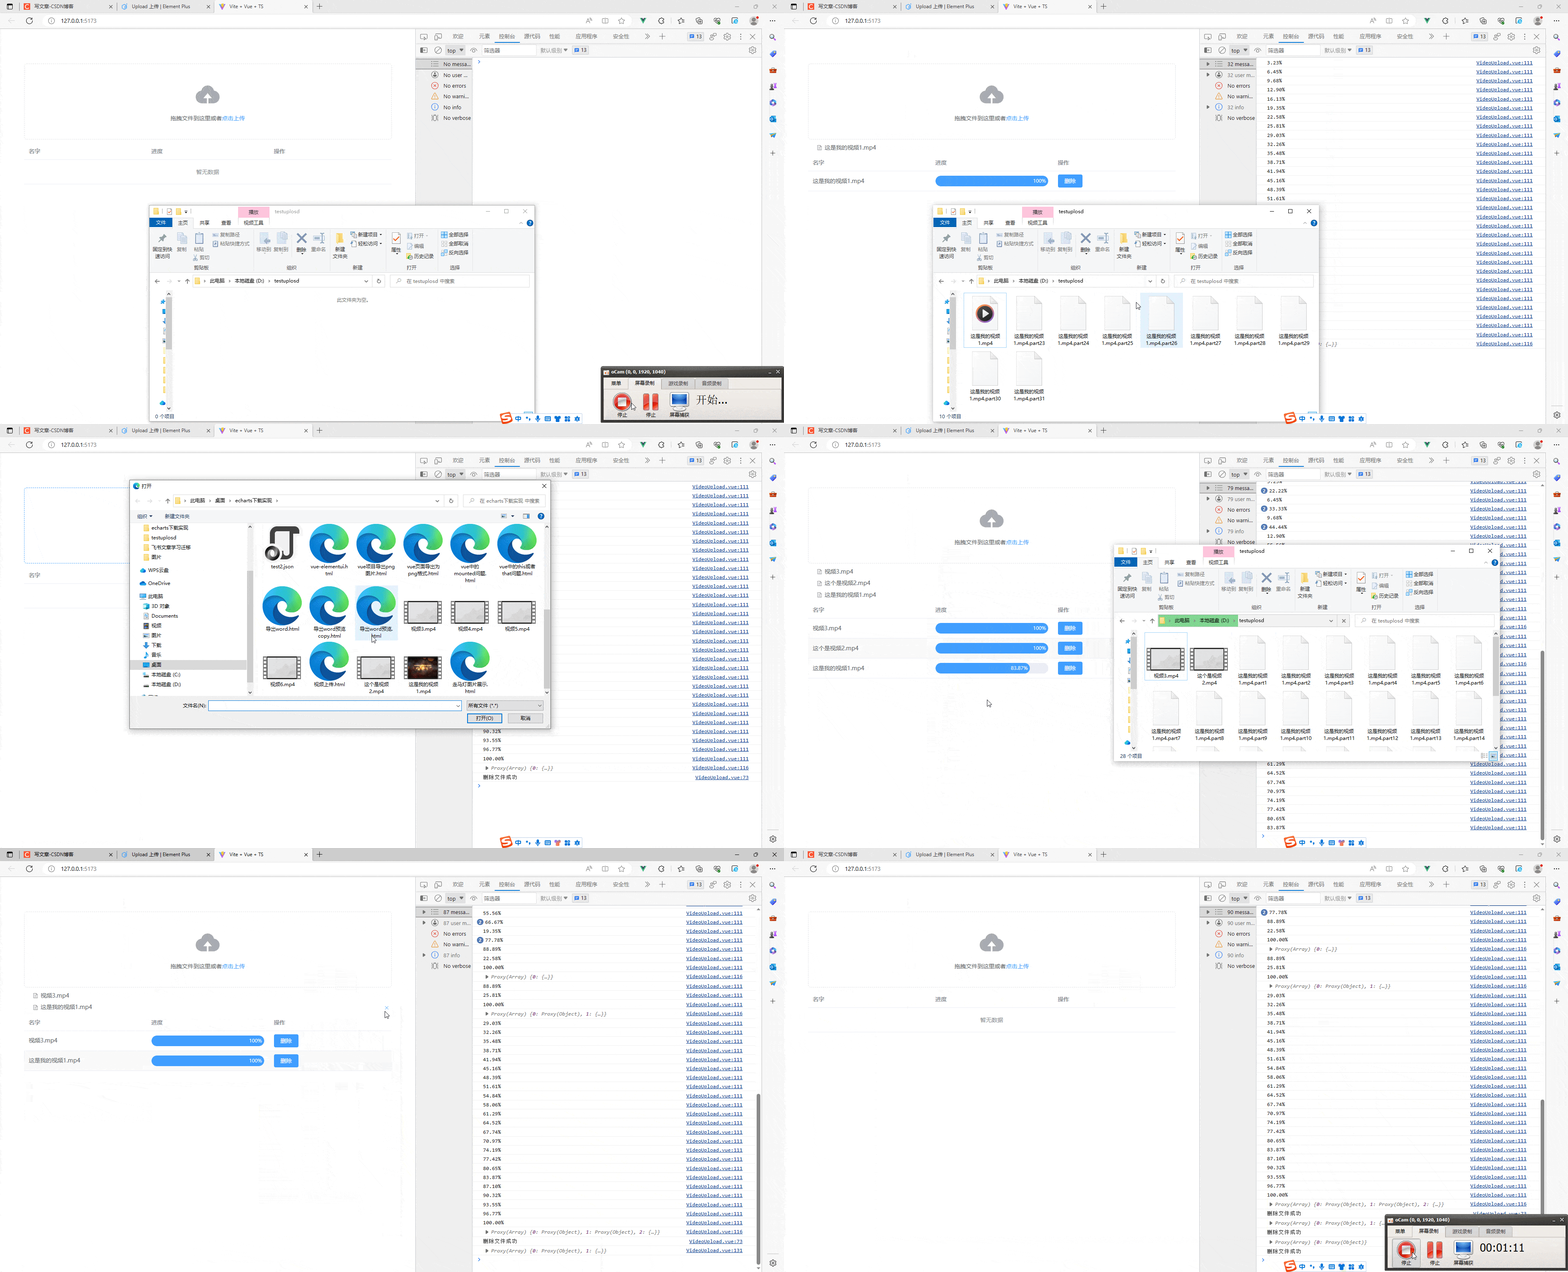
在 Vue 3 中使用 Element 组件库进行图片上传,您需要使用 Element 的 Upload 组件。这个组件可以方便地实现文件上传功能,包括图片上传。
以下是一个简单的示例,演示如何在 Vue 3 中使用 Element 的 Upload 组件进行图片上传:
首先,确保您已经安装并配置了 Element 组件库。您可以在项目中使用 npm 或 yarn 安装 Element:
npm install element-plus --save或者
yarn add element-plus在需要使用上传组件的组件中,引入 Element 组件和样式:
<template>
  <div>
    <el-upload
      action="https://your-upload-api.com/upload" <!-- 上传接口地址 -->
      :show-file-list="false" <!-- 是否显示文件列表 -->
      :on-success="handleSuccess" <!-- 上传成功回调函数 -->
      :before-upload="beforeUpload" <!-- 上传前的处理函数 -->
    >
      <el-button size="small" type="primary">点击上传图片</el-button>
    </el-upload>
    <img v-if="imageUrl" :src="imageUrl" alt="Uploaded Image" />
  </div>
</template>

<script>
import { ref } from 'vue';

export default {
  data() {
    return {
      imageUrl: null,
    };
  },
  methods: {
    handleSuccess(response) {
      // 上传成功后,服务器返回的数据
      if (response && response.code === 200) {
        this.imageUrl = response.data.url; // 假设服务器返回的数据中有图片的 URL
      }
    },
    beforeUpload(file) {
      // 可以在这里进行一些上传前的验证操作
      const isImage = file.type.startsWith('image/');
      if (!isImage) {
        this.$message.error('只能上传图片文件');
      }
      return isImage; // 返回 false 可以阻止上传
    },
  },
};
</script>

<style>
/* 这里可以根据需求自定义样式 */
</style>
在这个示例中,我们使用了 Element 的 Upload 组件来实现图片上传功能。用户点击按钮后,会触发上传操作,并在上传成功后将图片显示出来。在上传之前,我们可以通过 beforeUpload 方法进行一些验证操作,例如限制只能上传图片类型的文件。文章来源:https://www.toymoban.com/news/detail-615697.html
注意:示例中的上传接口地址和服务器返回数据等都是假设的,您需要根据实际情况修改成您自己的接口和数据处理逻辑。文章来源地址https://www.toymoban.com/news/detail-615697.html
到了这里,关于vue3 element组件上传图片的文章就介绍完了。如果您还想了解更多内容,请在右上角搜索TOY模板网以前的文章或继续浏览下面的相关文章,希望大家以后多多支持TOY模板网!


