装这个显卡驱动遇到了很多问题,第一次装了两三天没有成功,休息了一个星期,又来试,终于成功了。
显卡驱动安装
1. 检查自己的显卡型号
lspci | grep -i vga //会出现一个16进制的数字选有nvidia的那个就是独显(我的是TU104M),把这个内容粘贴到PCI devices(网址进去较慢,耐心ing)可以查询到显卡的型号。
00:02.0 VGA compatible controller: Intel Corporation UHD Graphics 630 (Mobile)
01:00.0 VGA compatible controller: NVIDIA Corporation TU104M [GeForce RTX 2080 Mobile] (rev a1)

2.下载nvidia驱动
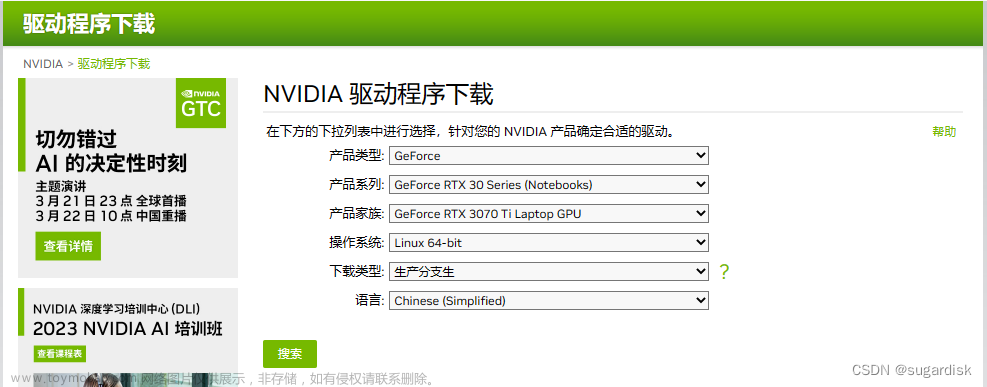
NVIDIA GeForce 驱动程序 - N 卡驱动 | NVIDIA查询到之后选择一个版本下载。

点击开始搜索

然后选择驱动,并下载,将其保存在home下。驱动文件为:NVIDIA-Linux-x86_64-520.56.06.run
3. 准备工作
禁用nouveau
sudo gedit /etc/modprobe.d/blacklist.conf在打开的文件中加入
blacklist nouveau
options nouveau modeset=0
更新系统
sudo update-initramfs -u重启
sudo reboot验证是否禁用nouveau,若系统没有任何输出则禁用成功。
lsmod | grep nouveau4. 配置环境变量
gedit命令打开配置文件:
sudo gedit ~/.bashrc末尾写入:
export LD_LIBRARY_PATH=/usr/lib/x86_64-linux-gnu:$LD_LIBRARY_PATH
export LD_LIBRARY_PATH=/lib/x86_64-linux-gnu:$LD_LIBRARY_PATH
保存更新:
source ~/.bashrc5.卸载原有驱动(如果有的话)
sudo apt-get --purge remove nvidia*
sudo apt autoremove  //如果怕卸载太多,此条暂不运行也可
6.安装相关依赖
sudo apt-get install libprotobuf-dev libleveldb-dev libsnappy-dev libopencv-dev libhdf5-serial-dev protobuf-compiler
sudo apt-get install --no-install-recommends libboost-all-dev
sudo apt-get install libopenblas-dev liblapack-dev libatlas-base-dev
sudo apt-get install libgflags-dev libgoogle-glog-dev liblmdb-dev
7.安装驱动
在ubuntu下ctrl+alt+f1进入命令行界面,在命令行界面ctrl+alt+f7退出命令行界面。(以防进去之后不知道怎么出来) 之后的步骤最好先用手机拍照再进行
sudo service lightdm stop//关闭图形界面
进入命令行界面ctrl+alt+f1
输入自己的用户名,回车
输入自己的登录密码,回车
8.安装驱动
先对对应文件进行授权,然后执行安装程序。
sudo chmod +x NVIDIA-Linux-x86_64-520.56.06.run
sudo sh NVIDIA-Linux-x86_64-520.56.06.run --no-opengl-files --no-x-check --no-nouveau-check
NVIDIA-Linux-x86_64-520.56.06.run是我的驱动文件
第二项指令的三个参数分别为:
–no-opengl-files 不安装OpenGL文件。这个参数最重要
–no-x-check 安装驱动时不检查X服务
–no-nouveau-check 安装驱动时不检查nouveau
后两项可以不加,在安装过程中会出现对应对话框进行选择。
安装过程中选项如下:
1.The distribution-provided pre-install script failed! Are you sure you want to continue?

“Yes”

2.Would you like to register the kernel module souces with DKMS? This will allow DKMS to automatically build a new module, if you install a different kernel later?

“No”

3.Nvidia’s 32-bit compatibility libraries?

“No”

4.Would you like to run the nvidia-xconfigutility to automatically update your x configuration so that the NVIDIA x driver will be used when you restart x? Any pre-existing x confile will be backed up.

“Yes”
其余一路回车即可。
9.安装完成,验证
安装完成后,仍会回到x-server界面,此时
- 挂载NVIDIA驱动:
modprobe nvidia若挂灾成功,则不会有任何显示
但是为的报错:
ERROR: could not insert ‘nvidia’: Operation not permitted
secure boot
原因是 secure boot 是开启状态,内核不能安装自己定制的模块;
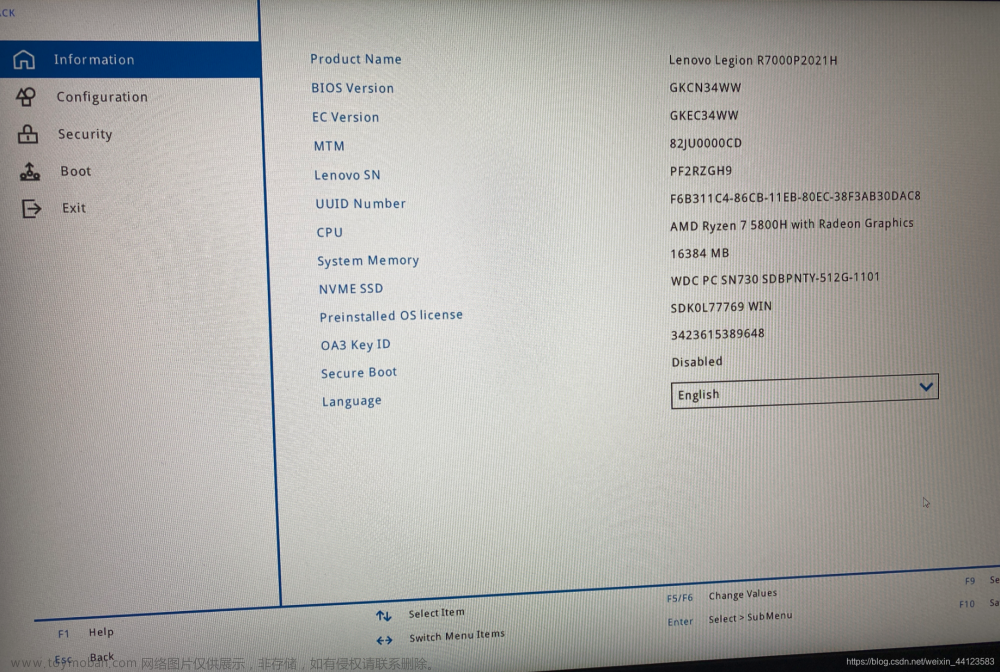
解决方法:我们进入BIOS 把 secure boot 选项关掉;secure boot 大概的作用时为了保护内核的启动安全;
linux secure boot 状态查询:
mokutil --sb-state关掉secure boot的方法:
sudo mokutil --disable-validation要输入8位密码,最好输入12345678
reboot再重启电脑
此时电脑重启,出现蓝屏,按任意键,出现四个选项:选择change secure boot state
Continue boot
Change Secure Boot state
Enroll key from disk
Enroll hash from disk
出现Enter password character (num)
这个num可能是1.3.5.4各个字母,代表的是你之前输入密码的第几个字母,然后然后把这个字母输入就好了
Disable Secure Boot
选择yes
回到最开始页面,选择reboot
sudo service lightdm stop//关闭图形界面
modprobe nvidia再次挂载 nvidia
挂载成功
回到图形界面或直接将电脑重启
sudo service lightdm start            #回到图形界面

reboot #重启- 终端输入指令
sudo nvidia-smi如果有下图式的输出,则安装成功。文章来源:https://www.toymoban.com/news/detail-616158.html
 文章来源地址https://www.toymoban.com/news/detail-616158.html
到了这里,关于ubuntu 20.04装nvidia显卡驱动的文章就介绍完了。如果您还想了解更多内容,请在右上角搜索TOY模板网以前的文章或继续浏览下面的相关文章,希望大家以后多多支持TOY模板网!

