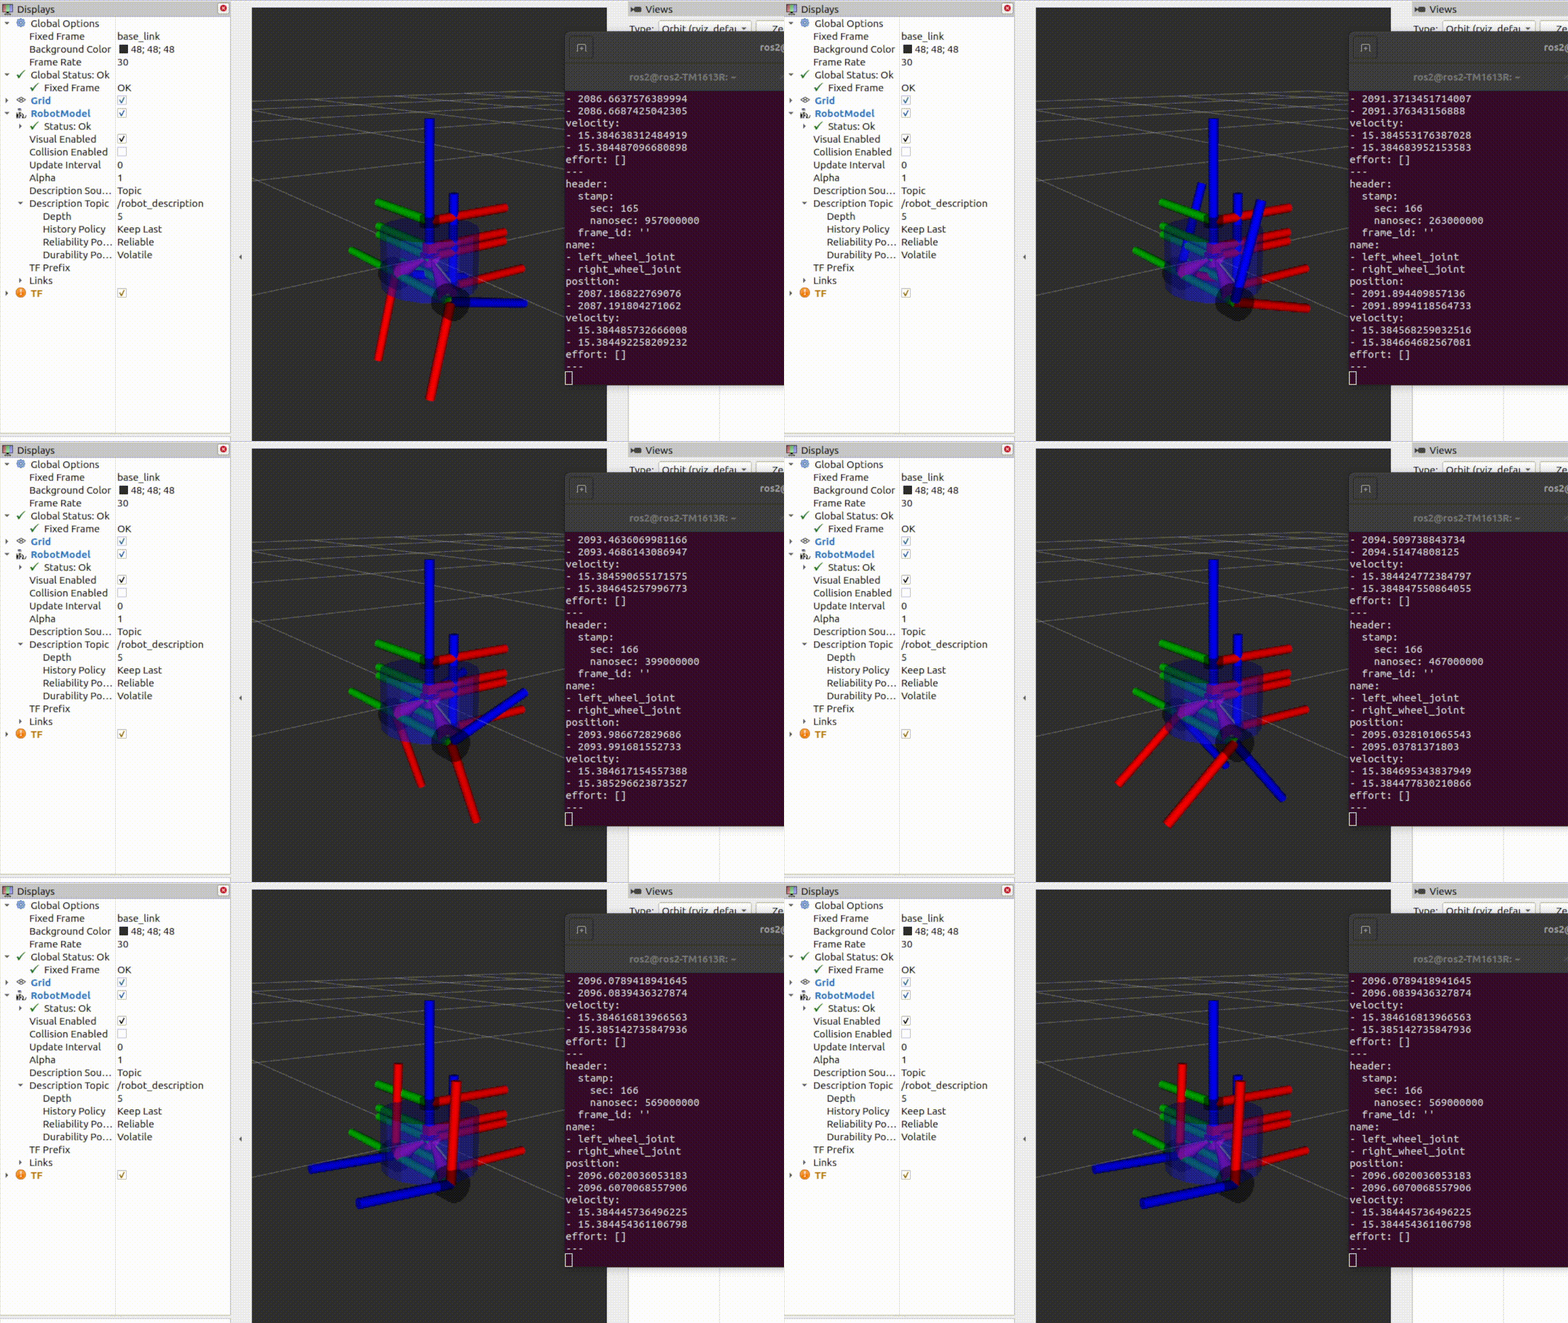
一、实现效果
红色为行驶过的轨迹 二、实现方法
1、导航包中创建.cpp文件,并将以下代码复制进去
2、CMakeLists当中添加可执行文件及链接库 3、启动导航的launch文件中添加启动该cpp文件
 文章来源:https://www.toymoban.com/news/detail-616175.html
三、代码文章来源地址https://www.toymoban.com/news/detail-616175.html
#include <ros/ros.h>
#include <ros/console.h>
#include <nav_msgs/Path.h>
#include <nav_msgs/Odometry.h>
#include <std_msgs/String.h>
#include <geometry_msgs/Quaternion.h>
#include <geometry_msgs/PoseStamped.h>
#include <tf/transform_broadcaster.h>
#include <tf/tf.h>
nav_msgs::Path  path;
ros::Publisher  path_pub;

void odomCallback(const nav_msgs::Odometry::ConstPtr& odom)
{
    geometry_msgs::PoseStamped this_pose_stamped;
    this_pose_stamped.pose.position.x = odom -> pose.pose.position.x;
    this_pose_stamped.pose.position.y = odom -> pose.pose.position.y;
    this_pose_stamped.pose.position.z = odom -> pose.pose.position.z;

    this_pose_stamped.pose.orientation = odom -> pose.pose.orientation;

    this_pose_stamped.header.stamp = ros::Time::now();
    this_pose_stamped.header.frame_id = "map";

    path.poses.push_back(this_pose_stamped);

    path.header.stamp = ros::Time::now();
    path.header.frame_id = "map";
    path_pub.publish(path);
    printf("path_pub:");
    printf("odom %.3lf %.3lf %.3lf\n", odom->pose.pose.position.x, odom->pose.pose.position.y, odom->pose.pose.position.z);
}

int main (int argc, char **argv)
{
    ros::init (argc, argv, "showpath_odom");
    ros::NodeHandle ph;

    path_pub = ph.advertise<nav_msgs::Path>("trajectory_odom", 10, true);
    ros::Subscriber odomSub = ph.subscribe<nav_msgs::Odometry>("/odom", 10, odomCallback);  //订阅里程计话题信息

    ros::Rate loop_rate(50);
    while(ros::ok())
    {
        ros::spinOnce();
        loop_rate.sleep();
    }
    return 0;
}
到了这里,关于ROS仿真机器人实现Rviz轨迹显示的文章就介绍完了。如果您还想了解更多内容,请在右上角搜索TOY模板网以前的文章或继续浏览下面的相关文章,希望大家以后多多支持TOY模板网!


![【ROS】—— 机器人导航(仿真)—导航实现(十八)[重要][重要][重要]](https://imgs.yssmx.com/Uploads/2024/02/789274-1.png)


