Install Stable Diffusion WebUI on Ubuntu 22.04.2 LTS

这篇具有很好参考价值的文章主要介绍了Install Stable Diffusion WebUI on Ubuntu 22.04.2 LTS。希望对大家有所帮助。如果存在错误或未考虑完全的地方,请大家不吝赐教,您也可以点击"举报违法"按钮提交疑问。

1. Environment

  • OS:Ubuntu 22.04 LTS
  • Kernel:5.15.0-60-generic
  • CPU: Intel(R) Xeon(R) Gold 6278C CPU @ 2.60GHz, 8vCPUs 
  • GPU: 1 * NVIDIA V100-PCIe-32G 
  • RAM: 64GB
  • system disk:512 GiB
  • data disk: 2048 GiB
  • Stable Diffusion WebUI version:0cc0ee1 (2023/2/20)

2. Download Stable Diffusion models

Go to HuggingFace or Civitai to find a model.

Use wget command to download the model

wget https://huggingface.co/andite/anything-v4.0/blob/main/anything-v4.5-pruned.ckpt

Here are some good models for your reference.

2.1. Realistic style models

Stable Diffusion, the original model published by CompVis and StabilityAI.

Chilloutmix

Deliberate

2.2. Anime style models

I would suggest you to start from “Anything” model if you want to draw anime artworks.

Anything

Waifu Diffusion

Hentai Diffusion

DreamShaper

OrangeMix3

3. Install Stable Diffusion WebUI

3.1. Install dependencies

1.Install proprietary Nvidia drivers in order to use CUDA. Then reboot. 

sudo apt update
sudo apt purge *nvidia*
# List available drivers for your GPU
ubuntu-drivers list
sudo apt install nvidia-driver-525

 2.Follow the instructions on Nvidia Developers to install CUDA. Reboot again.

wget https://developer.download.nvidia.com/compute/cuda/repos/ubuntu2204/x86_64/cuda-ubuntu2204.pin
sudo mv cuda-ubuntu2204.pin /etc/apt/preferences.d/cuda-repository-pin-600
wget https://developer.download.nvidia.com/compute/cuda/12.1.0/local_installers/cuda-repo-ubuntu2204-12-1-local_12.1.0-530.30.02-1_amd64.deb
sudo dpkg -i cuda-repo-ubuntu2204-12-1-local_12.1.0-530.30.02-1_amd64.deb
sudo cp /var/cuda-repo-ubuntu2204-12-1-local/cuda-*-keyring.gpg /usr/share/keyrings/
sudo apt-get update
sudo apt-get -y install cuda

3.Verify the installation 

nvidia-smi
nvcc --version

4.Install Python, wget, git

sudo apt install python3 python3-pip python3-virtualenv wget git

5.Because we need a Pyhon 3.6 enviroment for SD WebUi, we have to install Anaconda

wgt https://repo.anaconda.com/miniconda/Miniconda3-latest-Linux-x86_64.sh
chmod +x Miniconda3-latest-Linux-x86_64.sh
bash Miniconda3-latest-Linux-x86_64.sh
# Confirm everything and install it

6.Create a virtual environment of Python 3.10.6

conda create --name sdwebui python=3.10.6

3.2. Clone Stable Diffusion WebUI repository

1.Clone the repository of Stable Diffusion WebUI

cd ~
git clone https://github.com/AUTOMATIC1111/stable-diffusion-webui.git

2.Move .ckpt models to stable-diffusion-webui

mv ~/anything-v4.5-pruned.ckpt  ~/stable-diffusion-webui/models/Stable-diffusion/

3.Enter the virtual enviroment

conda activate sdwebui

4.If you want to activate virtual environment in a bash script, add these on the top of webui-user.sh

eval "$(conda shell.bash hook)"
conda activate sdwebui

3.3. Setup commandline arguments

According to Wiki,we have to change some commdanline arguments in order to start SD WebUI.

Edit webui-user.sh

vim webui-user.sh

If the VRAM of GPU is lower than 4GB, add: COMMANDLINE_ARGS=--medvram --opt-split-attention

If your PC has RAM lower than 8GB, add: COMMANDLINE_ARGS=--lowvram --opt-split-attention

You could also add --listen so you can access the WebUI from other PC on the same network. Or add --share to generate a public Gradio link for accessing WebUI while deploying SD WebUI to servers.

3.4. Launch Stable Diffusion WebUI

1.Run webui.sh, it will install all the dependencies. Then a link should pop up: http://127.0.0.1:7860 

./webui.sh

2.To access WebUI from other PC on the same network,enter http://<IP of the PC>:7860 in the address bar of your browser. Don’t forget to open firewall port

sudo ufw allow 7860/tcp
sudo ufw reload

3.5. How to update Stable Diffusion WebUI

1.Get current branch

git rev-parse --short HEAD

2.Pull latest files

git pull

3.If something is broken after updating, roll back to the previous branch

git checkout "branch"

4. How to use Stable Diffusion WebUI

4.1. Prompts

Use “Prompts” and “Ngative Prompts” to tell AI what to draw.

Install Stable Diffusion WebUI on Ubuntu 22.04.2 LTS,stable diffusion,ubuntu,linux

See Vodly Artist name and Danbooru tags for choosing prompts.

For example, to draw Jeanne from Fate/Grand Order, we type the name of the character and characteristics of her body in the prompt fields.

jeanne d'arc from fate grand order, girl, (best quality), (masterpiece), (high detail), ((full face)), sharp, ((looking at viewer)), ((detailed pupils)), (thick thighs), (((full body))), (large breasts), vagina, nude, nipples

Then type negative prompts.
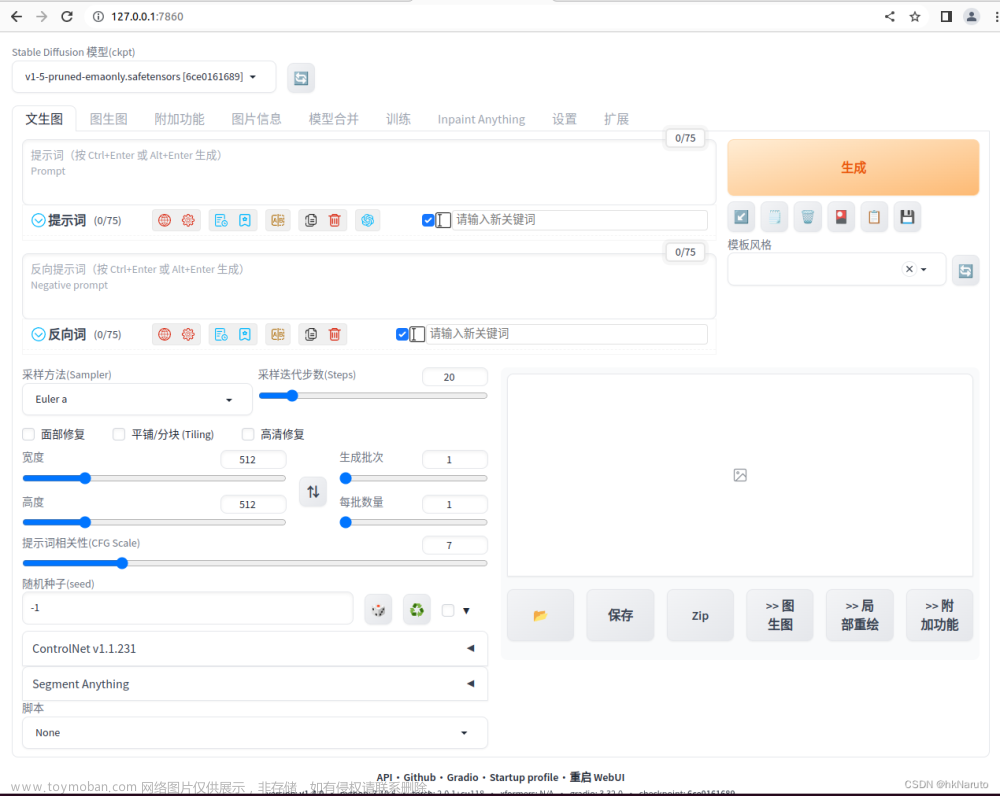
lowres, bad anatomy, bad hands, text, error, missing fingers, extra digit, fewer digits, cropped, worst quality, low quality, normal quality, jpeg artifacts,signature, watermark, username, blurry, artist name

4.2. Text to image

  1. Go to SD WebUI, type the prompts

    Install Stable Diffusion WebUI on Ubuntu 22.04.2 LTS,stable diffusion,ubuntu,linux

  2. Check Restore faces

    Install Stable Diffusion WebUI on Ubuntu 22.04.2 LTS,stable diffusion,ubuntu,linux

  3. Clcik Generate butoon, it will start generate a image

    Install Stable Diffusion WebUI on Ubuntu 22.04.2 LTS,stable diffusion,ubuntu,linux

  4. You shall see the result at the right panel

    Install Stable Diffusion WebUI on Ubuntu 22.04.2 LTS,stable diffusion,ubuntu,linux

All generated images will be stored at stable-diffusion-webui/outputs

You can also increase the value of Batch count so it will generate multiple images in one run.

Install Stable Diffusion WebUI on Ubuntu 22.04.2 LTS,stable diffusion,ubuntu,linux

4.3. Imge to image

  1. Type the prompts

    Install Stable Diffusion WebUI on Ubuntu 22.04.2 LTS,stable diffusion,ubuntu,linux

  2. Upload a image. Check Restore faces. Clcik Generate.

    Install Stable Diffusion WebUI on Ubuntu 22.04.2 LTS,stable diffusion,ubuntu,linux

You can change the value of CFG Scale and Denoising strength. The lower the value of Denoising strength is, the output would be more similar the original image.

Click Interrogate Deepboooru to generate prompts automatically accodring to the image you uploaded.文章来源地址https://www.toymoban.com/news/detail-616687.html

References

  • Rombach, R., Blattmann, A., Lorenz, D., Esser, P., & Ommer, B. (2022). High-resolution image synthesis with latent diffusion models. In Proceedings of the IEEE/CVF Conference on Computer Vision and Pattern Recognition (pp. 10684-10695).
  • Stable Diffusion web UI Wiki - GitHub
  • Voldy Retard Guide The definitive Stable Diffusion experience ™
  • Install Stable Diffusion WebUI locally on Ubuntu Linux

到了这里,关于Install Stable Diffusion WebUI on Ubuntu 22.04.2 LTS的文章就介绍完了。如果您还想了解更多内容,请在右上角搜索TOY模板网以前的文章或继续浏览下面的相关文章,希望大家以后多多支持TOY模板网!

本文来自互联网用户投稿,该文观点仅代表作者本人,不代表本站立场。本站仅提供信息存储空间服务,不拥有所有权,不承担相关法律责任。如若转载,请注明出处: 如若内容造成侵权/违法违规/事实不符,请点击违法举报进行投诉反馈,一经查实,立即删除!

领支付宝红包 赞助服务器费用

相关文章

  • Ubuntu 22.04.2 LTS LTS x86_64 安装 stable-diffusion-webui 【2】基本版本完结。

    前篇 Ubuntu 20.04 LTS x86_64 安装 stable-diffusion-webui_hkNaruto的博客-CSDN博客 内容太多,分第二篇继续 中途重装了机器,20.04 ,apt upgrade后自动升级到22.04.2 现状:起来了,又没完全起来 启动日志 界面 获得阶段性成果了。 参考故障处理1. 下载资源,再次启动 成果启动,测试1girl看看

    2024年02月16日
    浏览(24)
  • Stable Diffusion WebUI 集成 sd-webui-segment-anything sd-webui-inpaint-anything Ubuntu22.04 rtx2060 6G

    下载分割模型(segmentation models): 显存只有6G,选择l版本 lllyasviel/ControlNet-v1-1 at main 下载14个.pth模型文件,yaml文件已经在models目录下了   今天下载的新鲜文件,放阿里云盘了 ControlNet-v1-1-20230706 https://www.aliyundrive.com/s/LtpNFP8stg5  启动后又开始安装各种Python依赖。网络环境不行气

    2024年02月16日
    浏览(50)
  • Stable Diffusion WebUI 集成 中文提示词插件 sd-webui-prompt-all-in-one Ubuntu22.04 rtx2060 6G

    重启webui,等待依赖安装结束 已经加载出中文提示词输入框了  这个模型太拉

    2024年02月16日
    浏览(36)
  • Ubuntu18.04本地部署Stable-Diffusion-webui绘画

    记录Ubuntu下安装Stable-Diffusion-webui,比较简单,以供参考。 一、安装cuda 支持安装的cuda版本可以用nvidia-smi命令查看:   显卡驱动支持的cuda版本最高是11.4,可以在这里下载对应的cuda版本:CUDA Toolkit Archive | NVIDIA Developer(https://developer.nvidia.com/cuda-toolkit-archive)。由于之前安装别

    2024年02月11日
    浏览(52)
  • Ubuntu20.04本地部署Stable-Diffusion-webui AI绘画环境

    最近AI绘画很火,所以想在本地部署个环境体验一下。原本打算在Windows下安装,网上有很多教程,也有很多大佬做了整合包,可是我的Windows系统下的显卡驱动版本太低,也没法升级,只能装CUDA9,导致安装torch会出现问题。所以考虑在Ubuntu下安装,参考了几篇文章,所幸也安

    2023年04月11日
    浏览(70)
  • Ubuntu 20.04 LTS x86_64 安装 stable-diffusion-webui

    Stability AI GitHub - Stability-AI/stablediffusion: High-Resolution Image Synthesis with Latent Diffusion Models https://github.com/AUTOMATIC1111/stable-diffusion-webui Ubuntu 20.04 LTS 安装 nvidia 驱动 + cuda 11.8 从开始到放弃!_hkNaruto的博客-CSDN博客 打开一个新终端,配置源  编辑~/.condarc 内容如下即可。 注意: 以下方

    2024年02月12日
    浏览(38)
  • AI画图 Ubuntu 20.04.5 LTS x86_64 Docker stable diffusion webui 及 http api接口

    Docker镜像 参考地址: docker一键运行stable diffusion webui,常用插件和功能完备,获得镜像后可打包带走 - 哔哩哔哩 nvidia cuda 驱动 ​​​​​​​Linux x64 (AMD64/EM64T) Display Driver | 525.116.04 | Linux 64-bit | NVIDIA lora模型下载 热门Civitai LoRA模型下载第一批合集 Stable Diffusion WebUI - openAI 注

    2024年02月08日
    浏览(39)
  • Ubuntu22.04 install Kafka

    kafka quickstart  install kafka

    2024年02月09日
    浏览(27)
  • 本地部署stable-diffusion-webui出现Couldn‘t install gfpgan错误的解决方法

    根据网上在前面加网址,或则改镜像的方法都无法解决,于是手动下载该包 win下载虚拟环境 进入下载stable-diffusion-webui的文件,进入 在该目录下打开终端,运行activate.bat进入虚拟环境,再继续下载gfpgan 可以在后面跟镜像网站加快速度,然后再次回到主界面运行weibui-user.bat即可

    2024年02月11日
    浏览(33)
  • How to manually install PCL on ubuntu 18.04

    1. Firstly, need to check which version pcl you need to install on your ubuntu system. PCL download link: https://github.com/PointCloudLibrary/pcl/releases?page=2 https://github.com/PointCloudLibrary/pcl/releases?page=2 Find your version: pcl-1.9.1  Then click Assets, and download the source code.zip 2. unzip source_code.zip 3. cd source_code 4. 5.  6. 7. 

    2024年01月21日
    浏览(43)

觉得文章有用就打赏一下文章作者

支付宝扫一扫打赏

博客赞助

微信扫一扫打赏

请作者喝杯咖啡吧~博客赞助

支付宝扫一扫领取红包,优惠每天领

二维码1

领取红包

二维码2

领红包