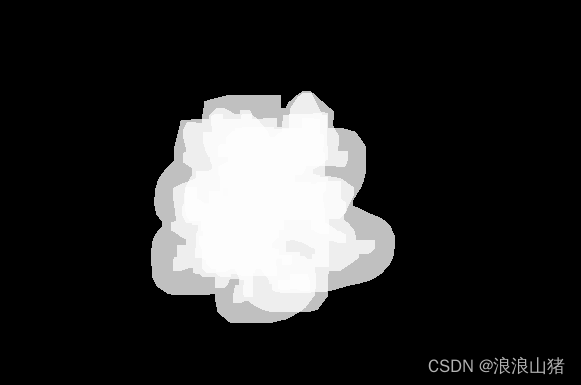
原始图像为

import cv2
import numpy as np
import matplotlib.pyplot as plt

def cv_show(name, img):
    cv2.imshow(name, img)
    cv2.waitKey(0)
    cv2.destroyAllWindows()


# 读取图像
img = cv2.imread('contours.png')
cv_show('contours', img)

# 灰度化和二值化
gray = cv2.cvtColor(img, cv2.COLOR_BGR2GRAY)
thresh = cv2.threshold(gray, 127, 255, cv2.THRESH_BINARY)[1]
cv_show('thresh', thresh)

# 寻找轮廓
cnt = cv2.findContours(thresh, cv2.RETR_TREE, cv2.CHAIN_APPROX_NONE)[1]
经过轮廓检测,输出的Value值为cnt,类型为list,元素个数为11,即包含11个轮廓

c0为在cnt中索引为0,代表第一轮廓,即三角形轮廓
c0 = cnt[0]
res = cv2.drawContours(draw, [c0], -1, (0, 0, 255), 2)
cv_show('res', res)
文章来源地址https://www.toymoban.com/news/detail-617918.html

下面进行轮廓近似
epsilon = 0.1 * cv2.arcLength(c0, True)
approx = cv2.approxPolyDP(c0, epsilon, True)
draw_img = img.copy()
res = cv2.drawContours(draw_img, [approx], -1, (0, 0, 255), 2)
cv_show('res', res)
cv2.apaproxPloyDP函数输出的approx,元素个数为3,即三角形三个顶点

 文章来源:https://www.toymoban.com/news/detail-617918.html
到了这里,关于cv2.approxPolyDP()函数的输出,为近似多边形的顶点坐标的文章就介绍完了。如果您还想了解更多内容,请在右上角搜索TOY模板网以前的文章或继续浏览下面的相关文章,希望大家以后多多支持TOY模板网!


![[C++] opencv - fillPoly(填充多边形)函数介绍和使用场景](https://imgs.yssmx.com/Uploads/2024/02/827526-1.png)


