-
下载
官网下载 nginx 镜像文件:
nginx: download
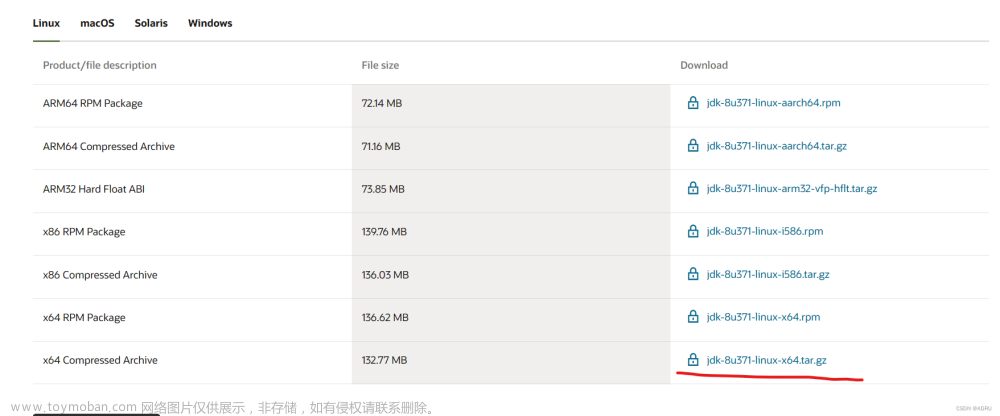
选择稳定版本 下的镜像文件进行下载,

2. 把下载好的 nginx 的 tar.gz 压缩包 用xftp上传到linux服务器

3.解压
# 进入 nginx 压缩包所在目录
cd nginx 压缩包所在目录

# 解压
tar -zxvf nginx-1.22.0.tar.gz

4.安装 nginx 的相关依赖
安装 nginx 的相关依赖需要使用root权限

su

yum -y install gcc zlib zlib-devel pcre-devel openssl openssl-devel
5.生成 Makefile 可编译文件
# 进入解压后的 nginx-1.22.0 目录
cd nginx-1.22.0 目录

# 执行configure脚本,设置安装nginx的初始化配置(--with-http_ssl_module:启动 SSL 的支持),生成 Makefile 可编译文件
./configure --with-http_ssl_module 

//其他参数
--prefix=PATH:指定 nginx 的安装目录(默认/usr/local/nginx)
--conf-path=PATH:指定 nginx.conf 配置文件路径
--user=NAME:nginx 工作进程的用户
--with-pcre:开启 PCRE 正则表达式的支持
--with-http_ssl_module:启动 SSL 的支持
--with-http_stub_status_module:用于监控 Nginx 的状态
--with-http-realip_module:允许改变客户端请求头中客户端 IP 地址
--with-file-aio:启用 File AIO
--add-module=PATH:添加第三方外部模块
6.make编译和安装
编译成功

安装make install
make install 
默认安装路径/usr/local/nginx

7.启动nignx
进入nignx安装目录
cd /usr/local/nginx/sbin执行 nginx 脚本,启动 nginx 服务,查看 nginx 进程
./nginx
//查看 nginx 进程:
ps -ef | grep nginx
根据 ./nginx 启动命令,查看nginx进程可以得知我们需要的 nginx进程id 是 9807,接着查看该 进程id 所占用的端口号
# 查看 进程id 所占用的端口号
netstat -nap | grep 9807
可以看见 nginx 服务默认占用的是 80 端口,接下来是要查看linux 防火墙,如果防火墙是开启状态的话,则需要确认防火墙开放的端口列表中,是否包含 80 端口:
防火墙命令
# 查看防火墙状态

systemctl status firewalld

# 停止防火墙

systemctl stop firewalld.service

# 启动防火墙

systemctl start firewalld.service

# 重启防火墙

firewall-cmd --reload  或者  service firewalld restart


#防火墙开放80端口
 firewall-cmd --zone=public --add-port=80/tcp --permanent  //--permanent永久生效,没有此参数防火墙重启便失效

#防火墙关闭80端口
firewall-cmd --zone=public --remove-port=80/tcp --permanent

#禁用防火墙

 systemctl stop firewalld

#禁用防火墙

 systemctl stop firewalld

#停止并禁用开机启动

systemctl disable firewalld

#查看端口列表

firewall-cmd --permanent --list-port
# 查看防火墙状态
systemctl status firewalld
# 启动防火墙
systemctl start firewalld.service
# 查看已开放端口
firewall-cmd --permanent --list-port没有80端口,就开放80端口
# 开放 80 端口
sudo firewall-cmd --zone=public --add-port=80/tcp --permanent
开放端口后,还需要重启防火墙才能生效:
再次查看防火墙开放的端口列表,发现 80 端口已经开放成功

8.使用
先用浏览器访问 linux服务器ip(浏览器访问 ip 默认是80端口,所以不带 80端口号也可以),查看是否可以正常访问 上面 部署好的 nginx 服务:
 文章来源:https://www.toymoban.com/news/detail-621489.html
文章来源地址https://www.toymoban.com/news/detail-621489.html
到了这里,关于linux 安装部署nginx的文章就介绍完了。如果您还想了解更多内容,请在右上角搜索TOY模板网以前的文章或继续浏览下面的相关文章,希望大家以后多多支持TOY模板网!

