<template>
<!--  <el-button type="primary" @click="handleLogin">测试登录</el-button>-->
<!--  <el-button type="danger" @click="handleUserList">测试获取用户请求</el-button>-->
  <router-view/>
</template>
<script setup>
// import requestUtil from '@/util/request'
// import store from '@/store'
//
// const handleLogin=async ()=>{
//   let result = await requestUtil.get("test/login");
//   let data = result.data;
//   if(data.code = 200){
//      const token = data.token;
//      console.log("登录成功:token="+token);
//      store.commit('SET_TOKEN',token);
//   }else{
//      console.log("登录出错!");
//   }
// }
//
// const handleUserList=async ()=>{
//   let result = await requestUtil.get("test/user/list");
//   let data = result.data;
//   if(data.code = 200){
//     const userList = data.userList;
//     console.log("用户列表信息:userList="+userList);
//   }
// }

</script>
<style>
html,body,#app{
  height: 100%;
}

.app-container{
  padding:20px
}
</style>
<template>
<div class="login">
<el-form ref="loginRef" :model="loginForm" :rules="loginRules" class="login-form">
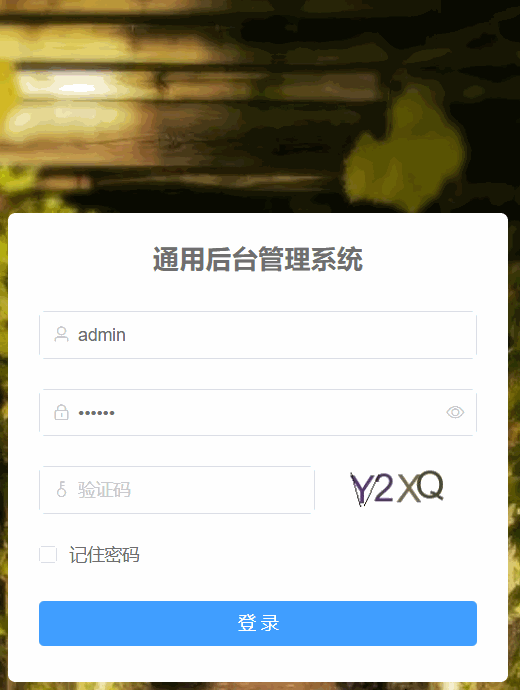
<h3 class="title">Java1234 Vue3 后台管理系统</h3>
<el-form-item prop="username">
<el-input
type="text"
size="large"
auto-complete="off"
placeholder="账号"
>
</el-input>
</el-form-item>
<el-form-item prop="password">
<el-input
type="password"
size="large"
auto-complete="off"
placeholder="密码"
@keyup.enter="handleLogin"
>
</el-input>
</el-form-item>
<el-checkbox style="margin:0px 0px 25px 0px;">记住密码</el-checkbox>
<el-form-item style="width:100%;">
<el-button
size="large"
type="primary"
style="width:100%;"
@click.prevent="handleLogin"
>
<span>登 录</span>
</el-button>
</el-form-item>
</el-form>
<!-- 底部 -->
<div class="el-login-footer">
<span>Copyright © 2013-2022 <a href="http://www.java1234.vip" target="_blank">java1234.vip</a> 版权所有.</span>
</div>
</div>
</template>
<script setup>
</script>
<style lang="scss" scoped>
a{
color:white
}
.login {
display: flex;
justify-content: center;
align-items: center;
height: 100%;
background-image: url("../assets/images/login-background.jpg");
background-size: cover;
}
.title {
margin: 0px auto 30px auto;
text-align: center;
color: #707070;
}
.login-form {
border-radius: 6px;
background: #ffffff;
width: 400px;
padding: 25px 25px 5px 25px;
.el-input {
height: 40px;
input {
display: inline-block;
height: 40px;
}
}
.input-icon {
height: 39px;
width: 14px;
margin-left: 0px;
}
}
.login-tip {
font-size: 13px;
text-align: center;
color: #bfbfbf;
}
.login-code {
width: 33%;
height: 40px;
float: right;
img {
cursor: pointer;
vertical-align: middle;
}
}
.el-login-footer {
height: 40px;
line-height: 40px;
position: fixed;
bottom: 0;
width: 100%;
text-align: center;
color: #fff;
font-family: Arial;
font-size: 12px;
letter-spacing: 1px;
}
.login-code-img {
height: 40px;
padding-left: 12px;
}
</style>
import '@/assets/styles/border.css'
import '@/assets/styles/reset.css'
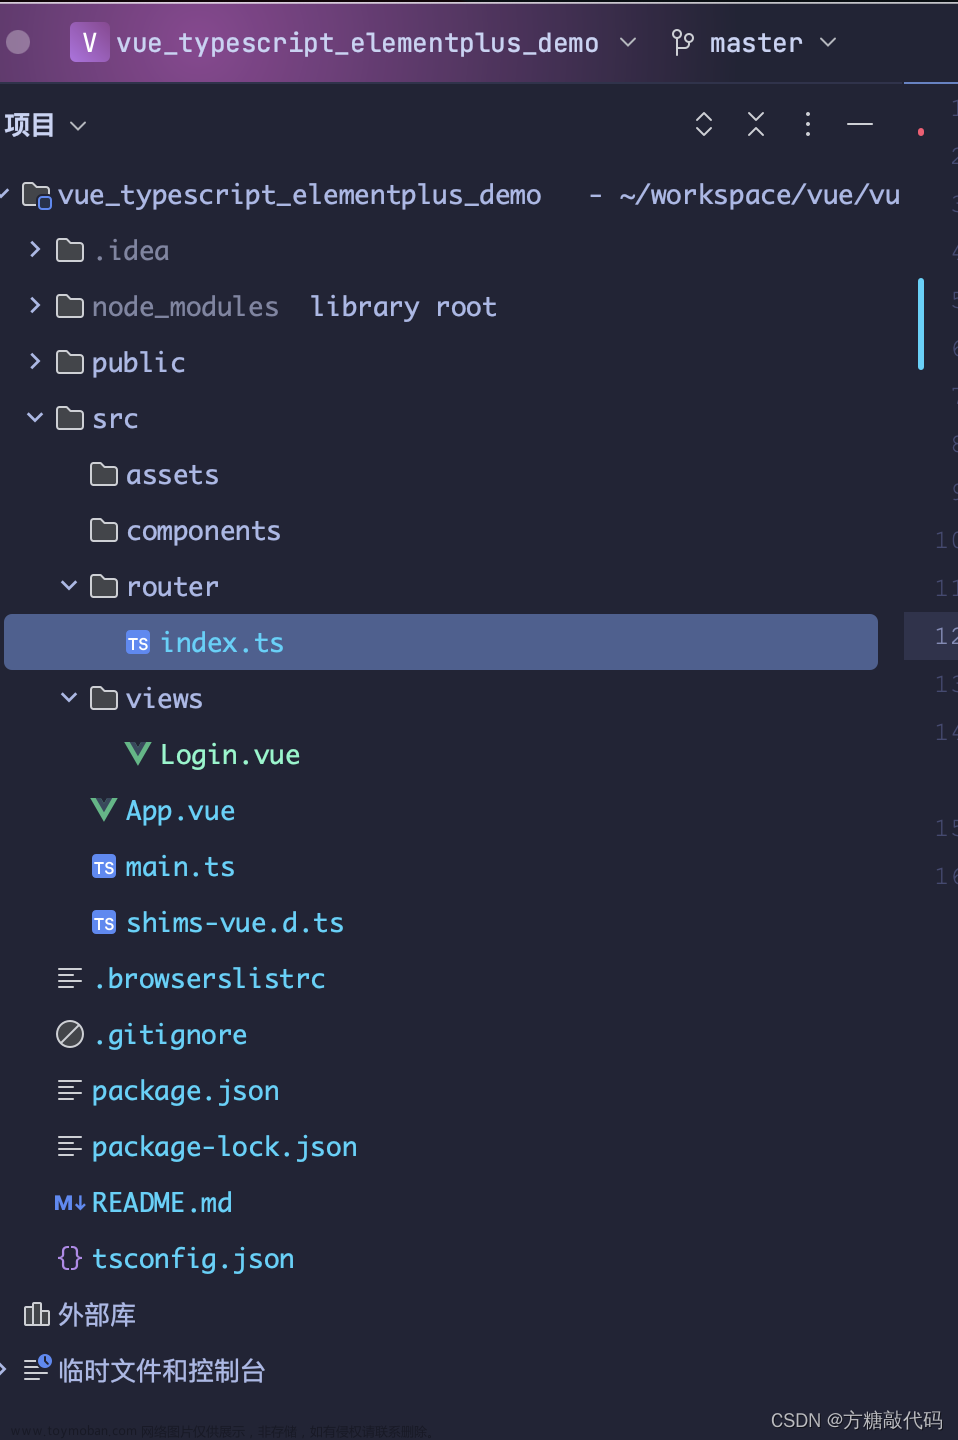
import { createRouter, createWebHashHistory } from 'vue-router'
import HomeView from '../views/HomeView.vue'

const routes = [
  {
    path: '/',
    name: 'home',
    component: HomeView
  },
  {
    path: '/login',
    name: 'login',
    component: () => import('../views/Login.vue')
  },
  {
    path: '/about',
    name: 'about',
    // route level code-splitting
    // this generates a separate chunk (about.[hash].js) for this route
    // which is lazy-loaded when the route is visited.
    component: () => import(/* webpackChunkName: "about" */ '../views/AboutView.vue')
  }
]

const router = createRouter({
  history: createWebHashHistory(),
  routes
})

export default router
文章来源地址https://www.toymoban.com/news/detail-621974.html
文章来源:https://www.toymoban.com/news/detail-621974.html
到了这里,关于前端静态登录页面实现的文章就介绍完了。如果您还想了解更多内容,请在右上角搜索TOY模板网以前的文章或继续浏览下面的相关文章,希望大家以后多多支持TOY模板网!