前言
作为Android开发者人人都应该有一份自己Android源码,这样我们就可以随时对自己有疑惑的地方通过亲手调试来加强理解
一 源码下载
1.1 配置要求
官方推荐配置请参考:AOSP使用入门文档,重点有如下几项:
1.1.1 硬件配置要求
- 至少需要 250 GB 可用磁盘空间;如果要进行构建,则还需要 150 GB。如果要进行多次构建,则需要更多空间。
- 磁盘至少 250GB,实测建议至少 512G。
1.1.2 软件要求
推荐使用 Ubuntu 18.04 (Bionic Beaver)、 Docker、Linux。
2021年6月22日起,不再支持 Windows 或 MacOS 上构建。
2020年1月1日起,不再支持 python2,请使用 python3。
1.2 下载环境搭建
1.2.1 依赖安装
请使用如下命令安装相关依赖:
sudo apt-get install git-core gnupg flex bison build-essential zip curl zlib1g-dev libc6-dev-i386 libncurses5 lib32ncurses5-dev x11proto-core-dev libx11-dev lib32z1-dev libgl1-mesa-dev libxml2-utils xsltproc unzip fontconfig
执行结果如下
longzhiye@longzhiye-laptop:~$ sudo apt-get install git-core gnupg flex bison build-essential zip curl zlib1g-dev libc6-dev-i386 libncurses5 lib32ncurses5-dev x11proto-core-dev libx11-dev lib32z1-dev libgl1-mesa-dev libxml2-utils xsltproc unzip fontconfig
正在读取软件包列表... 完成
正在分析软件包的依赖关系树
正在读取状态信息... 完成
......
升级了 0 个软件包,新安装了 114 个软件包,要卸载 0 个软件包,有 5 个软件包未被升级。
需要下载 58.6 MB 的归档。
解压缩后会消耗 262 MB 的额外空间。
您希望继续执行吗? [Y/n] y
......
python3 已经是最新版 (3.6.7-1~18.04)。
python3 已设置为手动安装。
下列软件包是自动安装的并且现在不需要了:
  gir1.2-goa-1.0 gir1.2-snapd-1
使用'sudo apt autoremove'来卸载它(它们)。
升级了 0 个软件包,新安装了 0 个软件包,要卸载 0 个软件包,有 5 个软件包未被升级。
1.2.2 git配置
请使用如下命令对git进行配置:
git config --global user.name 'xxx'
git config --global user.email 'xxx@xxx.com'
执行结果如下
longzhiye@longzhiye-laptop:~$ git config --global user.name 'longzhiye'
longzhiye@longzhiye-laptop:~$ git config --global user.email 'longzhiye163@163.com'
1.2.3 repo配置
由于某墙的原因,这里我们采用国内的镜像源进行下载.
目前,可用的镜像源一般是科大和清华的,具体使用差不多,这里我选择清华大学镜像进行说明.(参考:科大源,清华源),请使用如下命令更新repo并进行配置:
mkdir ~/bin
PATH=~/bin:$PATH
curl https://mirrors.tuna.tsinghua.edu.cn/git/git-repo > ~/bin/repo
chmod +x ~/bin/repo
执行结果如下
longzhiye@longzhiye-laptop:~$ mkdir ~/bin
longzhiye@longzhiye-laptop:~$ PATH=~/bin:$PATH
longzhiye@longzhiye-laptop:~$ curl https://mirrors.tuna.tsinghua.edu.cn/git/git-repo > ~/bin/repo
  % Total    % Received % Xferd  Average Speed   Time    Time     Time  Current
                                 Dload  Upload   Total   Spent    Left  Speed
100 45805  100 45805    0     0   117k      0 --:--:-- --:--:-- --:--:--  117k
longzhiye@longzhiye-laptop:~$ chmod +x ~/bin/repo
1.3 源码下载
1.3.1 明确下载版本
请通过浏览器访问:分支列表,来选取需要的版本。
网页显示如下:
1.3.2 替换为清华源
请使用如下命令将源替换为清华源:
export REPO_URL='https://mirrors.tuna.tsinghua.edu.cn/git/git-repo/'
执行结果如下
longzhiye@longzhiye-laptop:~$ export REPO_URL='https://mirrors.tuna.tsinghua.edu.cn/git/git-repo/'
1.3.3 初始化仓库并指定分支
请使用如下命令初始化仓库并指定分支,此处以android-13.0.0_r40分支为例。
repo init -u https://aosp.tuna.tsinghua.edu.cn/platform/manifest -b android-13.0.0_r40
执行结果如下:
longzhiye@longzhiye-laptop:~/mount/project$ mkdir androidt    // 建立下载位置
longzhiye@longzhiye-laptop:~/mount/project$ cd androidt/
longzhiye@longzhiye-laptop:~/mount/project/androidt$ repo init -u https://aosp.tuna.tsinghua.edu.cn/platform/manifest -b android-13.0.0_r40
Downloading Repo source from https://mirrors.tuna.tsinghua.edu.cn/git/git-repo/
remote: Enumerating objects: 4495, done.
remote: Counting objects: 100% (4495/4495), done.
remote: Compressing objects: 100% (2144/2144), done.
remote: Total 8060 (delta 3993), reused 2351 (delta 2351), pack-reused 3565
接收对象中: 100% (8060/8060), 3.81 MiB | 1016.00 KiB/s, 完成.
处理 delta 中: 100% (5177/5177), 完成.
repo: Updating release signing keys to keyset ver 2.3

Your identity is: longzhiye <longzhiye163@163.com>
If you want to change this, please re-run 'repo init' with --config-name

Testing colorized output (for 'repo diff', 'repo status'):
  black    red      green    yellow   blue     magenta   cyan     white
  bold     dim      ul       reverse
Enable color display in this user account (y/N)? y

repo has been initialized in /home/longzhiye/mount/project/androidt
longzhiye@longzhiye-laptop:~/mount/project/androidt$ ls -al
总用量 12
drwxrwxr-x 3 longzhiye longzhiye 4096 5月  20 00:48 .
drwxrwxrwx 3 root      root      4096 5月  20 00:44 ..
drwxrwxr-x 5 longzhiye longzhiye 4096 5月  20 00:48 .repo
1.3.4 同步全部源码
初始化仓库之后,就可以开始正式同步代码到本地了,命令如下:
repo sync -c -j8
此处为了加快速度使用了-c参数,表示只同步当前分支,-j8表示使用8个线程今天同步代码,使用多少个线程请根据自己的机器配置自行修改。
(提示:一定要确定代码完全同步了,不然在下面编译过程出现的错误会让你痛不欲生,不确定的童鞋可以多用repo sync同步几次)
执行结果如下:
longzhiye@longzhiye-laptop:~/mount/project/androidt$ repo sync -c -j8
Fetching: 100% (1135/1135), done in 4h51m48.506s
正在检出文件: 100% (1972/1972), 完成.
正在检出文件: 100% (1787/1787), 完成.
......
正在检出文件: 100% (724/724), 完成.orm/system/keymaster正在检出文件:  73% (534/724)
Checking out: 100% (1135/1135), done in 44m21.860s
repo sync has finished successfully.
源码同步时间比较长,此时Android13源码已经同步完成。
二 Android源码编译
2.1 编译环境搭建
使用如下命令安装JDK:
sudo apt-get install openjdk-11-jdk
安装完成后可以使用如下命令查看是否按照成功:
longzhiye@longzhiye-laptop:javac -version
javac 11.0.17
2.2 全编译
2.2.1 初始化编译环境
执行如下命令进行编译环境初始化:
source build/envsetup.sh
或者:
. build/envsetup.sh
执行结果如下:
longzhiye@longzhiye-laptop:~/mount/project/androidt$ source build/envsetup.sh
2.2.2 选择构建目标
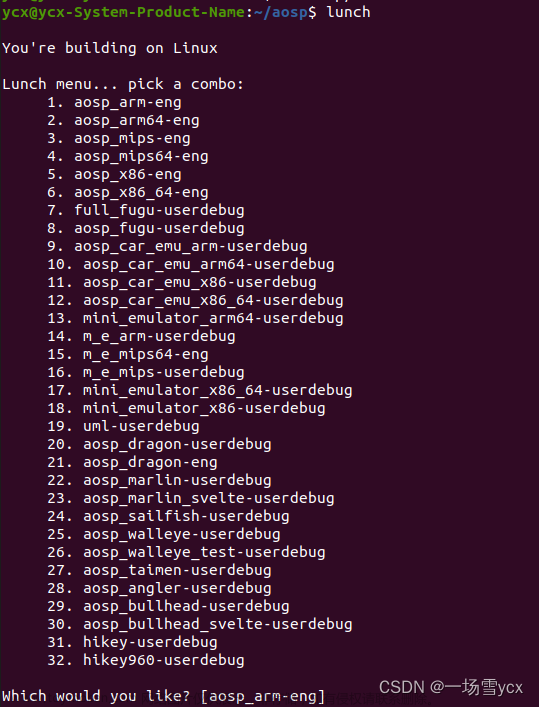
执行lunch命令执行结果如下:
longzhiye@longzhiye-laptop:~/mount/project/androidt$ lunch

You're building on Linux

Lunch menu .. Here are the common combinations:
     1. aosp_arm-eng
     2. aosp_arm64-eng
     3. aosp_barbet-userdebug
     4. aosp_bluejay-userdebug
     5. aosp_bluejay_car-userdebug
     6. aosp_bramble-userdebug
     7. aosp_bramble_car-userdebug
     8. aosp_car_arm-userdebug
     9. aosp_car_arm64-userdebug
     10. aosp_car_x86-userdebug
     11. aosp_car_x86_64-userdebug
     12. aosp_cf_arm64_auto-userdebug
     13. aosp_cf_arm64_phone-userdebug
     14. aosp_cf_x86_64_foldable-userdebug
     15. aosp_cf_x86_64_pc-userdebug
     16. aosp_cf_x86_64_phone-userdebug
     17. aosp_cf_x86_64_tv-userdebug
     18. aosp_cf_x86_auto-userdebug
     19. aosp_cf_x86_phone-userdebug
     20. aosp_cf_x86_tv-userdebug
     21. aosp_cheetah-userdebug
     22. aosp_cloudripper-userdebug
     23. aosp_coral-userdebug
     24. aosp_coral_car-userdebug
     25. aosp_flame-userdebug
     26. aosp_flame_car-userdebug
     27. aosp_oriole-userdebug
     28. aosp_oriole_car-userdebug
     29. aosp_panther-userdebug
     30. aosp_raven-userdebug
     31. aosp_raven_car-userdebug
     32. aosp_ravenclaw-userdebug
     33. aosp_redfin-userdebug
     34. aosp_redfin_car-userdebug
     35. aosp_redfin_vf-userdebug
     36. aosp_slider-userdebug
     37. aosp_sunfish-userdebug
     38. aosp_sunfish_car-userdebug
     39. aosp_trout_arm64-userdebug
     40. aosp_trout_x86-userdebug
     41. aosp_whitefin-userdebug
     42. aosp_x86-eng
     43. aosp_x86_64-eng
     44. arm_krait-eng
     45. arm_v7_v8-eng
     46. armv8-eng
     47. armv8_cortex_a55-eng
     48. armv8_kryo385-eng
     49. beagle_x15-userdebug
     50. beagle_x15_auto-userdebug
     51. car_ui_portrait-userdebug
     52. car_x86_64-userdebug
     53. db845c-userdebug
     54. gsi_car_arm64-userdebug
     55. gsi_car_x86_64-userdebug
     56. hikey-userdebug
     57. hikey64_only-userdebug
     58. hikey960-userdebug
     59. hikey960_tv-userdebug
     60. hikey_tv-userdebug
     61. poplar-eng
     62. poplar-user
     63. poplar-userdebug
     64. qemu_trusty_arm64-userdebug
     65. rb5-userdebug
     66. sdk_car_arm-userdebug
     67. sdk_car_arm64-userdebug
     68. sdk_car_portrait_x86_64-userdebug
     69. sdk_car_x86-userdebug
     70. sdk_car_x86_64-userdebug
     71. sdk_pc_x86_64-userdebug
     72. silvermont-eng
     73. uml-userdebug
     74. yukawa-userdebug
     75. yukawa_sei510-userdebug

Which would you like? [aosp_arm-eng]
Pick from common choices above (e.g. 13) or specify your own (e.g. aosp_barbet-eng): aosp_arm64-eng

Hint: next time you can simply run 'lunch aosp_arm64-eng'

============================================
PLATFORM_VERSION_CODENAME=REL
PLATFORM_VERSION=13
TARGET_PRODUCT=aosp_arm64
TARGET_BUILD_VARIANT=eng
TARGET_BUILD_TYPE=release
TARGET_ARCH=arm64
TARGET_ARCH_VARIANT=armv8-a
TARGET_CPU_VARIANT=generic
TARGET_2ND_ARCH=arm
TARGET_2ND_ARCH_VARIANT=armv8-a
TARGET_2ND_CPU_VARIANT=generic
HOST_ARCH=x86_64
HOST_2ND_ARCH=x86
HOST_OS=linux
HOST_OS_EXTRA=Linux-5.4.0-148-generic-x86_64-Ubuntu-18.04.6-LTS
HOST_CROSS_OS=windows
HOST_CROSS_ARCH=x86
HOST_CROSS_2ND_ARCH=x86_64
HOST_BUILD_TYPE=release
BUILD_ID=TQ2A.230405.003.B2
OUT_DIR=out
PRODUCT_SOONG_NAMESPACES=device/generic/goldfish device/generic/goldfish-opengl hardware/google/camera hardware/google/camera/devices/EmulatedCamera
============================================
中间会有选择需要构建的目标,此处以aosp_arm64-eng为例
2.2.3 编译固件
通过make指令进行代码编译,该指令通过-j参数来设置参与编译的线程数量,以提高编译速度.比如这里我们设置8个线程同时编译。需要注意的是,参与编译的线程并不是越多越好,通常是根据你机器cup的核心来确定:core*2,即当前cpu的核心的2倍.比如,我现在的笔记本是双核四线程的,因此根据公式,最快速的编译可以make -j8.
(通过cat /proc/cpuinfo查看相关cpu信息)
make -j8
执行结果如下:
longzhiye@longzhiye-laptop:~/mount/project/androidt$ make -j8
07:04:26 ************************************************************
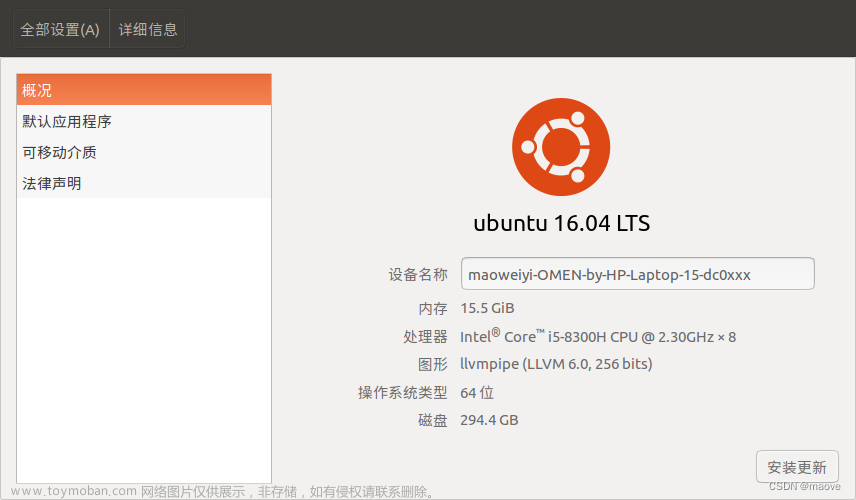
07:04:26 You are building on a machine with 15.5GB of RAM
07:04:26
07:04:26 The minimum required amount of free memory is around 16GB,
07:04:26 and even with that, some configurations may not work.
07:04:26
07:04:26 If you run into segfaults or other errors, try reducing your
07:04:26 -j value.
07:04:26 ************************************************************
build/make/core/soong_config.mk:209: warning: BOARD_PLAT_PUBLIC_SEPOLICY_DIR has been deprecated. Use SYSTEM_EXT_PUBLIC_SEPOLICY_DIRS instead.
build/make/core/soong_config.mk:210: warning: BOARD_PLAT_PRIVATE_SEPOLICY_DIR has been deprecated. Use SYSTEM_EXT_PRIVATE_SEPOLICY_DIRS instead.
============================================
PLATFORM_VERSION_CODENAME=REL
......
[ 99% 120038/120059] //frameworks/base/packages/SystemUI:SystemUI-core javac
注: 某些输入文件使用或覆盖了已过时的 API。
注: 有关详细信息, 请使用 -Xlint:deprecation 重新编译。
注: 某些输入文件使用了未经检查或不安全的操作。
注: 有关详细信息, 请使用 -Xlint:unchecked 重新编译。
[ 99% 120044/120059] //frameworks/base/packages/SystemUI:SystemUI r8
Warning: Missing class android.compat.annotation.UnsupportedAppUsage (referenced from: void com.android.systemui.people.widget.PeopleBackupHelper.writeNewStateDescription(android.os.ParcelFileDescriptor))
[100% 120059/120059] Target vbmeta image: out/target/product/generic/vbmeta.img

#### build completed successfully (05:56:23 (hh:mm:ss)) ####
如果一切顺利的化,在几个小时之后,便可以编译完成.看到### make completed successfully (00:48:15(hh:mm:ss)) ###表示你编译成功了.。Google 使用 72 核机器,内置 RAM 为 64 GB,完整构建过程大约需要 40 分钟(增量构建只需几分钟时间,具体取决于修改了哪些文件)。相比之下,RAM 数量相近的 6 核机器执行完整构建过程需要 3 个小时。
二 运行模拟器
在编译完成之后,就可以通过以下命令运行Android虚拟机了,命令如下:
source build/envsetup.sh
lunch   // 选择刚才你设置的目标版本,比如这里了我选择的是2
emulator
执行结果如下:文章来源:https://www.toymoban.com/news/detail-622933.html
longzhiye@longzhiye-laptop:~/mount/project/androidt$ source build/envsetup.sh
longzhiye@longzhiye-laptop:~/mount/project/androidt$ lunch
longzhiye@longzhiye-laptop:~/mount/project/androidt$ emulator
不出意外,在等待一会之后,你会看到运行界面文章来源地址https://www.toymoban.com/news/detail-622933.html
到了这里,关于Android13源码下载和编译过程详解的文章就介绍完了。如果您还想了解更多内容,请在右上角搜索TOY模板网以前的文章或继续浏览下面的相关文章,希望大家以后多多支持TOY模板网!


