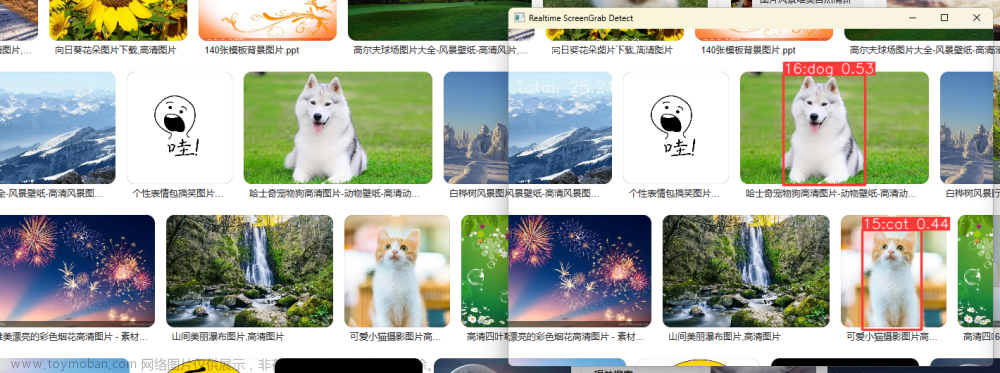
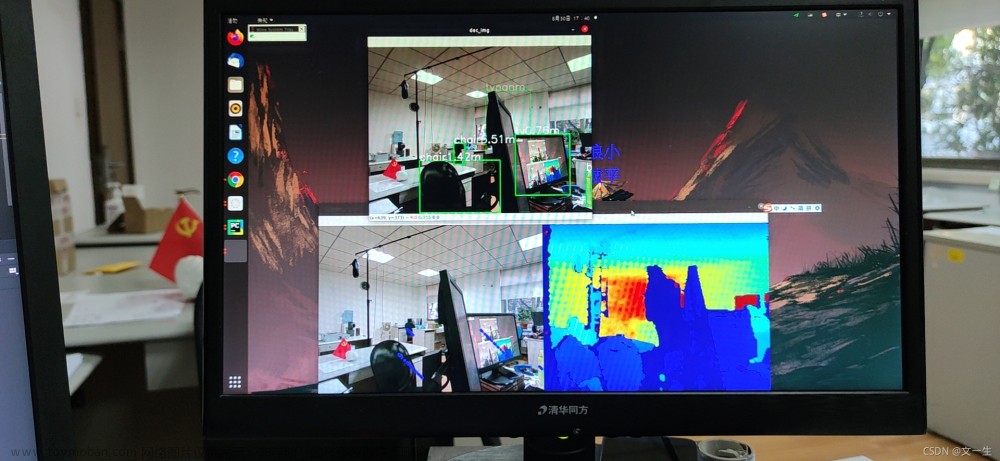
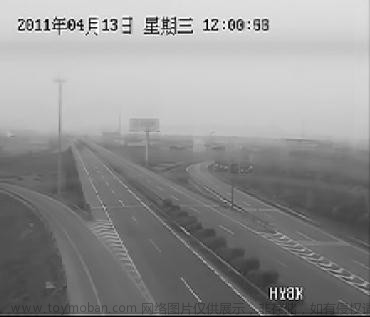
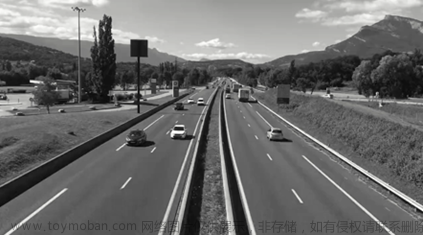
项目实验结果展示:
基于yolo v5与Deep Sort进行车辆以及速度检测与目标跟踪实战——项目可以私聊
该项目可以作为毕业设计,以及企业级的项目开发,主要包含了车辆的目标检测、目标跟踪以及车辆的速度计算,同样可以进行二次开发。
这里附上主要的检测代码文章来源:https://www.toymoban.com/news/detail-625107.html
import torch
import numpy as np
from models.experimental import attempt_load
from utils.general import non_max_suppression, scale_coords
from utils.torch_utils import select_device
from utils.datasets import letterbox
import cv2
from deep_sort.utils.parser import get_config
from deep_sort.deep_sort import DeepSort
from haversine import haversine, Unit
from sys import platform as _platform


class Detector:
    """
    yolo目标检测
    """

    def __init__(self):

        self.img_size = 1280
        self.conf_thres = 0.5
        self.iou_thres=0.5

        # 目标检测权重
        self.weights = 'weights/highway_m_300.pt'
        self.device = '0' if torch.cuda.is_available() else 'cpu'
        self.device = select_device(self.device)
        model = attempt_load(self.weights, map_location=self.device)
        model.to(self.device).eval()

        # 判断系统,支持MACOS 和 windows
        if _platform == "darwin":
            # MAC OS X
            model.float()
        else:
            # Windows
            model.half()

        #
        self.m = model
        self.names = model.module.names if hasattr(
            model, 'module') else model.names


    # 图片预处理
    def preprocess(self, img):

        img = letterbox(img, new_shape=self.img_size)[0]
        img = img[:, :, ::-1].transpose(2, 0, 1)
        img = np.ascontiguousarray(img)
        img = torch.from_numpy(img).to(self.device)

        if _platform == "darwin":
            # MAC OS X
            img = img.float()
        else:
            # Windows
            img = img.half()

        img /= 255.0  # 图像归一化
        if img.ndimension() == 3:
            img = img.unsqueeze(0)

        return img

    # 目标检测
    def yolo_detect(self, im):

        img = self.preprocess(im)

        pred = self.m(img, augment=False)[0]
        pred = pred.float()
        pred = non_max_suppression(pred, self.conf_thres, self.iou_thres )

        pred_boxes = []
        for det in pred:

            if det is not None and len(det):
                det[:, :4] = scale_coords(
                    img.shape[2:], det[:, :4], im.shape).round()

                for *x, conf, cls_id in det:
                    lbl = self.names[int(cls_id)]
                    x1, y1 = int(x[0]), int(x[1])
                    x2, y2 = int(x[2]), int(x[3])
                    pred_boxes.append(
                        (x1, y1, x2, y2, lbl, conf))

        return pred_boxes


class Tracker:
    """
    deepsort追踪
    """
    def __init__(self):

        cfg = get_config()
        cfg.merge_from_file("deep_sort/configs/deep_sort.yaml")
        self.deepsort = DeepSort(cfg.DEEPSORT.REID_CKPT,
                            max_dist=cfg.DEEPSORT.MAX_DIST, min_confidence=cfg.DEEPSORT.MIN_CONFIDENCE,
                            nms_max_overlap=cfg.DEEPSORT.NMS_MAX_OVERLAP, max_iou_distance=cfg.DEEPSORT.MAX_IOU_DISTANCE,
                            max_age=cfg.DEEPSORT.MAX_AGE, n_init=cfg.DEEPSORT.N_INIT, nn_budget=cfg.DEEPSORT.NN_BUDGET,
                            use_cuda=True)


    def update_tracker(self,image, yolo_bboxes):

        bbox_xywh = []
        confs = []
        clss = []

        for x1, y1, x2, y2, cls_id, conf in yolo_bboxes:

            obj = [
                int((x1+x2)/2), int((y1+y2)/2),
                x2-x1, y2-y1
            ]
            bbox_xywh.append(obj)
            confs.append(conf)
            clss.append(cls_id)

        xywhs = torch.Tensor(bbox_xywh)
        confss = torch.Tensor(confs)

        #更新追踪结果
        outputs = self.deepsort.update(xywhs, confss, clss, image)


        bboxes2draw = []
        for value in list(outputs):
            x1, y1, x2, y2, cls_, track_id = value

            bboxes2draw.append(
                (x1, y1, x2, y2, cls_, track_id)
            )


        return bboxes2draw


class PixelMapper(object):
    """
    Create an object for converting pixels to geographic coordinates,
    using four points with known locations which form a quadrilteral in both planes
    Parameters
    ----------
    pixel_array : (4,2) shape numpy array
        The (x,y) pixel coordinates corresponding to the top left, top right, bottom right, bottom left
        pixels of the known region
    lonlat_array : (4,2) shape numpy array
        The (lon, lat) coordinates corresponding to the top left, top right, bottom right, bottom left
        pixels of the known region
    """
    def __init__(self, pixel_array, lonlat_array):
        assert pixel_array.shape==(4,2), "Need (4,2) input array"
        assert lonlat_array.shape==(4,2), "Need (4,2) input array"
        self.M = cv2.getPerspectiveTransform(np.float32(pixel_array),np.float32(lonlat_array))
        self.invM = cv2.getPerspectiveTransform(np.float32(lonlat_array),np.float32(pixel_array))

    def pixel_to_lonlat(self, pixel):
        """
        Convert a set of pixel coordinates to lon-lat coordinates
        Parameters
        ----------
        pixel : (N,2) numpy array or (x,y) tuple
            The (x,y) pixel coordinates to be converted
        Returns
        -------
        (N,2) numpy array
            The corresponding (lon, lat) coordinates
        """
        if type(pixel) != np.ndarray:
            pixel = np.array(pixel).reshape(1,2)
        assert pixel.shape[1]==2, "Need (N,2) input array"
        pixel = np.concatenate([pixel, np.ones((pixel.shape[0],1))], axis=1)
        lonlat = np.dot(self.M,pixel.T)

        return (lonlat[:2,:]/lonlat[2,:]).T

    def lonlat_to_pixel(self, lonlat):
        """
        Convert a set of lon-lat coordinates to pixel coordinates
        Parameters
        ----------
        lonlat : (N,2) numpy array or (x,y) tuple
            The (lon,lat) coordinates to be converted
        Returns
        -------
        (N,2) numpy array
            The corresponding (x, y) pixel coordinates
        """
        if type(lonlat) != np.ndarray:
            lonlat = np.array(lonlat).reshape(1,2)
        assert lonlat.shape[1]==2, "Need (N,2) input array"
        lonlat = np.concatenate([lonlat, np.ones((lonlat.shape[0],1))], axis=1)
        pixel = np.dot(self.invM,lonlat.T)

        return (pixel[:2,:]/pixel[2,:]).T


class SpeedEstimate:
    def __init__(self):

        # 配置相机画面与地图的映射点,需要根据自己镜头和地图上的点重新配置
        quad_coords = {
            "lonlat": np.array([
                [30.221866, 120.287402], # top left
                [30.221527,120.287632], # top right
                [30.222098,120.285806], # bottom left
                [30.221805,120.285748] # bottom right
            ]),
            "pixel": np.array([
                [196,129],# top left
                [337,111], # top right
                [12,513], # bottom left
                [530,516] # bottom right
            ])
        }

        self.pm = PixelMapper(quad_coords["pixel"], quad_coords["lonlat"])

    def pixel2lonlat(self,x,y):
        # 像素坐标转为经纬度
        return self.pm.pixel_to_lonlat((x,y))[0]

    def pixelDistance(self,pa_x,pa_y,pb_x,pb_y):
        # 相机画面两点在地图上实际的距离

        lonlat_a = self.pm.pixel_to_lonlat((pa_x,pa_y))
        lonlat_b = self.pm.pixel_to_lonlat((pb_x,pb_y))

        lonlat_a = tuple(lonlat_a[0])
        lonlat_b = tuple(lonlat_b[0])

        return haversine(lonlat_a, lonlat_b, unit='m')
项目需求+V: gldz_super 文章来源地址https://www.toymoban.com/news/detail-625107.html
到了这里,关于基于yolo v5与Deep Sort进行车辆以及速度检测与目标跟踪实战的文章就介绍完了。如果您还想了解更多内容,请在右上角搜索TOY模板网以前的文章或继续浏览下面的相关文章,希望大家以后多多支持TOY模板网!