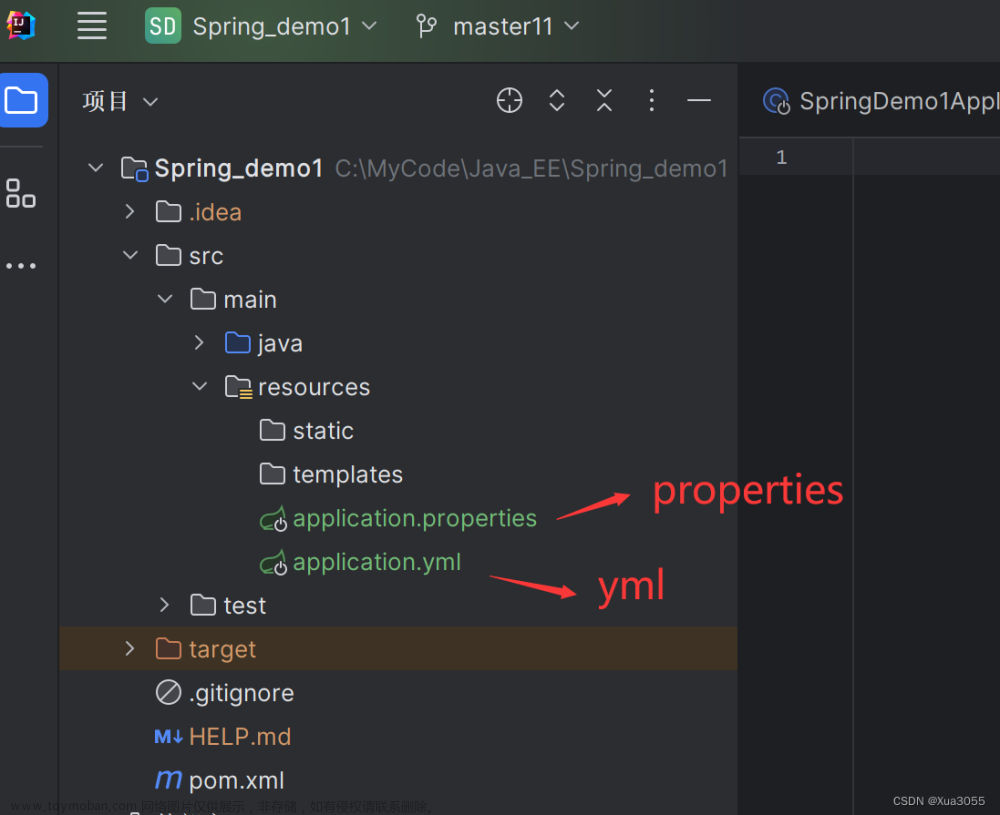
配置文件
位置和路径
当我们创建一个 Spring Boot 工程时,默认 resources 目录下就有一个 application.properties 文件,可以在 application.properties 文件中进行项目配置,但是这个文件并非唯一的配置文件,在 Spring Boot 中,一共有 4 个地方可以存放 application.properties 文件。按照下面的顺序,四个配置文件的优先级依次降低
- 当前项目根目录下的 config 目录下:
config/application.properties - 当前项目的根目录下:
application.properties - resources 目录下的 config 目录下:
src/main/resources/config/application.properties - resources 目录下
src/main/resources/application.properties推荐
这四个位置是默认位置,即 Spring Boot 启动,默认会从这四个位置按顺序去查找相关属性并加载。
yaml作为配置文件和properties是一致的。
自定义配置文件
-
spring.config.name
指定配置文件名,默认的配置文件名是application,可以使用spring.config.name指定自定义文件名,如下示例:java -jar myproject.jar --spring.config.name=myproject -
spring.profiles.active
激活指定的配置文件application-{profile}.properties,指定的配置文件要存放在和application.properties相同的目录
系统默认加载application-[default].properties配置文件;使用逗号分隔多个profile配置文件;在application配置文件中可以指定待激活的配置文件,示例:# 系统会按照顺序加载application-dev.properties、application-test.properties配置文件,后面的配置文件会覆盖前面同名属性配置; spring.profiles.active=dev,test -
spring.config.location
通过spring.config.location属性来手动的指定配置文件位置,指定完成后,系统就会自动去指定目录下查找application.properties文件。- 多个配置使用逗号分隔
- 如果指定的是目录要用/结尾
# 系统就会自动去指定目录下查找`application.properties`或`application.yml`文件,注意路径以 / 结尾
java -jar properties-0.0.1-SNAPSHOT.jar --spring.config.location=classpath:/xingmu/
# 如果指定多个配置文件,注意以逗号分割
要特别注意的是,该命令指定的配置文件会使项目默认的
application.properties或application.yml文件失效,换句话说该命令会用指定的配置文件替换application.properties或application.yml文件。 -
spring.config.additional-location
该命令用于追加配置文件。原有的application.properties或application.yml文件均有效。用于和原有配置进行合并# 系统就会自动去指定目录下查找`application.properties`或`application.yml`文件,注意路径以 / 结尾 java -jar properties-0.0.1-SNAPSHOT.jar --spring.config.additional-location=classpath:/xingmu/ -
spring.profiles.include
spring.profiles.active和spring.profiles.include的使用与区别
指定包含哪些特定配置文件,
spring.profiles.active用来指定激活指定的配置文件,而spring.profiles.include可以用来指定激活配置文件还包含哪些配置文件;如:默认配置文件application.propertiesserver.port=8003 # test、prod、publish spring.profiles.active=dev被激活的配置文件是
application-dev.properties:spring.profiles.include=devDb,devRedis可以用来指定不同环境之间的切换及不同种类配置的加载。
属性注入
在 resources 下面新建一个 book.properties 文件,内容如下:
book.name=三国演义
book.author=罗贯中
book.id=1
book.tags=小说,演义,历史
项目启动并不会自动的加载 book.properties 该配置文件,如果是在 XML 配置中,可以通过如下方式引用该 properties 文件:
<context:property-placeholder location="classpath:book.properties"/>
在 Java 配置中,可以通过 @PropertySource 来引入配置,这样,当项目启动时,就会自动加载 book.properties 文件。这只是 Spring
中属性注入的一个简单用法,和 Spring Boot 没有任何关系。
@PropertySource默认默认情况下仅仅支持加载外部的、后缀为:properties配置文件,不支持yml、yaml文件。
注意: 在 application.properties 文件中定义属性:按照传统的方式(Spring中的方式),可以直接通过 @Value 注解将这些属性注入到Book 对象中:
注意: Book 对象本身也要交给 Spring 容器去管理,如果 Book 没有交给 Spring 容器,那么 Book 中的属性也无法从 Spring 容器中获取到值。
// classpath:后面不能带有空格
@Component
@PropertySource("classpath:book.properties")
public class Book {
    @Value("${book.id}")
    private Long id;
    @Value("${book.name}")
    private String name;
    @Value("${book.author}")
    private String author;
    @Value("${book.tags}")
    private String[] tags;
    //省略getter/setter
}
在 Spring Boot 引入了类型安全的属性注入,如果采用 Spring 中的配置方式,当配置的属性非常多的时候,工作量就很大了,而且容易出错。使用类型安全的属性注入,可以有效的解决这个问题。
示例代码如下:
@Component
@PropertySource("classpath:book.properties")
@ConfigurationProperties(prefix = "book")
public class Book {
    private Long id;
    private String name;
    private String author;
    private String[] tags;
    //省略getter/setter
}
添加yaml文件的支持
新建YamlSourceFactory 实现PropertySourceFactory 接口。文章来源:https://www.toymoban.com/news/detail-627870.html
import org.springframework.beans.factory.config.YamlPropertiesFactoryBean;
import org.springframework.core.env.PropertiesPropertySource;
import org.springframework.core.env.PropertySource;
import org.springframework.core.io.support.EncodedResource;
import org.springframework.core.io.support.PropertySourceFactory;
import org.springframework.lang.Nullable;

import java.io.FileNotFoundException;
import java.io.IOException;
import java.util.Properties;

public class YamlSourceFactory implements PropertySourceFactory {
    @Override
    public PropertySource<?> createPropertySource(@Nullable String name, EncodedResource resource) throws IOException {
        Properties propertiesFromYaml = loadYamlIntoProperties(resource);
        String sourceName = name != null ? name : resource.getResource().getFilename();
        return new PropertiesPropertySource(sourceName, propertiesFromYaml);
    }

    private Properties loadYamlIntoProperties(EncodedResource resource) throws FileNotFoundException {
        try {
            YamlPropertiesFactoryBean factory = new YamlPropertiesFactoryBean();
            factory.setResources(resource.getResource());
            factory.afterPropertiesSet();
            return factory.getObject();
        } catch (IllegalStateException e) {
            // for ignoreResourceNotFound
            Throwable cause = e.getCause();
            if (cause instanceof FileNotFoundException) {
                throw (FileNotFoundException) e.getCause();
            }
            throw e;
        }
    }

}
使用文章来源地址https://www.toymoban.com/news/detail-627870.html
@Component
@PropertySource(value = "classpath:book.yml", factory = YamlSourceFactory.class)
@ConfigurationProperties(prefix = "book")
public class Book {
    private Long id;
    private String name;
    private String author;
    private String[] tags;
    //省略getter/setter
}
到了这里,关于spring boot 配置文件和属性注入的文章就介绍完了。如果您还想了解更多内容,请在右上角搜索TOY模板网以前的文章或继续浏览下面的相关文章,希望大家以后多多支持TOY模板网!


