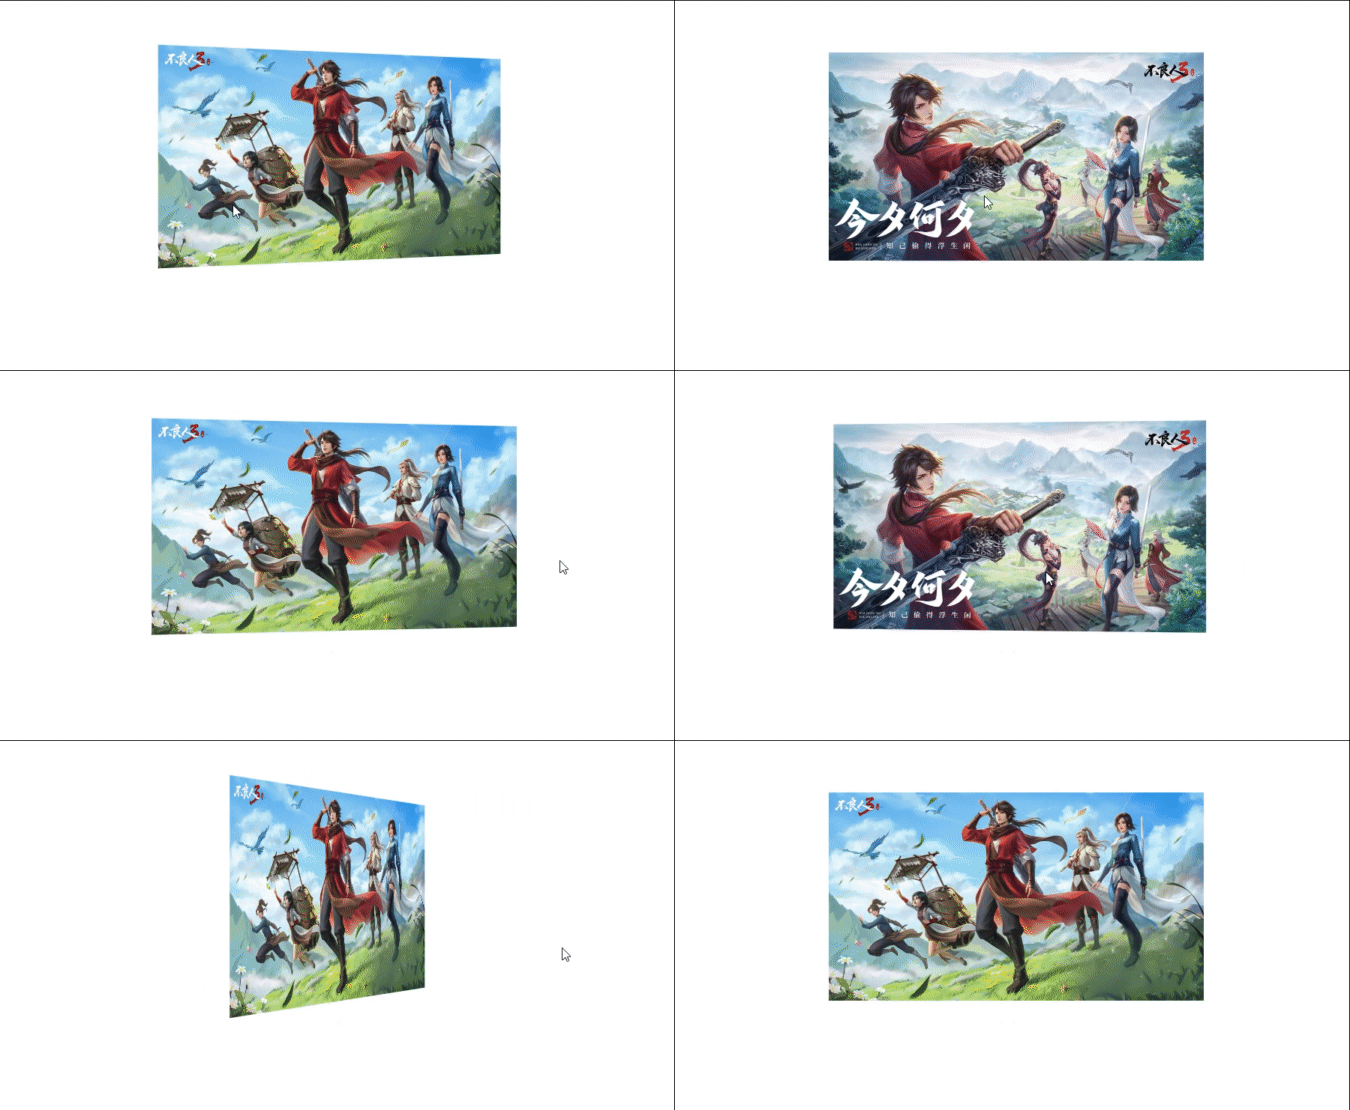
效果

index.html
<!DOCTYPE html>
<html>
  <head>
    <title> Document </title>
    <link type="text/css" rel="styleSheet" href="index.css" />
  </head>
  <body>
    <div class="card">
      <img src="cover1.jpg" class="cover" />
      <img src="title1.png" class="title" />
      <img src="hero1.png" class="hero" />
    </div>
    <div class="card">
      <img src="cover2.jpg" class="cover" />
      <img src="title2.png" class="title" />
      <img src="hero2.png" class="hero" />
    </div>
  </body>
</html>
index.css
* {
  margin: 0;
  padding: 0;
  box-sizing: border-box;
}
body{
  width: 100vw;
  height: 100vh;
  margin: 0;
  /* 弹性盒 */
  display: flex;
  /* 水平居中 */
  justify-content:  center;
  /* 垂直居中 */
  align-items: center;
  /* backgroud: #191c29 */
  background: #fff;
}
.card{
  width: 200px;
  height: 300px;

  /* 设置card元素的边距 */
  margin: 0px 50px;
  /* 设置card元素在Y方向偏移-50% */
  transform: translateY(-50%);
  /* 设置定位类型为相对定位 */
  position: relative;
}

.card img{
  /* img元素在card元素中为绝对定位 */
  position: absolute;
  width: 100%;
  left: 0;
  /* 设置元素状态转换过度时间,消除转化过程中的卡顿感 */
  transition: 0.5s;
}
.card:hover .cover{
  /* perspective(500px) 设置平面和用户眼睛之间的距离*/
  /* rotateX(25deg) 鼠标移入card元素时将其中的cover元素绕x轴旋转25°*/
  transform: perspective(500px) rotateX(25deg);
  /* 设置一个下拉阴影,并设置阴影的颜色*/
  box-shadow: 0 35px 0px 10px rgba(0, 0, 0,0.7);
}

.cover {
  height: 100%;
  /* 将cover元素设置在第一层*/
  z-index: 1;
}

.hero {
  height: 100%;
  /* 将cover元素设置在第二层*/
  z-index: 2;
 opacity: 0;

}
.card:hover .hero{
  opacity: 1;
  /* perspective(500px) 设置平面和用户眼睛之间的距离*/
  /* translate3d 设置hero元素的xyz值*/
  transform: perspective(500px) translate3d(0,-25px,100px);
}
.title {
  /* 将cover元素设置在第3层*/
z-index: 3;
bottom: 0;

}
.card:hover .title{
  /* perspective(500px) 设置平面和用户眼睛之间的距离*/
  /* translate3d 设置hero元素的xyz值*/
  transform: perspective(500px) translate3d(0,-25px,50px);
}
图片
cover1.jpg

hero1.png

title1.png
THE DARK RIDER CHRIS MASON
cover2.jpg

hero2.png
 文章来源:https://www.toymoban.com/news/detail-628982.html
title2.png
ZAQ CASS FORCE MAGE 文章来源地址https://www.toymoban.com/news/detail-628982.html
到了这里,关于【CSS】3D卡片效果的文章就介绍完了。如果您还想了解更多内容,请在右上角搜索TOY模板网以前的文章或继续浏览下面的相关文章,希望大家以后多多支持TOY模板网!

