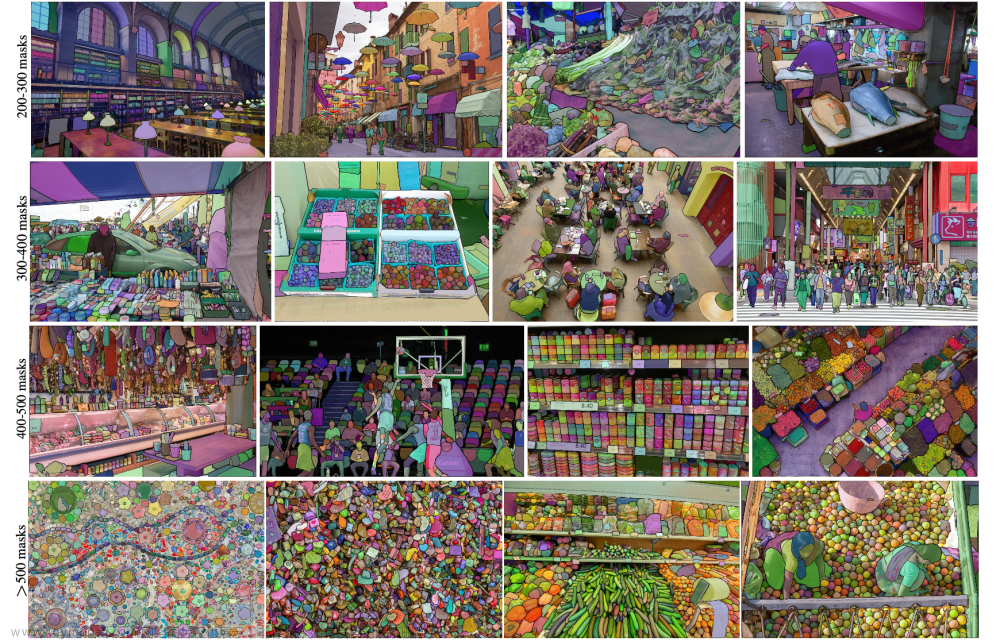
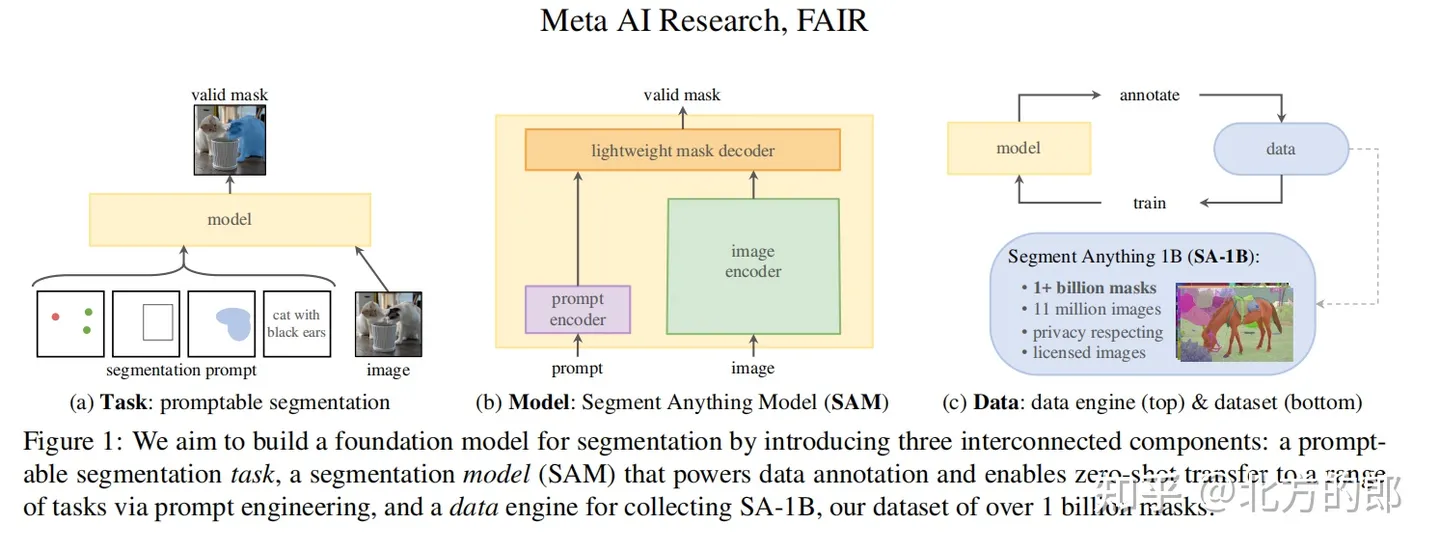
使用提供的amg.py生成测试图片mask
将多个mask拼接到一起,并改变每个png中白色区域像素值颜色
import numpy as np
from PIL import Image
import os
import matplotlib.pyplot as plt
from PIL import ImageColor
def compose_images(img_path):

    masks_file_list = os.listdir(img_path)

    for mask_file in masks_file_list:
        mask_path = os.path.join(img_path, mask_file)
        png_num = len(os.listdir(mask_path))-1
        # print(png_num)
        img_list = []
        color_list = []
        img = np.array(Image.open("./0.png"))  #需要更改,随便一张生成的mask图
        img_list.append(img)
        image_name = mask_file + ".png"
        save_path_ = os.path.join(img_path,"compose")
        os.makedirs(save_path_, exist_ok=True)
        save_path = os.path.join(save_path_, image_name)
        new_img = np.zeros_like(img_list[0])
        Image.fromarray(new_img).save(save_path)
        image_pil = Image.open(save_path)
        image_pil = image_pil.convert("RGB")

        for root,dirs,files in os.walk(mask_path):
            for image in files:

                # 存储图片的列表
                # color_list = [[255,0,0], [0,255,0], [0,0,255]] # 颜色列表

                color = list(np.random.choice(range(256),size=3))
                # for i in range(png_num):
                if image.endswith(".png"):
                    image_path =  os.path.join(mask_path, image)
                    # img = np.array(Image.open(image_path))
                    img = Image.open(image_path)
                    img_rgb = img.convert("RGB")
                    for i in range(img.size[0]):
                        for j in range(img.size[1]):
                            # print(img_rgb.getpixel((i,j)))
                            if img_rgb.getpixel((i,j)) == (255,255,255):
                                image_pil.putpixel((i,j),tuple(color))
        # for i in range(x):
        #     for k in range(y):
        #         color = img.getpixel((i, k))
        #         color = color[:-1] + (100, )
        #         img.putpixel((i, k), color)
        # img.save("tologo.png")

        image_pil.convert("RGB")
        image_pil.save(save_path)


img_path = "/segment-anything/out_mask"  #需要更改,mask图的上一级,如下图

compose_images(img_path)
 文章来源:https://www.toymoban.com/news/detail-629747.html
输出: 文章来源地址https://www.toymoban.com/news/detail-629747.html
到了这里,关于Segment Anything中将生成的多个mask结果拼接在一起,可视化(批量处理)的文章就介绍完了。如果您还想了解更多内容,请在右上角搜索TOY模板网以前的文章或继续浏览下面的相关文章,希望大家以后多多支持TOY模板网!


